|
|
 Posted - December 07 2019 : 1:17:58 PM Posted - December 07 2019 : 1:17:58 PM


|
Some of you may or may not know, but I am very grateful to have a friend, albeit older than me, who lives near me who is into trains.
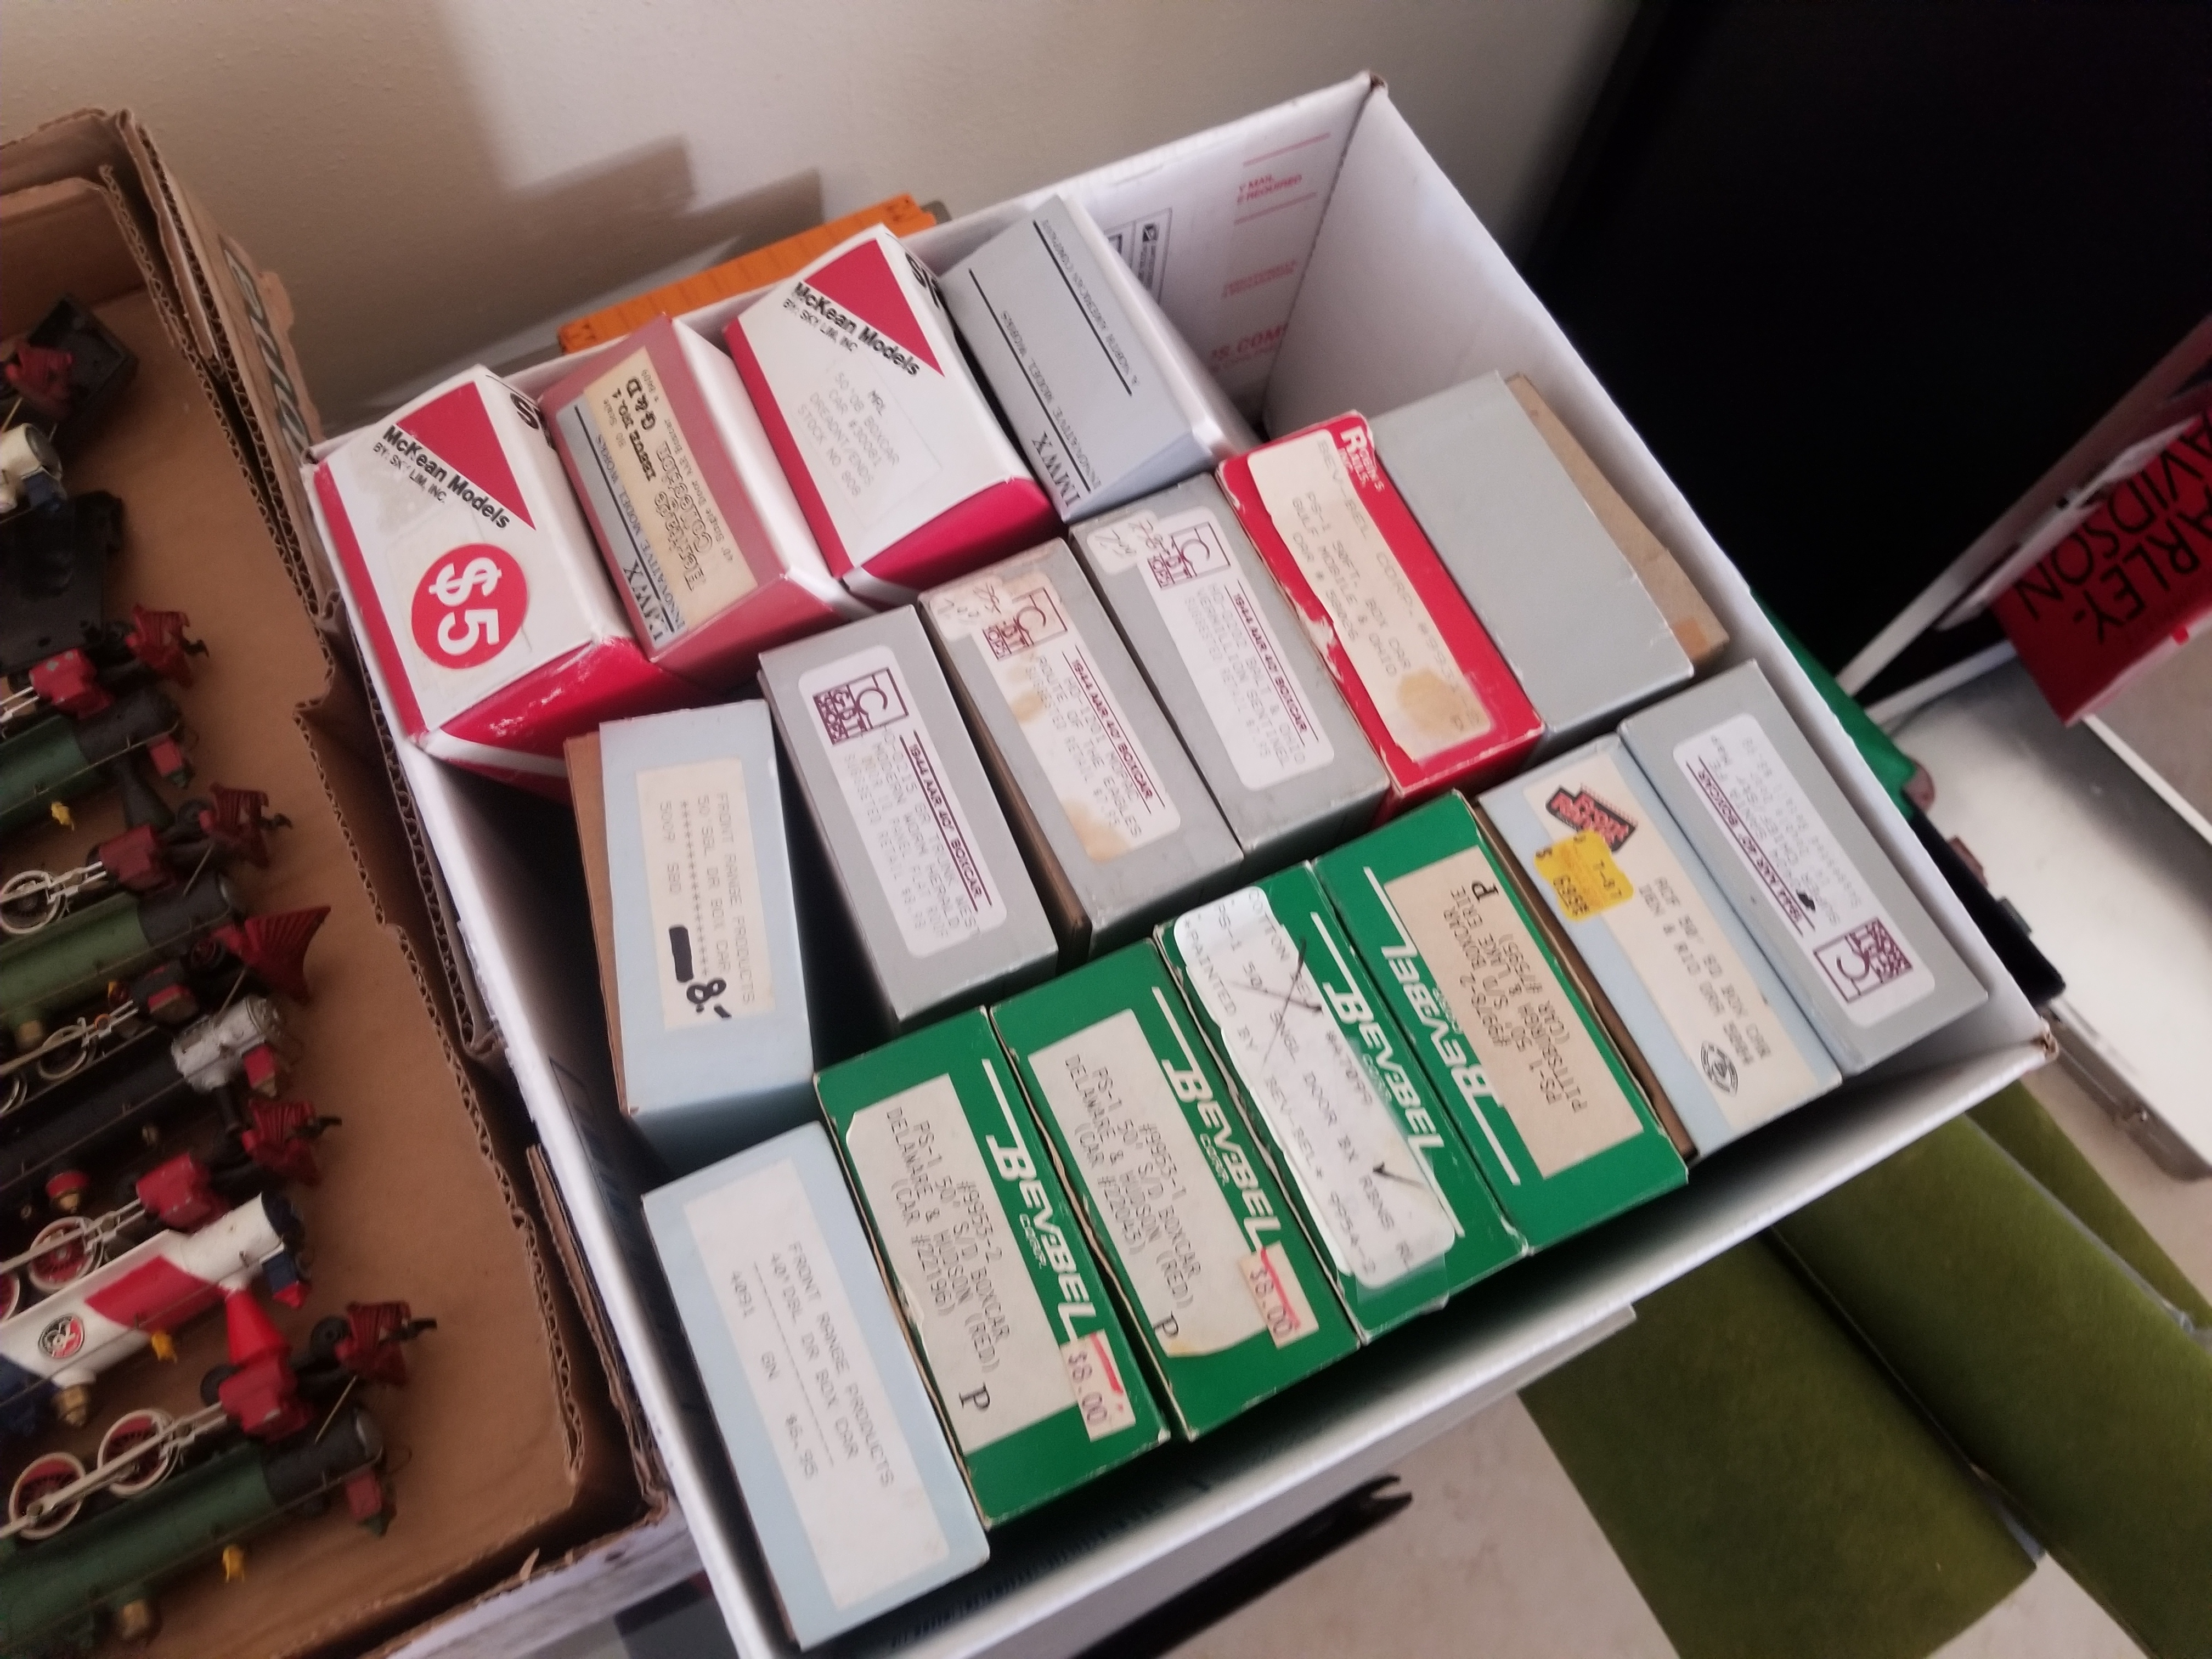
I am also, very fortunate, that he Is an Ebay store, and has hundreds and thousands of items waiting to be sold.
When you walk into his house, there is an area sectioned off for him. There are shelves lining the walls with ho trains, from high end stuff, to engines and cars awaiting restoration. He has it all.
And his garage is chock full too. It is an empire of stuff!
I get most if my parts from him. Sometimes I even buy a new locomotive from him, and sometimes, he even gives stuff to me for free!  if I use the term "From Brian's" it means I've gotten something from him. if I use the term "From Brian's" it means I've gotten something from him.
Brian has me build boxcar kits for him to sell on his ebay store. He gives me boxes of 20, and when I'm done, he gives me 20 more. He pays me quite well, and it's something to keep me busy.
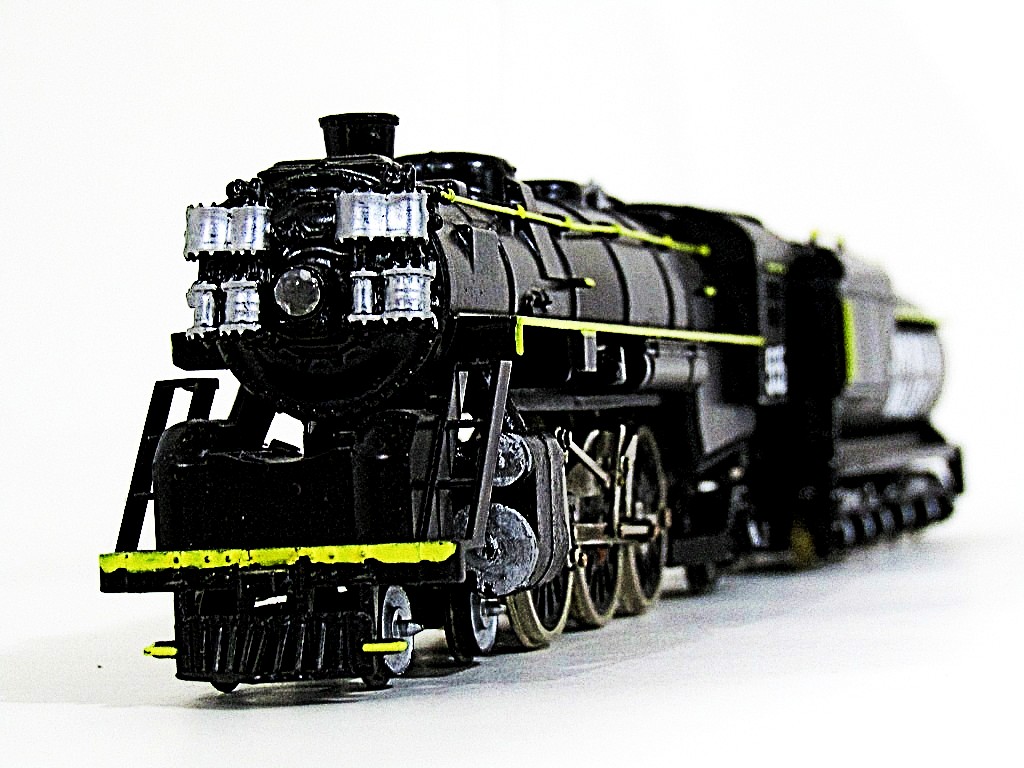
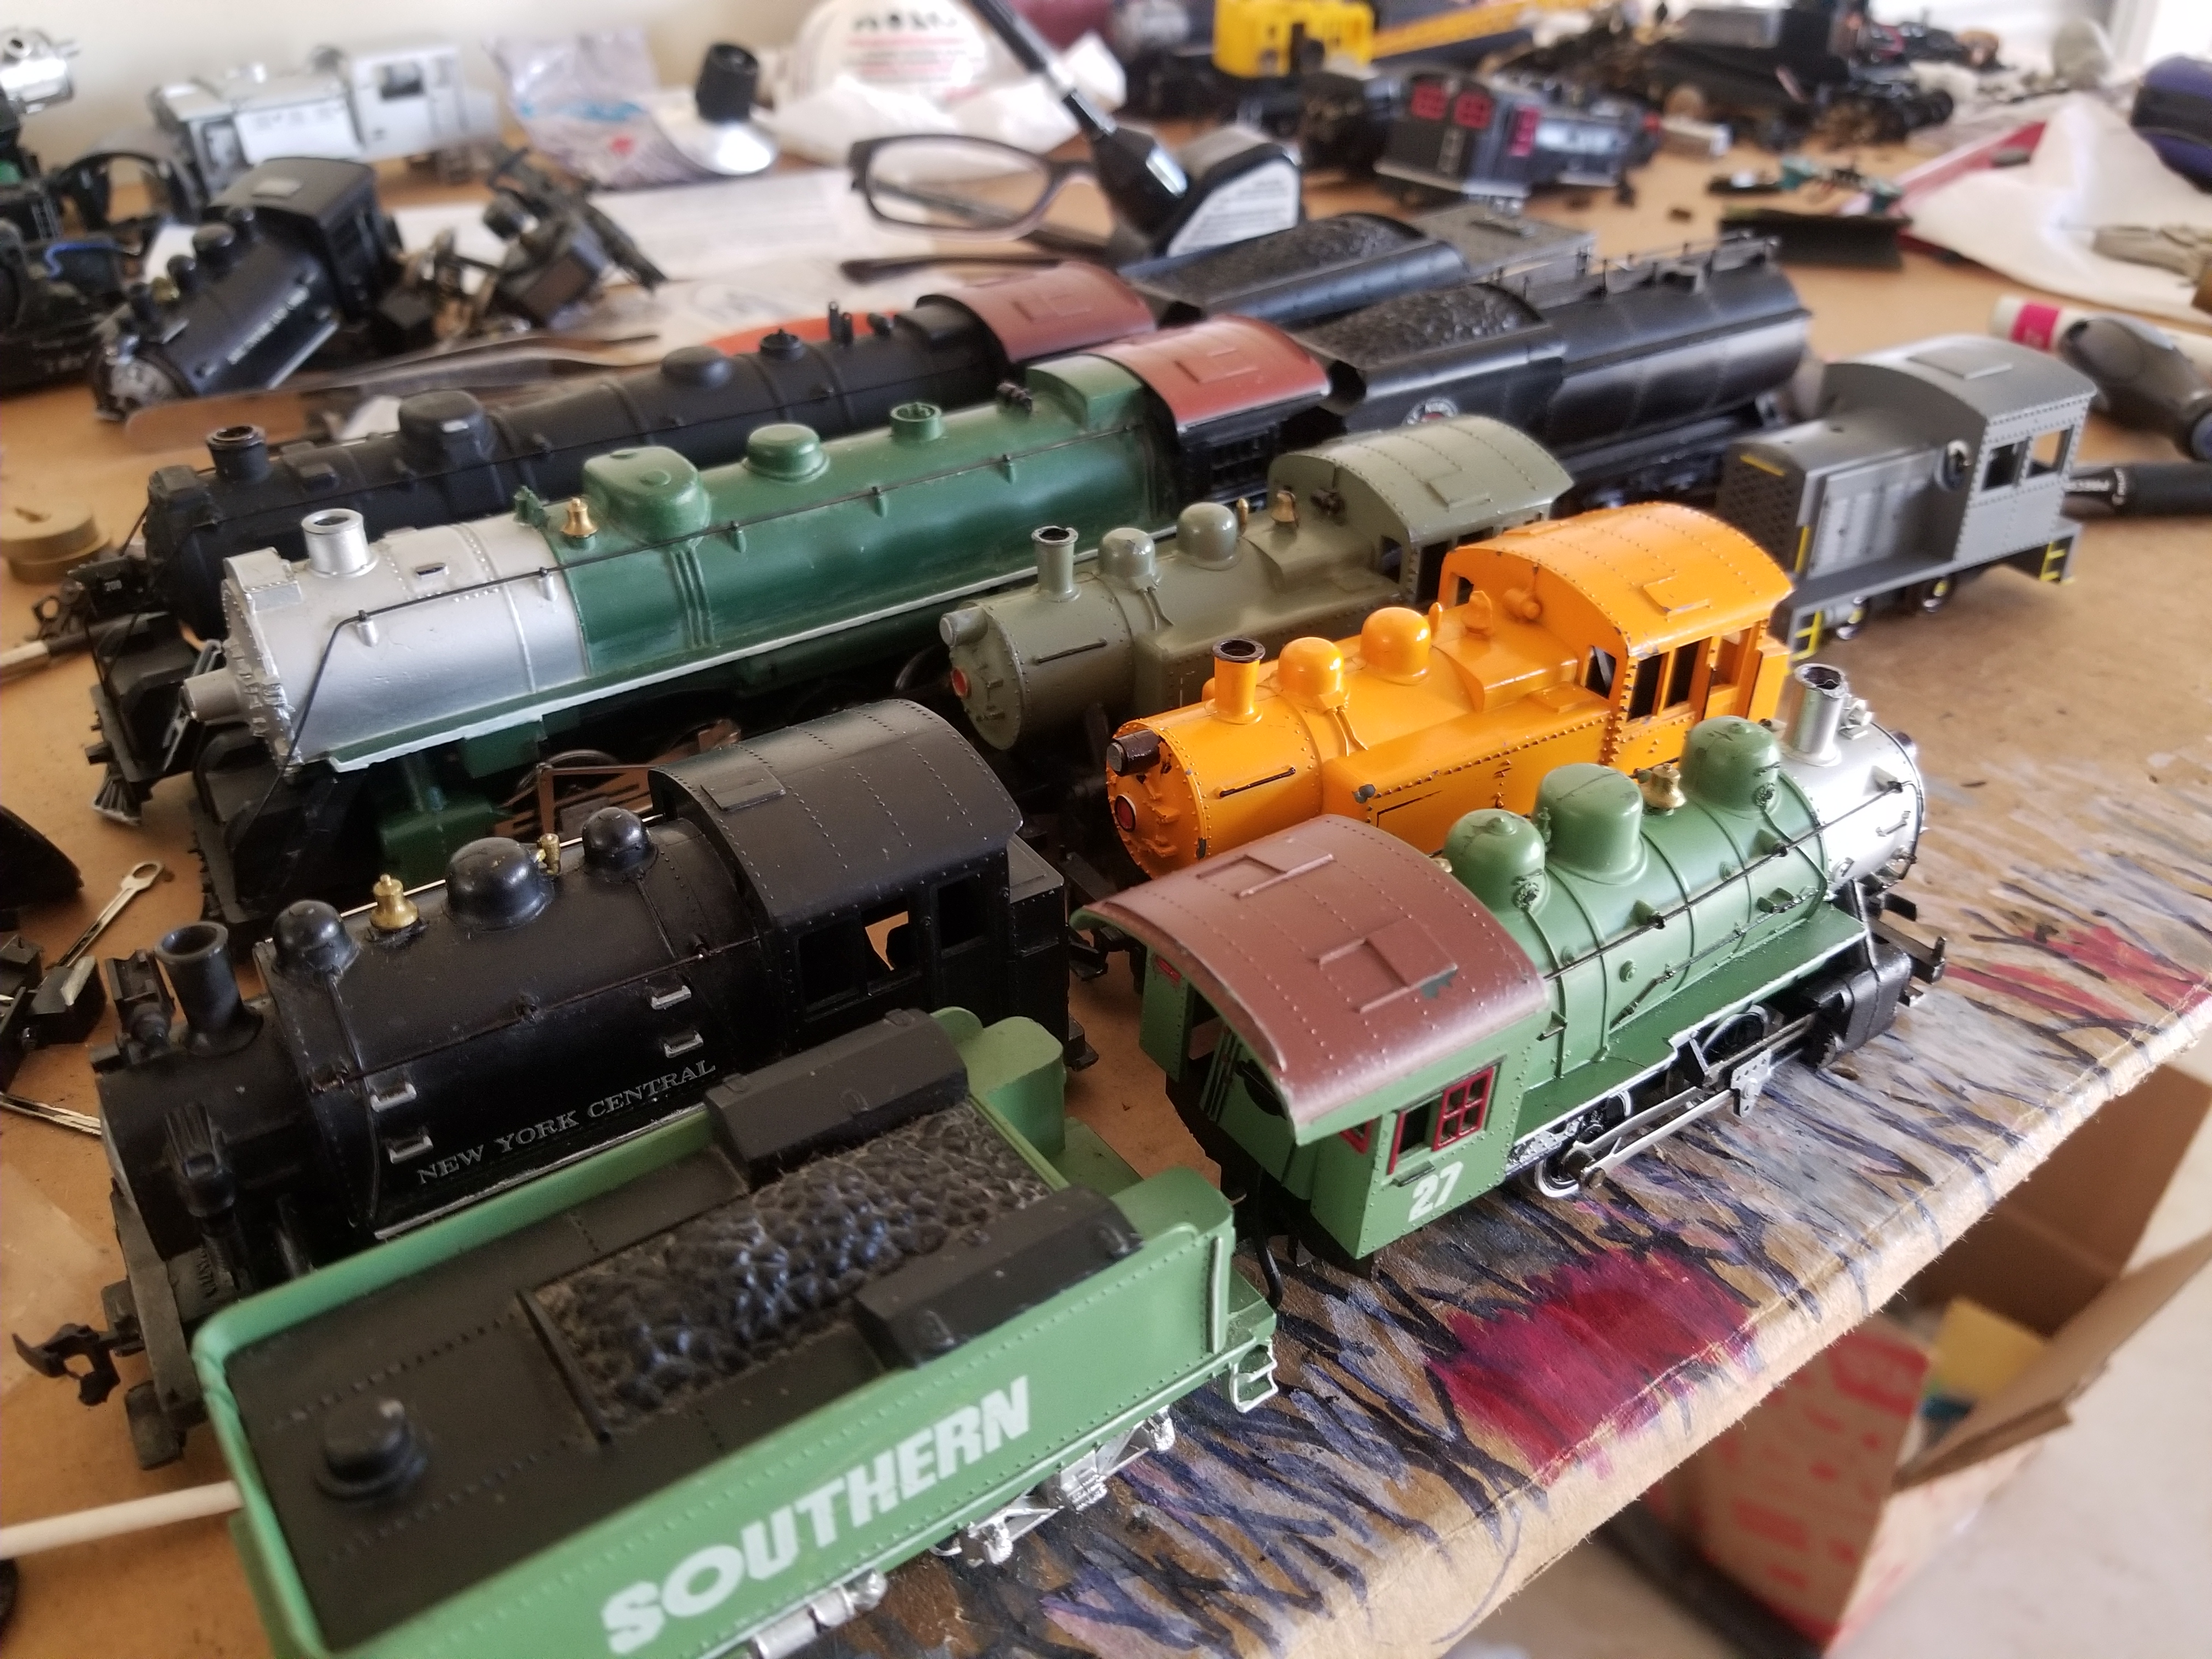
Aside from the boxcars, i have been restoring his old locomotives. He has strays of locomotives from varying manufacturers. Some are in ok shape, others need more help. I recently finished restoring bachmann 4-4-0s, and rivarossi 4-4-0s and 2-4-0s.
Now, he has given me three trays:
Mantua/tyco 4-6-0s and one 4-8-0
Mantua/tyco Pacifics
Mantua/tyco Mikados
And a few 0-4-0s.
This thread will follow the restoration of anything Brian throws at me. It will mainly cover the locomotives, not the boxcars, but I will try and do some posts about building the different kits.
I have already started a few. Let's get to it!
|
Country:  USA ~
Posts: 1549 ~
Member Since: October 10 2019 ~
Last Visit: January 04 2024 USA ~
Posts: 1549 ~
Member Since: October 10 2019 ~
Last Visit: January 04 2024
|
 Alert Moderator
|
|
|
|
Posted - December 07 2019 : 1:56:00 PM
|
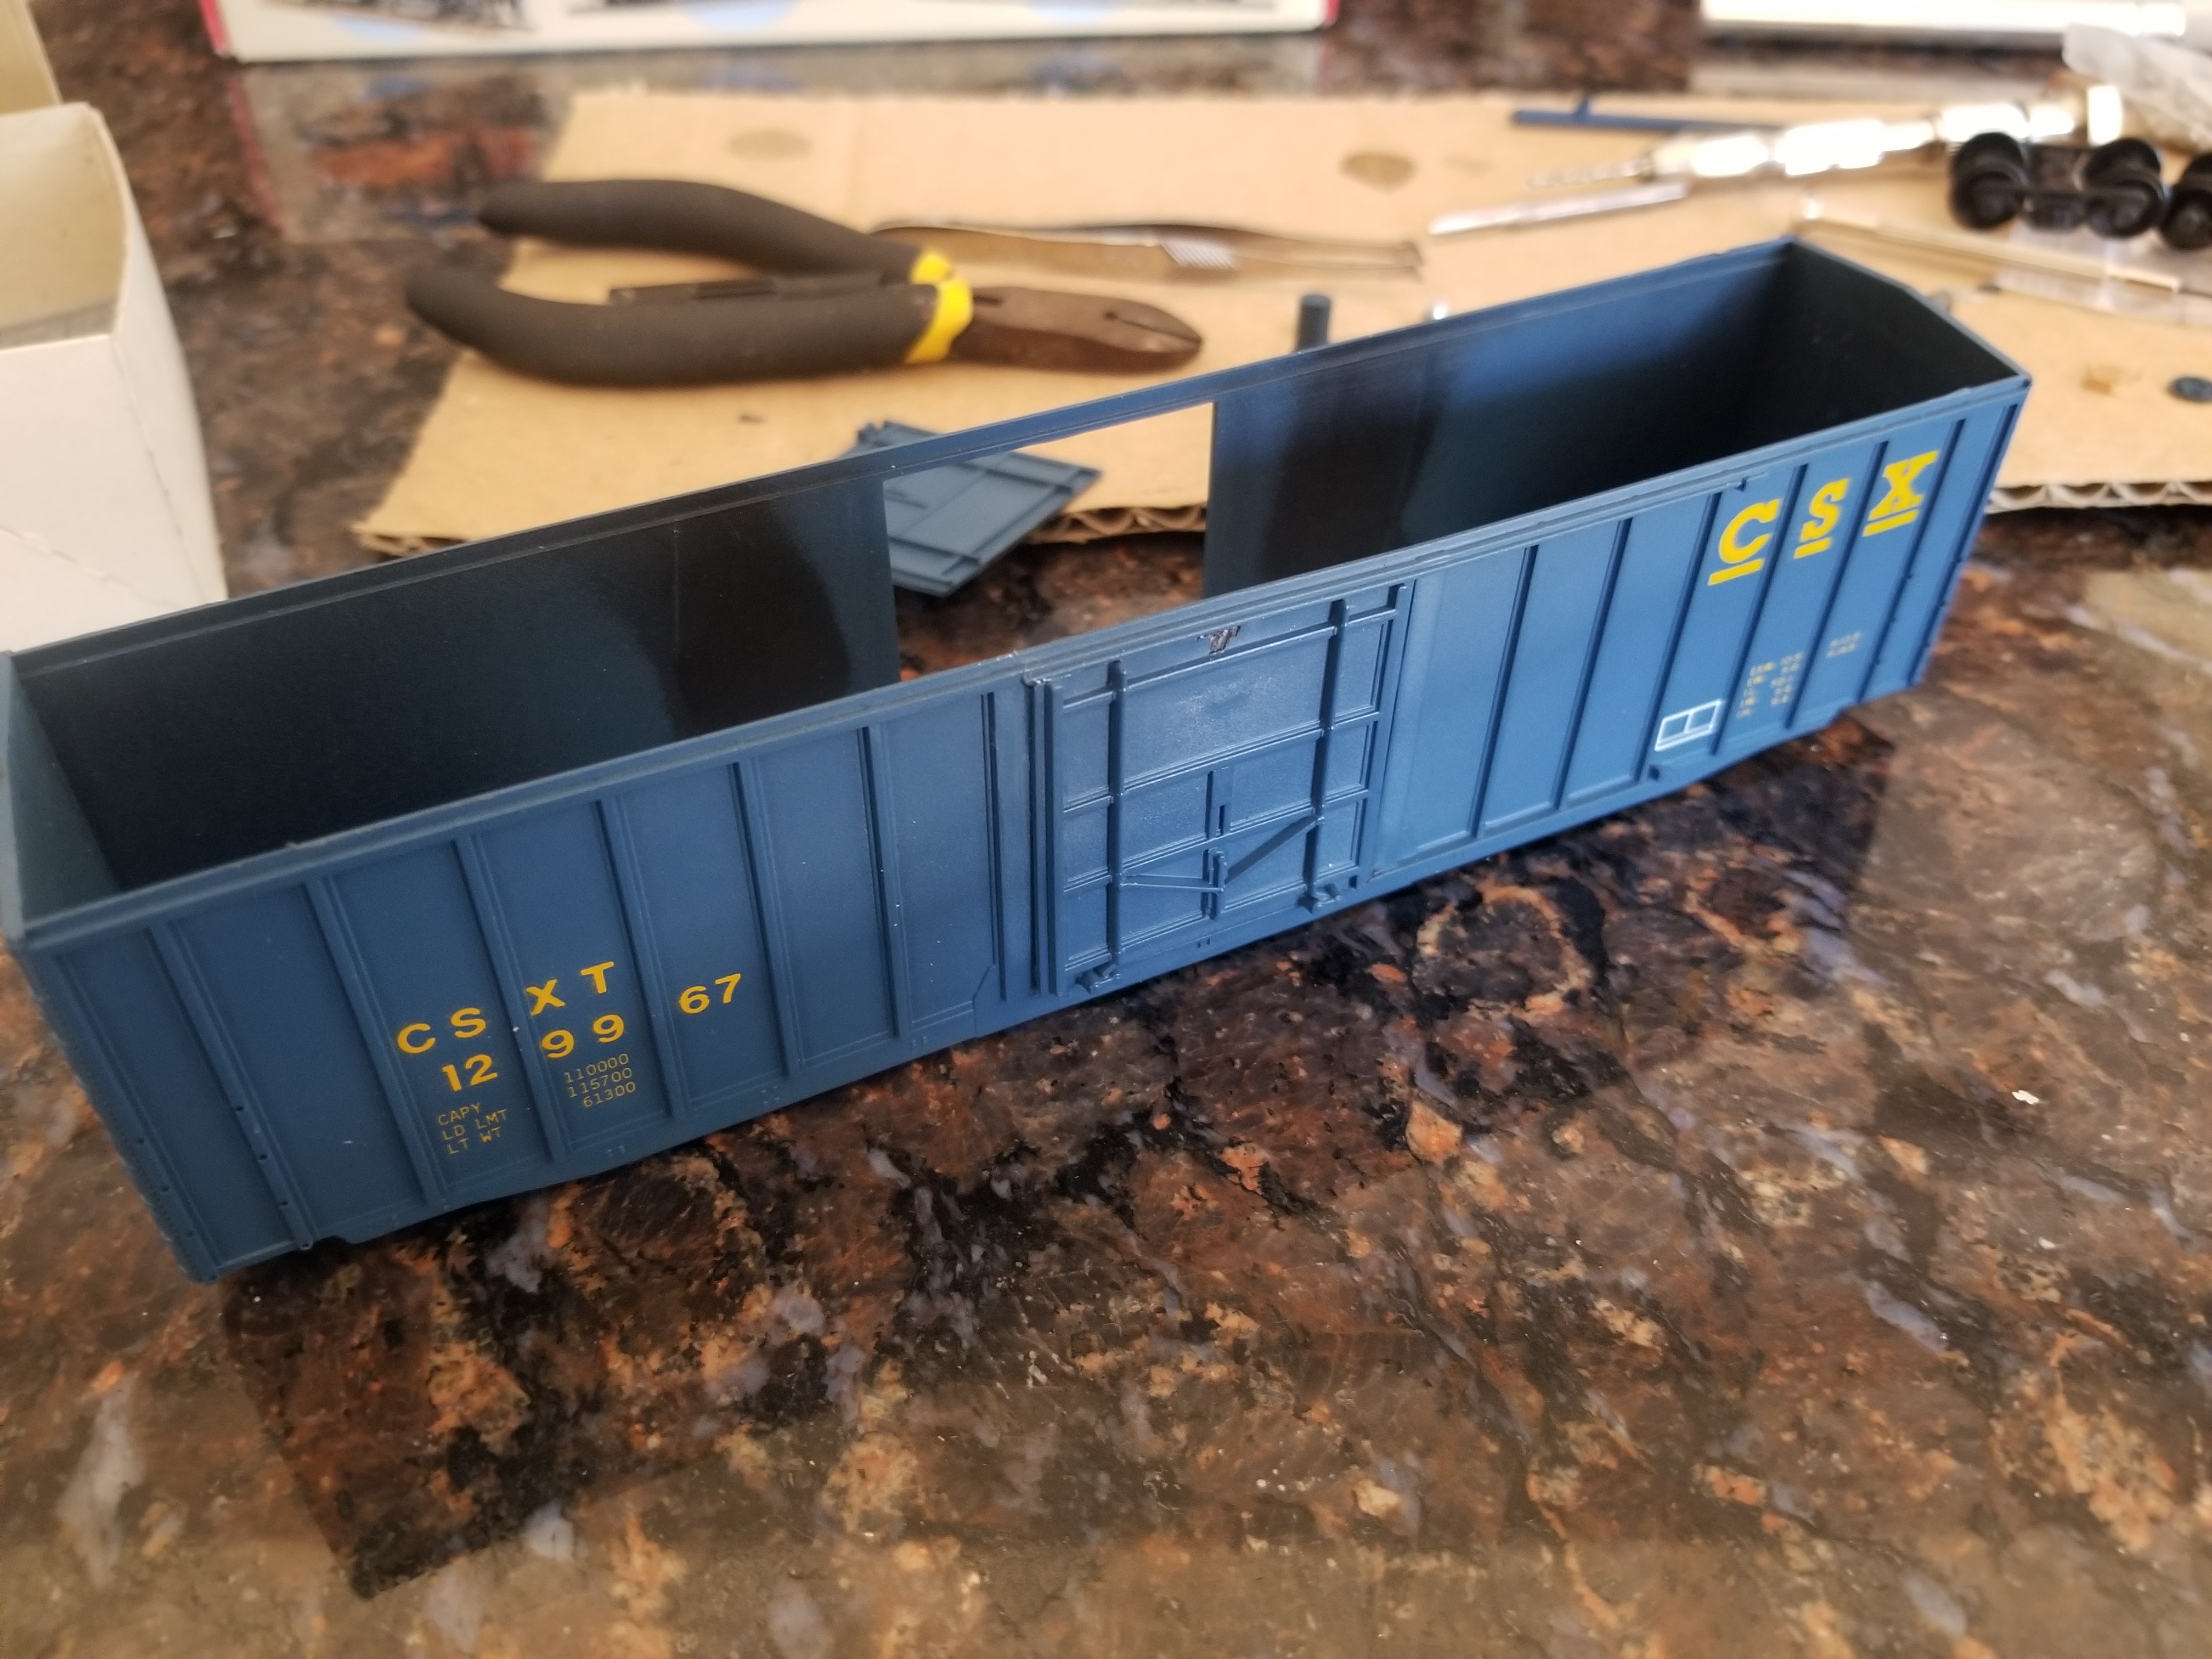
Welcome to Blaxland Boxcars and Co.
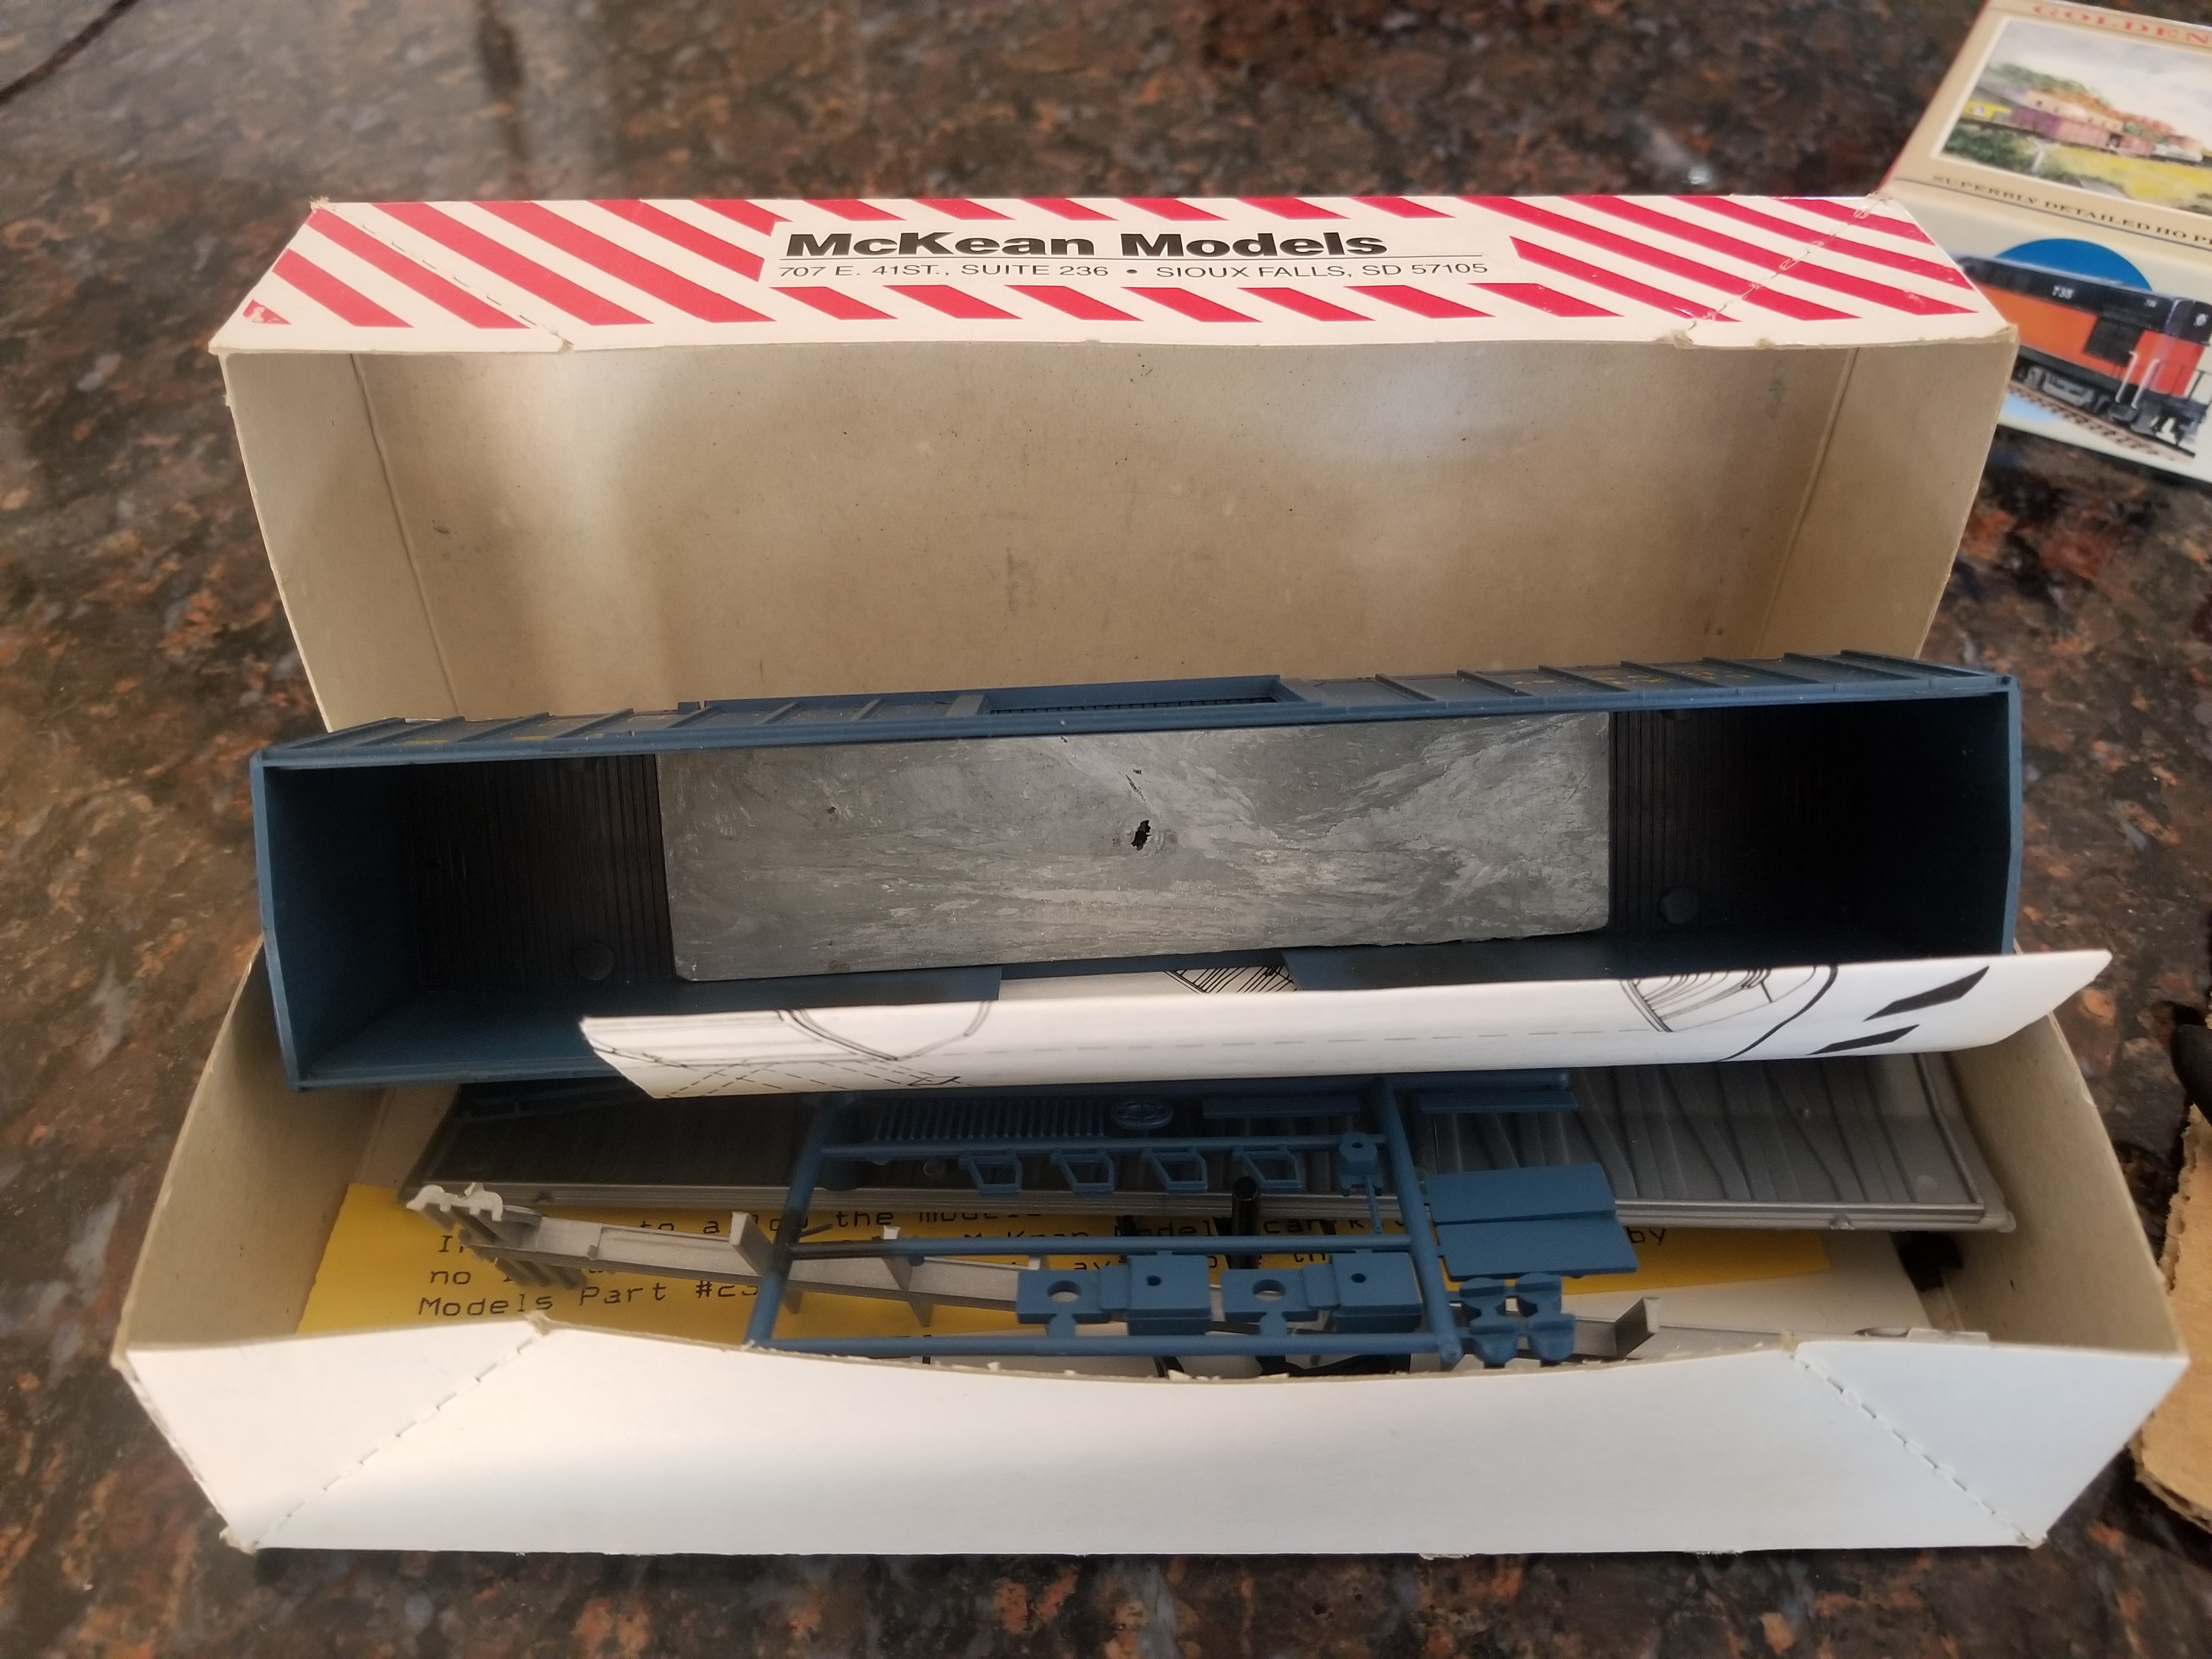
Today we will be building a Mckean models CSX boxcar.
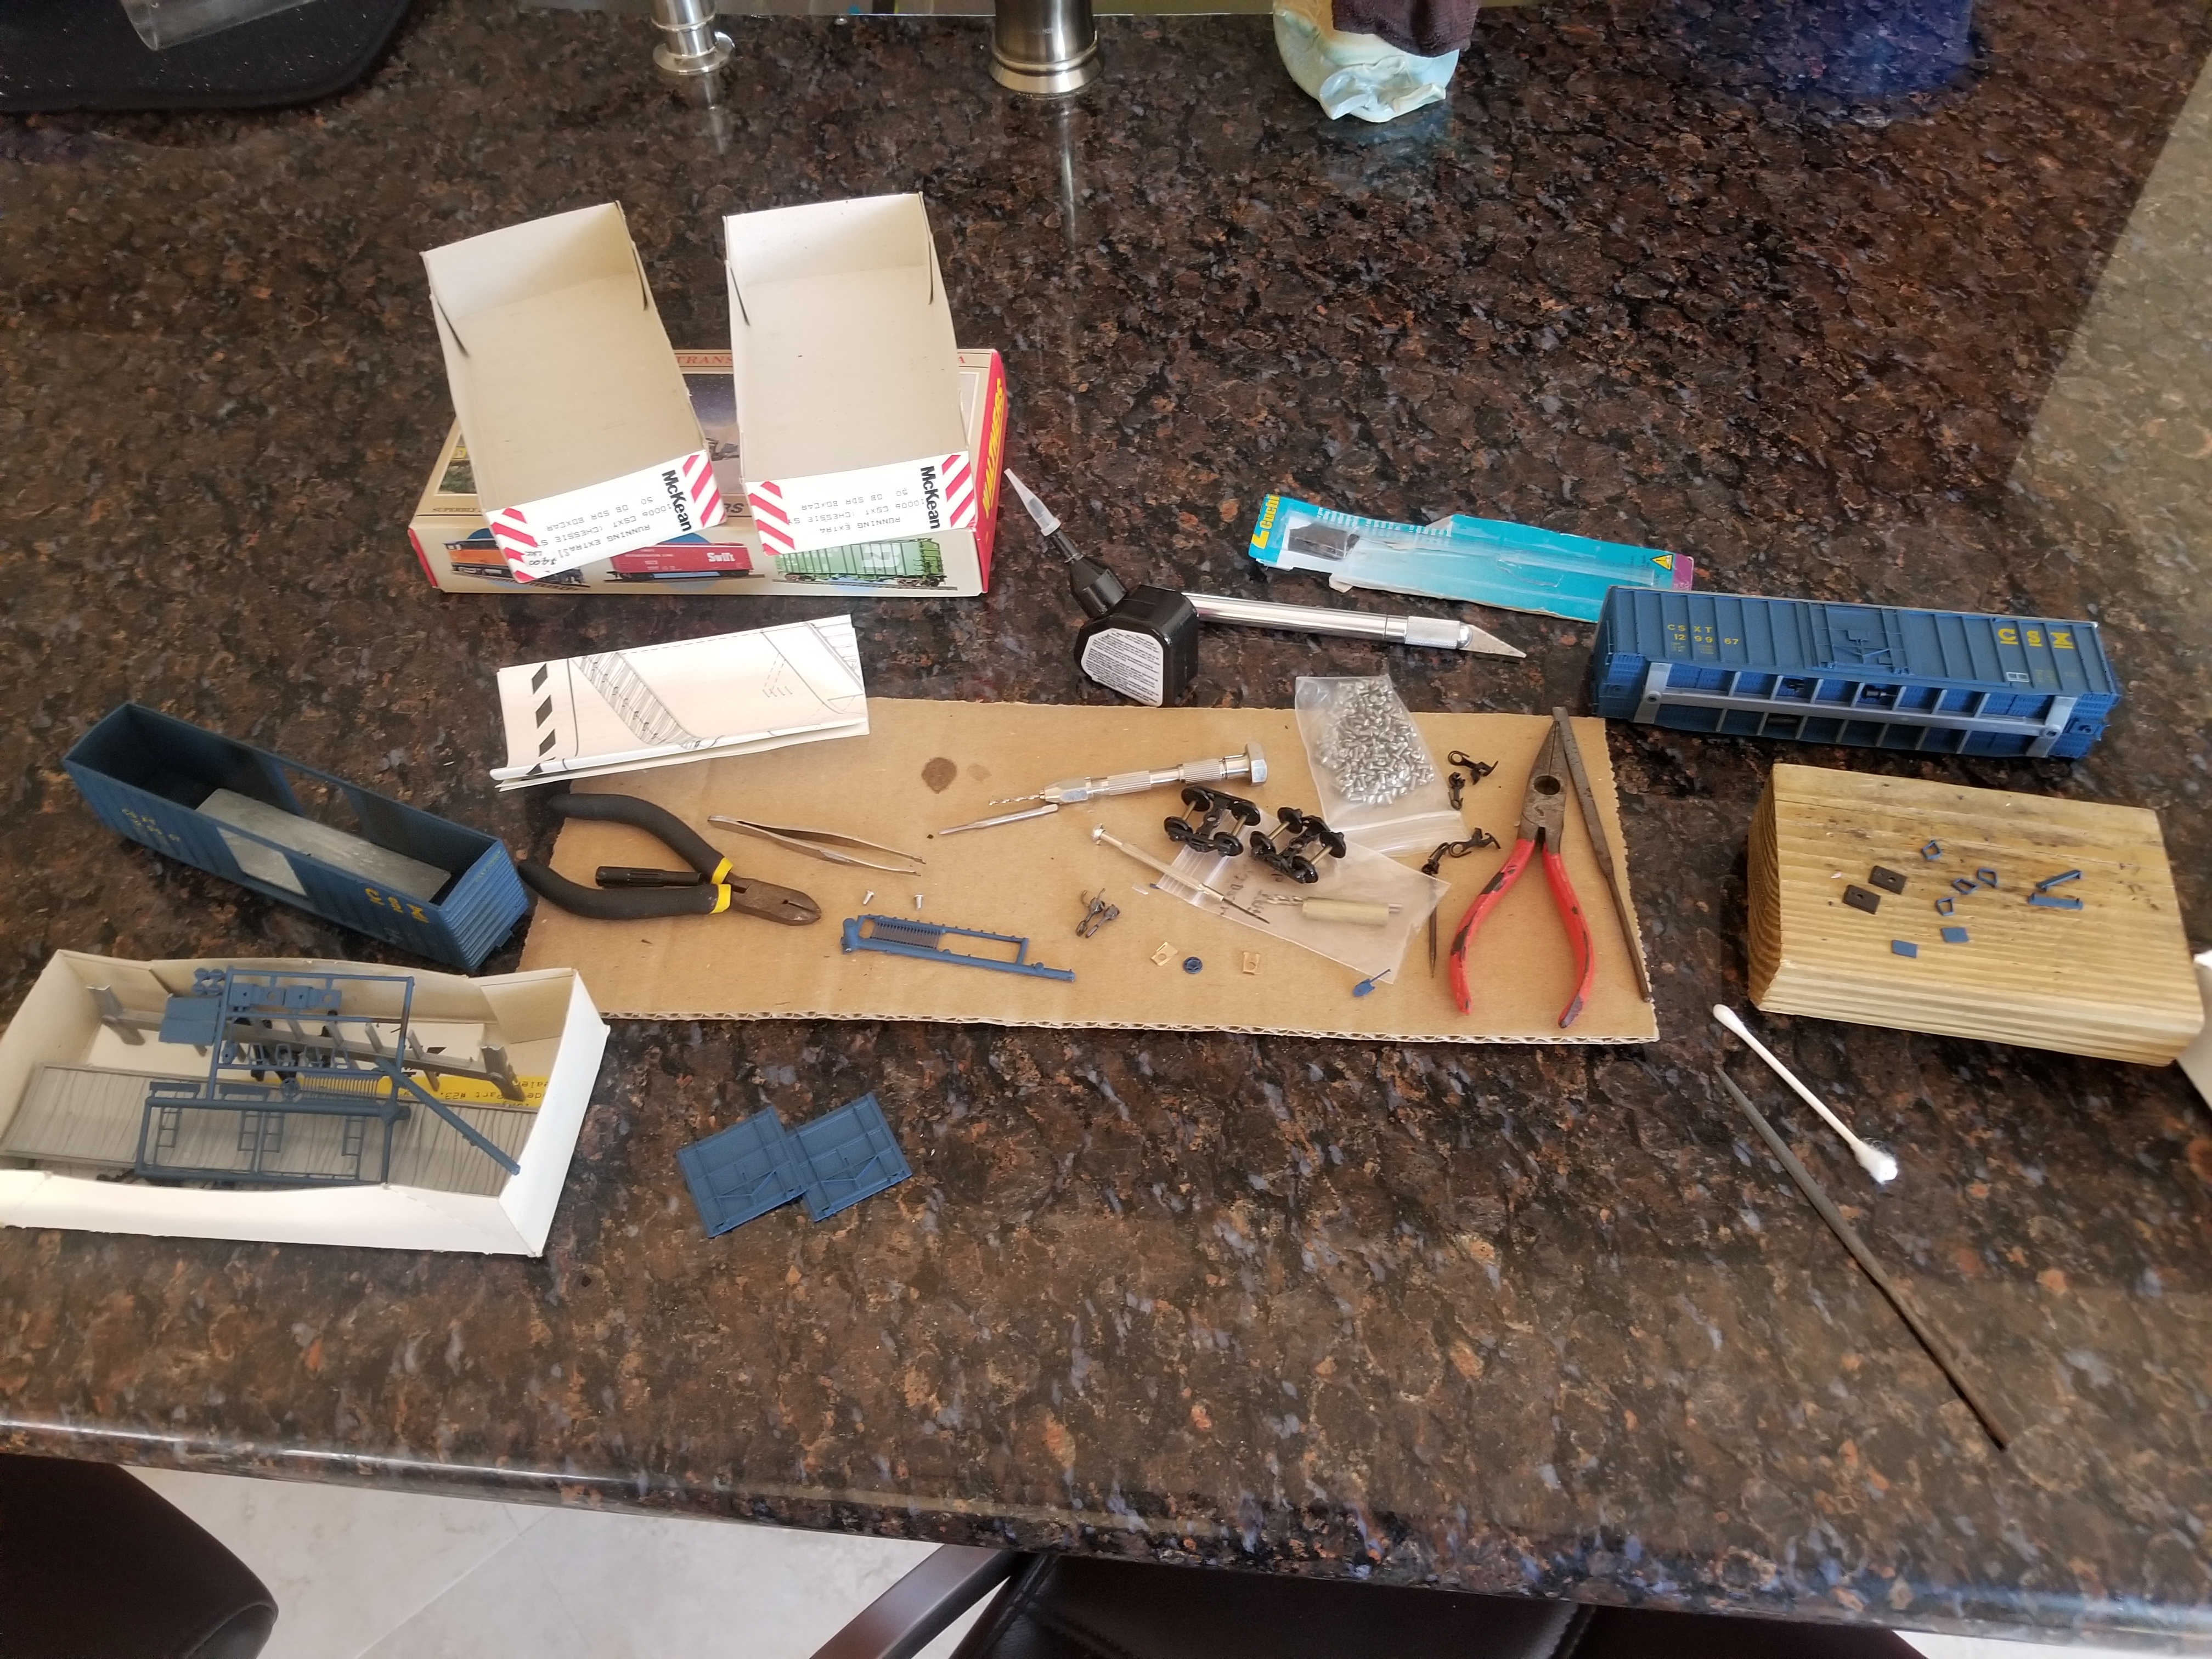
Step one: Inspect your car. Be sure that there is no deformities on your car.
Step two: Install the weight. Most of these cars do not come with weights, so a spare will be needed. Anything that is heavy will do. Brian gave me a box full of weights. 50' boxcars should be 2 oz and 40' boxcars should be 1.5 oz. Since this is a 50' car, the weight should be 2 oz.
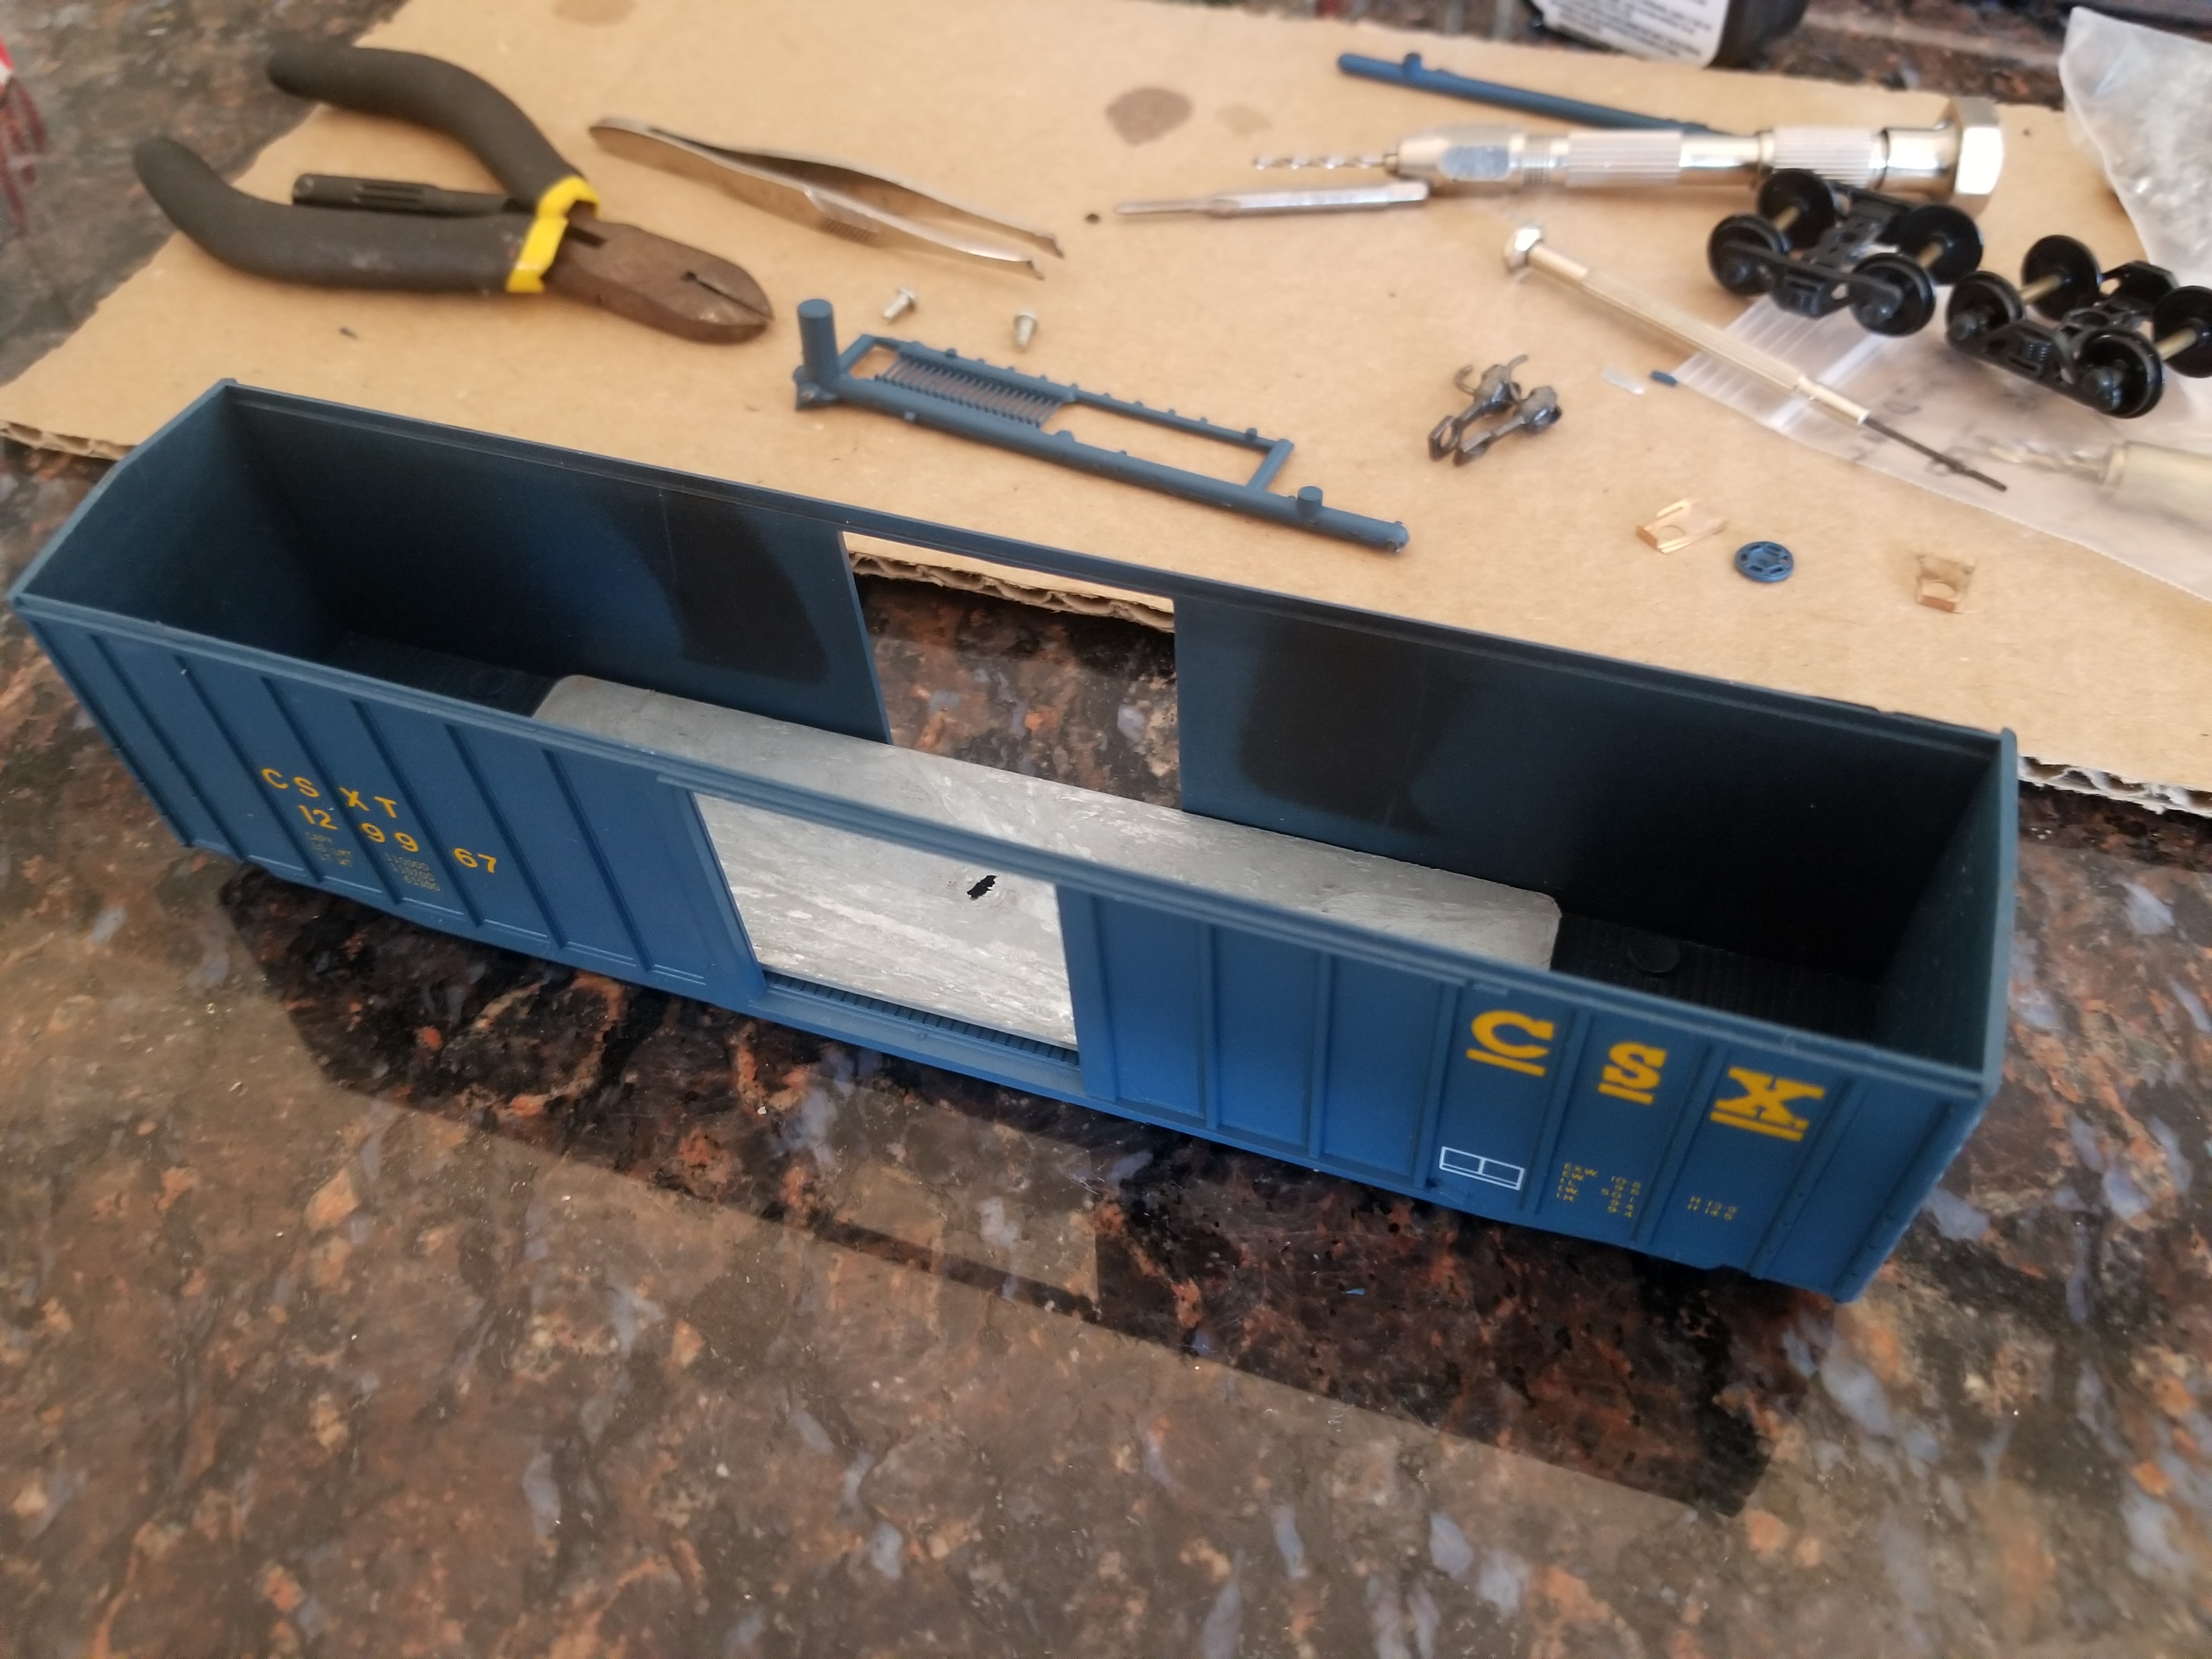
I use "The amazing goop" in a few drops around the weight to secure it to the floor. If your doors will be in any open position, the weight will need to be cut so it will not be visible inside the car.
In this case, brian likes his doors closed, so this is not necessary.
Make sure any holes that need to be drilled through the bottom are drilled before adding the weight.
If all these are taken into account, you should have no issues.
Once the weight is glued, we will add the doors.
I will be using testors liquid cement for all other gluing processes on these models.
Step three: cut the doors off their sprues. Make sure the edges are flush. Use an Xacto knife and sand down any remaining plastic.
The bodies are usually warped. Be mindful of this when gluing the doors. A few drops on the inside of the car will do when gluing the doors. Try to insure none leaks through. If any does, quickly use a q tip or towel to clean it. Immediately wash your hands to avoid getting any other glue marks on the car. I recommend doing one door at a time.
My door had a nick towards the top. This is not from me. Oh well.
use glue sparingly
Once the doors are finished gluing, we will add the roof!
Edited by - BlaxlandAlex3 on December 07 2019 1:58:02 PM
|
|
Country: USA ~
Posts: 1549 ~
Member Since: October 10 2019 ~
Last Visit: January 04 2024
|
Alert Moderator

|
|
|
|
Posted - December 07 2019 : 3:41:35 PM
|
This promises to be a fun thread to follow.
Carpe Manana!
|
|
Country: USA ~
Posts: 2417 ~
Member Since: September 17 2013 ~
Last Visit: June 10 2026
|
Alert Moderator
|
|
|
|
Posted - December 07 2019 : 9:47:05 PM
|
quote:This promises to be a fun thread to follow.
Originally posted by scsshaggy - December 07 2019 : 3:41:35 PM
|
I have MUCH in store for it! Stay tuned!
|
|
Country: USA ~
Posts: 1549 ~
Member Since: October 10 2019 ~
Last Visit: January 04 2024
|
Alert Moderator
|
|
|
|
Posted - December 07 2019 : 9:51:10 PM
|
Great thread, and work!! Can't wait to read more!
"Let your light so shine before men, that they may see your good works, and glorify your Father which is in Heaven." - Matthew 5:16
Youtube Channel: www.youtube.com/rpmodelrailroads
Instagram: https://www.instagram.com/rp_model_railroads/
|
|
Country: USA ~
Posts: 4669 ~
Member Since: August 11 2017 ~
Last Visit: July 20 2023
|
Alert Moderator
|
|
|
|
Posted - December 08 2019 : 1:42:15 PM
|
Well Blax, you have now entered the category of
"Professional Model Railroader!" Congratulations,
and hope your sales are strong.
|
|
Country: USA ~
Posts: 11686 ~
Member Since: December 09 2013 ~
Last Visit: May 26 2026
|
Alert Moderator
|
|
|
|
Posted - December 15 2019 : 09:11:34 AM
|
Sorry I havent updated this thread! A massive school project, and a trip have kept me away from the 'Repair Company'
Amongst the hubbub of locos being detailed and serviced for Brian, is a Penn Line midget! Yes! I finally got one, from Brian, for free!
All the equipment was cut off the top, and windows were made in the front. It was only primed, so I decided to leave it and
use my yellow sharpie paint pen to add some yellow. I think it looks neat against the grey.
I have a headlight and bell I plan to add, but need a horn and something for the exhaust stack. Hmmm. Any ideas on the stack?
Tips and ideas on detailing it are welcome!
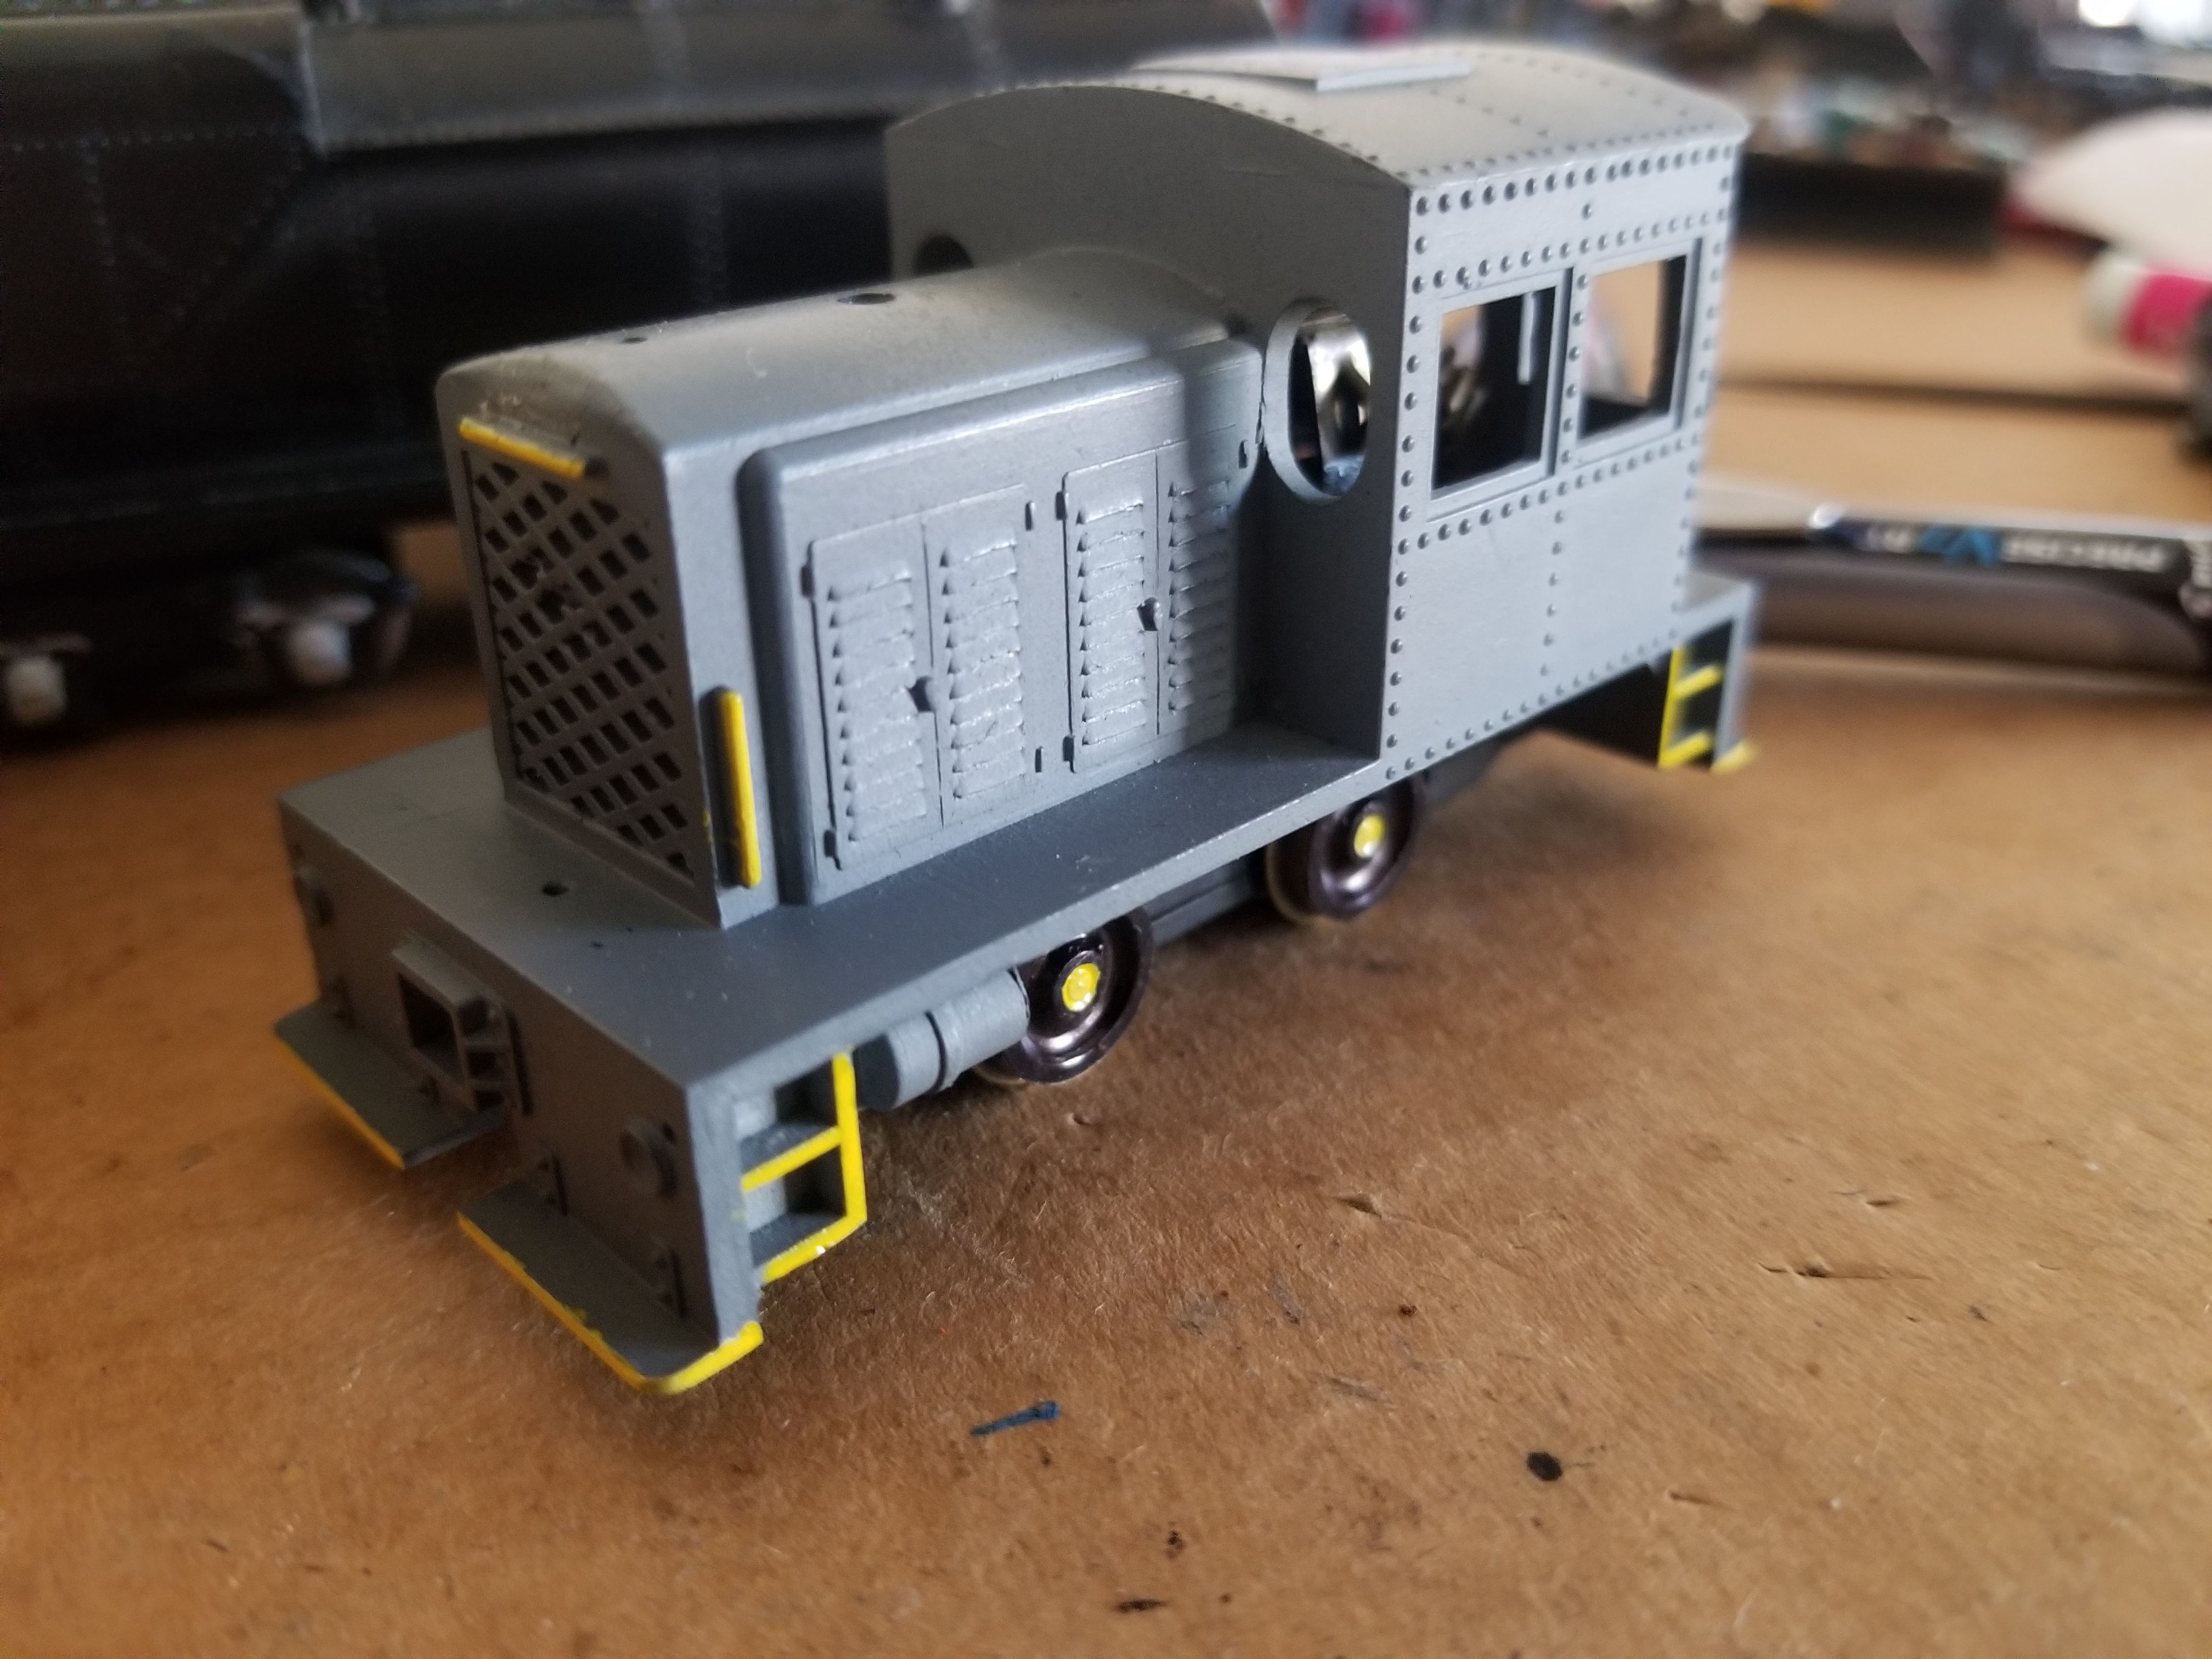
I may work on the boxcars today, and some threads on Brian's mantuas will follow.
|
|
Country: USA ~
Posts: 1549 ~
Member Since: October 10 2019 ~
Last Visit: January 04 2024
|
Alert Moderator
|
|
|
|
Posted - December 15 2019 : 6:10:08 PM
|
Yellow sharpie pen- you have a steady hand, it does look great.
Curious about these old midgets, how's it run?
Are sales steady on eBay? I have found it very trying to
sell things there.
|
|
Country: USA ~
Posts: 11686 ~
Member Since: December 09 2013 ~
Last Visit: May 26 2026
|
Alert Moderator
|
|
|
|
Posted - December 15 2019 : 8:57:41 PM
|
I agree ^^ Great work on the yellow lines! Looks like a factory job.
In regards to detailing it, perhaps adding a number and roadname would help this unit come to life? I'm assuming small diesels like these would have been used in factories, etc, correct?
"Let your light so shine before men, that they may see your good works, and glorify your Father which is in Heaven." - Matthew 5:16
Youtube Channel: www.youtube.com/rpmodelrailroads
Instagram: https://www.instagram.com/rp_model_railroads/
|
|
Country: USA ~
Posts: 4669 ~
Member Since: August 11 2017 ~
Last Visit: July 20 2023
|
Alert Moderator
|
|
|
|
Posted - December 16 2019 : 10:54:30 AM
|
quote:Yellow sharpie pen- you have a steady hand, it does look great.
Curious about these old midgets, how's it run?
Are sales steady on eBay? I have found it very trying to
sell things there.
Originally posted by Chops124 - December 15 2019 : 6:10:08 PM
|
Chops,
Why thank you!
It is my friend Brian who sells. He sells a LOT. Gets bids on everything! I think it's just because he is a renowned eBay seller. I do have some things listed on my eBay. Mainly junk, but I sell some HO train stuff. Look for "Trains027-9" in the search bar.
RP,
Thank you as well. I do have a steady hand! I may add a number. No roadname though. This character is "Clagwell" and he is sort of Fairbanks' 'Apprentice' on the "Big Bubba Railroad" Run by the evil, bumbling manager "Big Bubba". So no roadname. Any number suggestions?
|
|
Country: USA ~
Posts: 1549 ~
Member Since: October 10 2019 ~
Last Visit: January 04 2024
|
Alert Moderator
|
|
|
|
Posted - December 16 2019 : 7:24:46 PM
|
I think double-digits would look good...
Like 22, 55, or 77...
"Let your light so shine before men, that they may see your good works, and glorify your Father which is in Heaven." - Matthew 5:16
Youtube Channel: www.youtube.com/rpmodelrailroads
Instagram: https://www.instagram.com/rp_model_railroads/
|
|
Country: USA ~
Posts: 4669 ~
Member Since: August 11 2017 ~
Last Visit: July 20 2023
|
Alert Moderator
|
|
|
|
Posted - December 16 2019 : 8:09:13 PM
|
| What about lucky 13?
|
|
Country: USA ~
Posts: 11686 ~
Member Since: December 09 2013 ~
Last Visit: May 26 2026
|
Alert Moderator
|
|
|
|
Posted - December 22 2019 : 3:37:26 PM
|
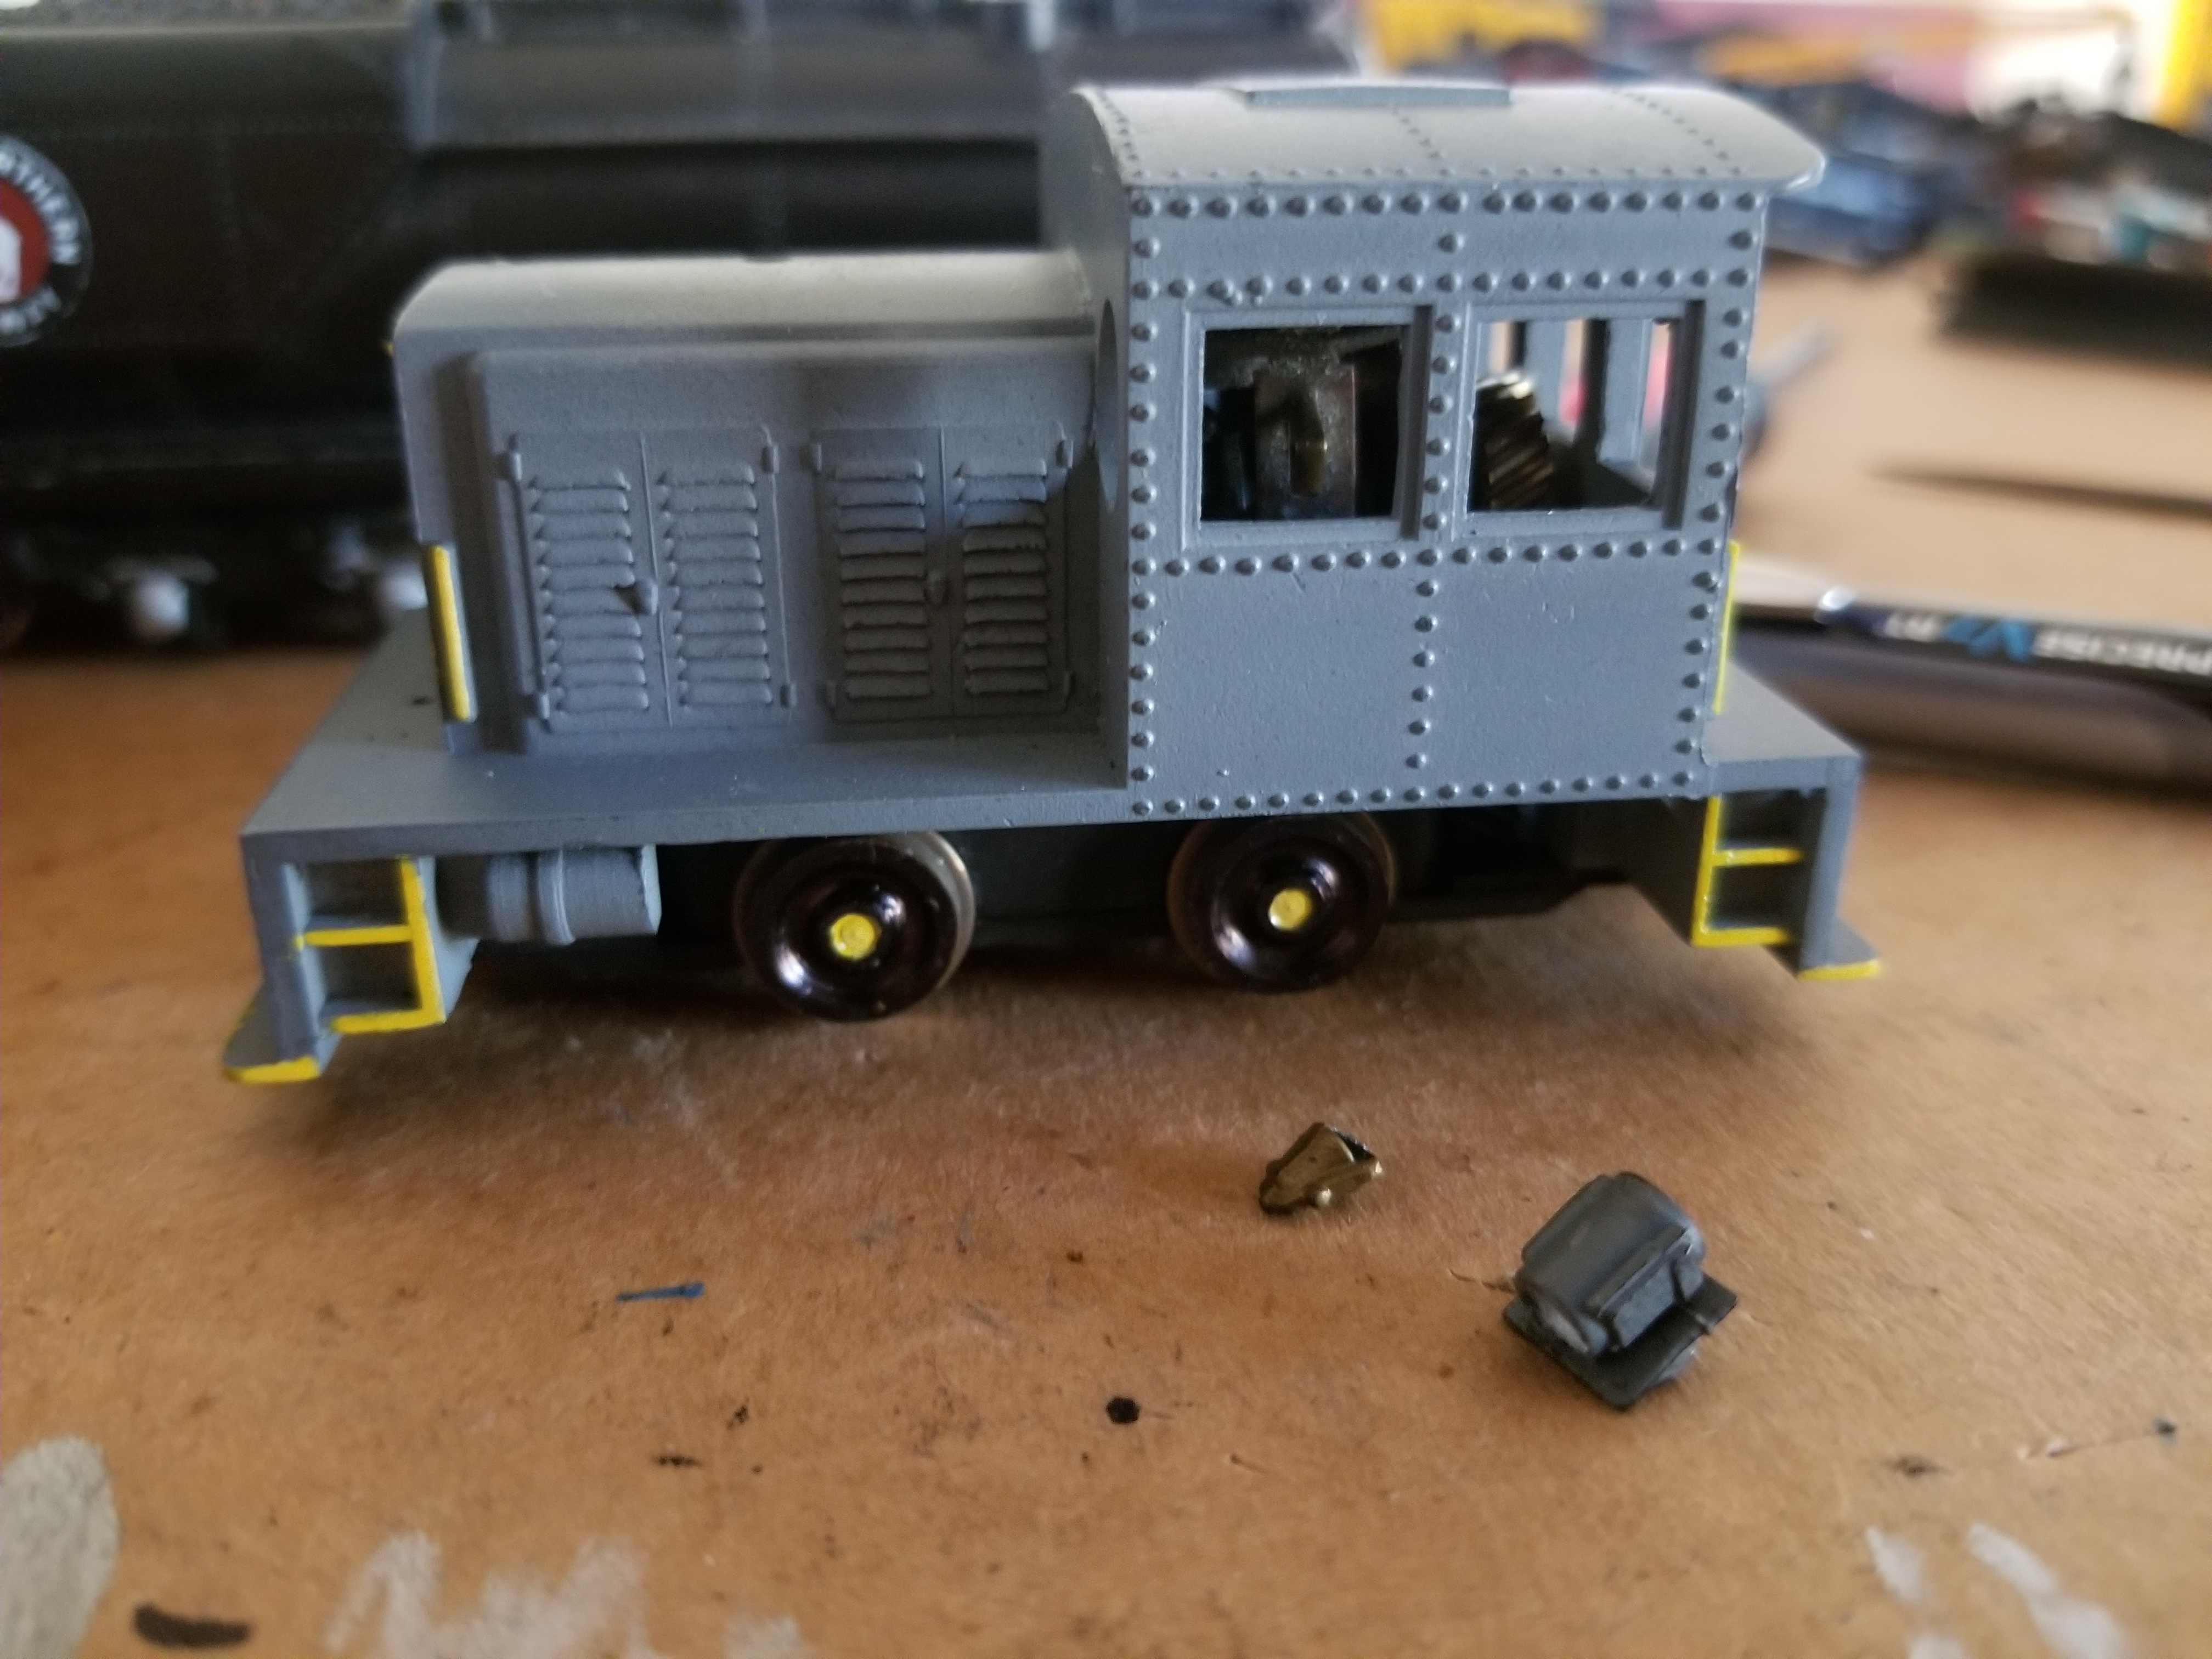
| So I'm trying to attach a bell, whistle, and horn, which are all plastic, to the metal shell of my midget "Clagwell". I have tried all sorts of glue, but noting wants to hold well. How do you attach plastic to metal? Thanks!
|
|
Country: USA ~
Posts: 1549 ~
Member Since: October 10 2019 ~
Last Visit: January 04 2024
|
Alert Moderator
|
|
|
|
Posted - December 22 2019 : 5:18:12 PM
|
quote:Sorry I havent updated this thread! A massive school project, and a trip have kept me away from the 'Repair Company'
Amongst the hubbub of locos being detailed and serviced for Brian, is a Penn Line midget! Yes! I finally got one, from Brian, for free!
All the equipment was cut off the top, and windows were made in the front. It was only primed, so I decided to leave it and
use my yellow sharpie paint pen to add some yellow. I think it looks neat against the grey.
I have a headlight and bell I plan to add, but need a horn and something for the exhaust stack. Hmmm. Any ideas on the stack?
Tips and ideas on detailing it are welcome!
...
I may work on the boxcars today, and some threads on Brian's mantuas will follow.
Originally posted by BlaxlandAlex3 - December 15 2019 : 09:11:34 AM
|
That midget looks really good. I have scavenged domes and such from derelict plastic steam engine bodies like the Bachmann 0-6-0 switcher. I used a modeler's saw to cut them off.
|
|
Country: USA ~
Posts: 1091 ~
Member Since: July 07 2011 ~
Last Visit: June 10 2026
|
Alert Moderator
|
|
|
|
Posted - December 22 2019 : 5:23:05 PM
|
quote:So I'm trying to attach a bell, whistle, and horn, which are all plastic, to the metal shell of my midget "Clagwell". I have tried all sorts of glue, but noting wants to hold well. How do you attach plastic to metal? Thanks!
Originally posted by BlaxlandAlex3 - December 22 2019 : 3:37:26 PM
|
A couple of thoughts:
- Make sure all surfaces are clean and have no oils on them.
- If the bell, whistle and horn have shafts, drill pilot holes for them to stand in.
- You might try gap-filling super glue, although that can be expensive.
- An alternative could be 5-minute epoxy. What I like about epoxy is that it stays a little bit flexible over time and is less likely to get brittle and break.
|
|
Country: USA ~
Posts: 1091 ~
Member Since: July 07 2011 ~
Last Visit: June 10 2026
|
Alert Moderator
|
|
|
|
Posted - December 22 2019 : 5:53:57 PM
|
quote: quote:So I'm trying to attach a bell, whistle, and horn, which are all plastic, to the metal shell of my midget "Clagwell". I have tried all sorts of glue, but noting wants to hold well. How do you attach plastic to metal? Thanks!
Originally posted by BlaxlandAlex3 - December 22 2019 : 3:37:26 PM
|
A couple of thoughts:
- Make sure all surfaces are clean and have no oils on them.
- If the bell, whistle and horn have shafts, drill pilot holes for them to stand in.
- You might try gap-filling super glue, although that can be expensive.
- An alternative could be 5-minute epoxy. What I like about epoxy is that it stays a little bit flexible over time and is less likely to get brittle and break.
Originally posted by Redwoods - December 22 2019 : 5:23:05 PM
|
eesh, not really looking to drill holes. The parts don't have shafts anyway. How much is 5 - minute epoxy? I need some new epoxy to glue in weights for Brian's boxcars anyway. Can I get it at micheals?
Thank you for your feedback on my midget!!
Edited by - BlaxlandAlex3 on December 22 2019 5:54:16 PM
|
|
Country: USA ~
Posts: 1549 ~
Member Since: October 10 2019 ~
Last Visit: January 04 2024
|
Alert Moderator
|
|
|
|
Posted - December 22 2019 : 7:53:57 PM
|
I'm used to finding epoxy at the hardware store. Not sure about Michaels.
Carpe Manana!
|
|
Country: USA ~
Posts: 2417 ~
Member Since: September 17 2013 ~
Last Visit: June 10 2026
|
Alert Moderator
|
|
|
|
Posted - December 22 2019 : 9:05:11 PM
|
quote:I'm used to finding epoxy at the hardware store. Not sure about Michaels.
Originally posted by scsshaggy - December 22 2019 : 7:53:57 PM
|
Ok, I'll have to stop over at home depot or Lowes and see what they have. Thanks!
|
|
Country: USA ~
Posts: 1549 ~
Member Since: October 10 2019 ~
Last Visit: January 04 2024
|
Alert Moderator
|
|