|
|
 Posted - February 09 2018 : 10:31:03 AM Posted - February 09 2018 : 10:31:03 AM


|
Converting a Hobbytown of Boston frame to use an Athearn motor.
When running my EMC E-7 after a rebuild with the original Pittman DC-91 motor, I found the
performance rather disappointing. Bad startup, sluggish running and stopping on curves. I was
looking for a better motor to see if I could improve the performance. I choose the Athearn
motor mostly because of the flywheels and the shaft was close to the size of the drive-shaft
components used by Hobbytown.
The parts that I had to use were:
.040 sheet styrene plastic
2-56 x 1/8 screw (x4) to attach motor mount to frame
2-56 x 1/4 self-tapping screw(x2) to mount motor
The first step is to get the size of the area for mounting the motor on the frame.
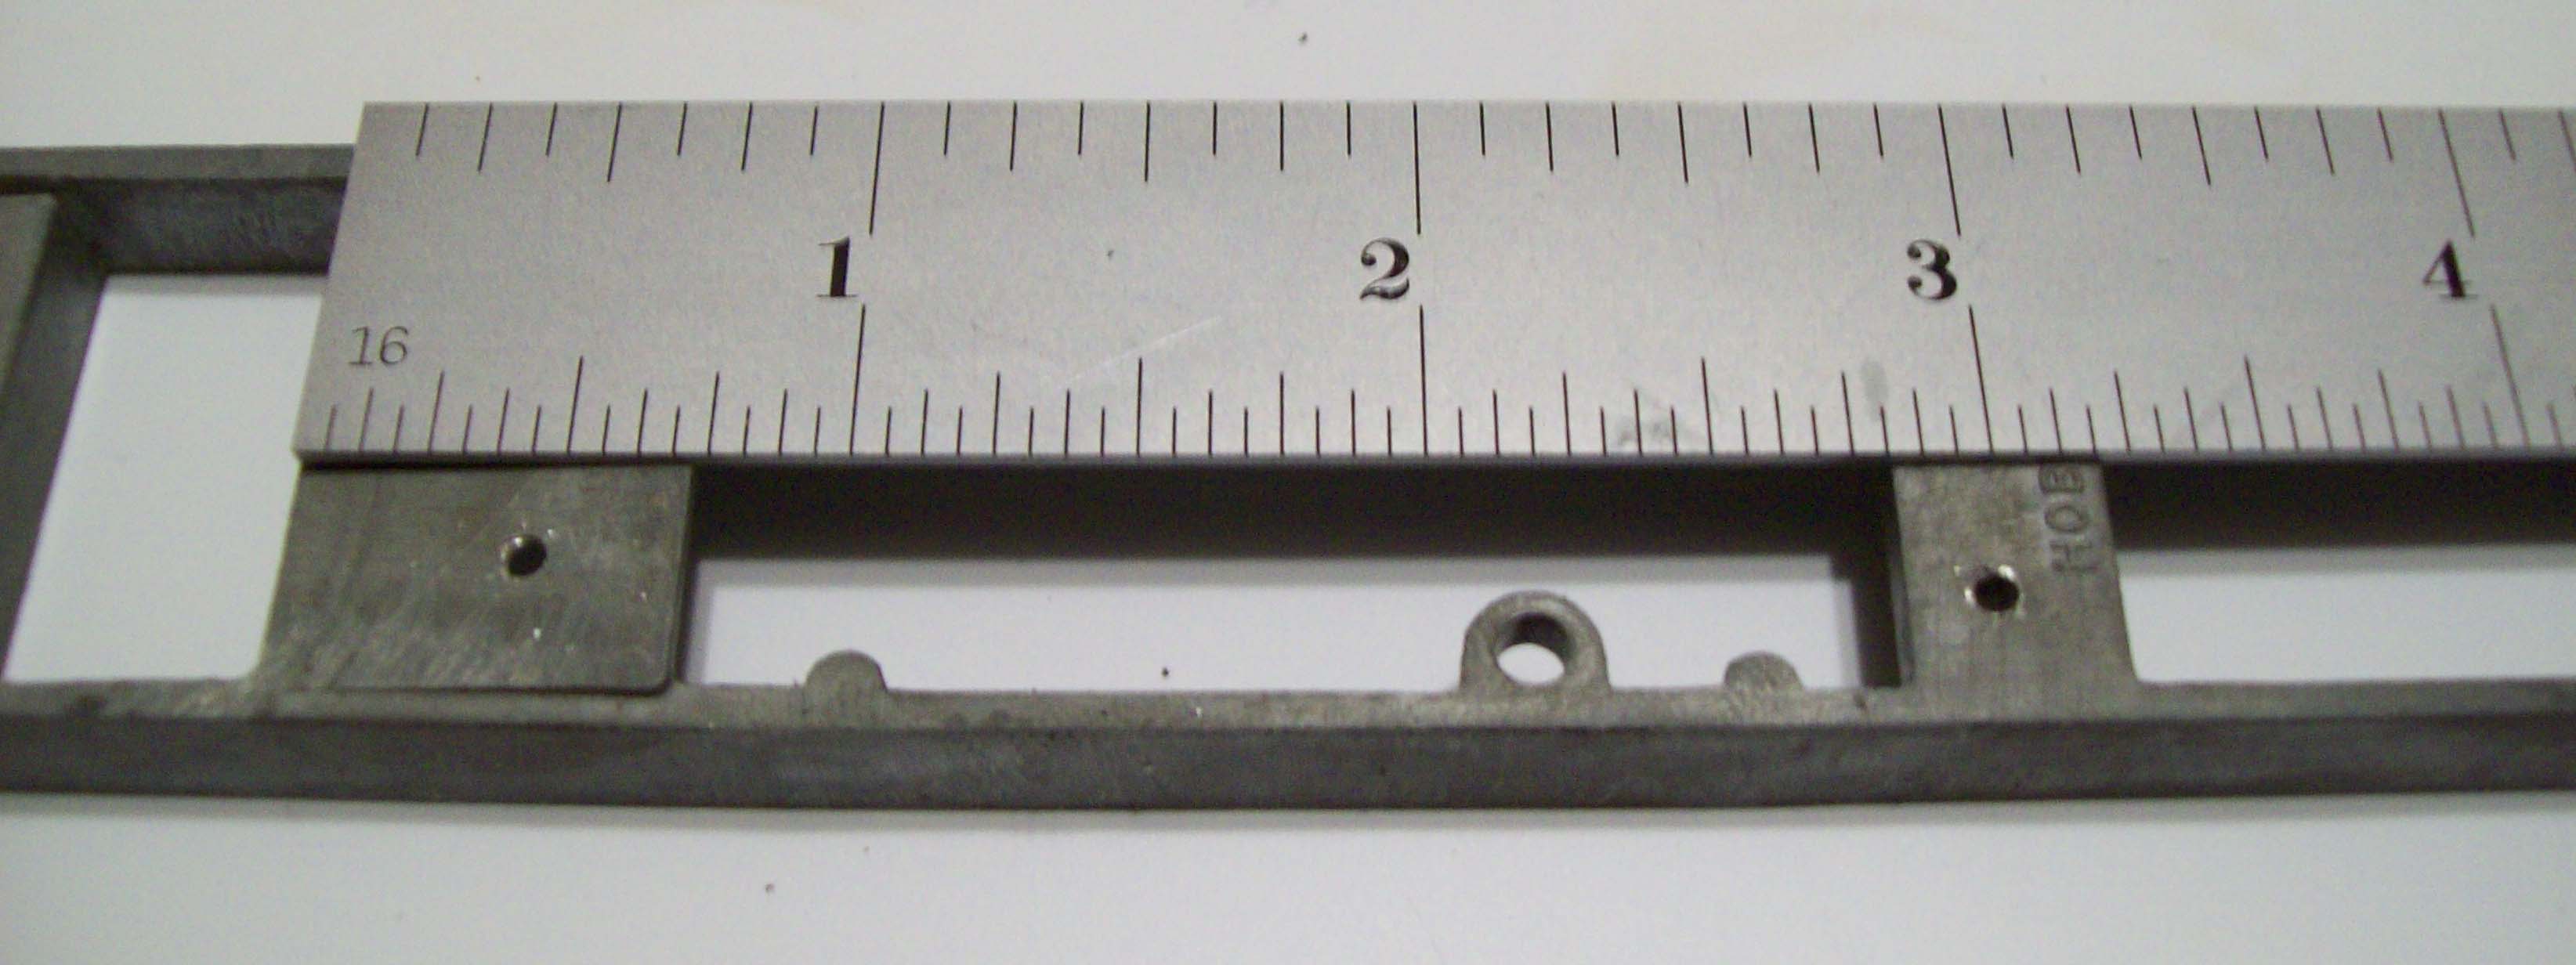
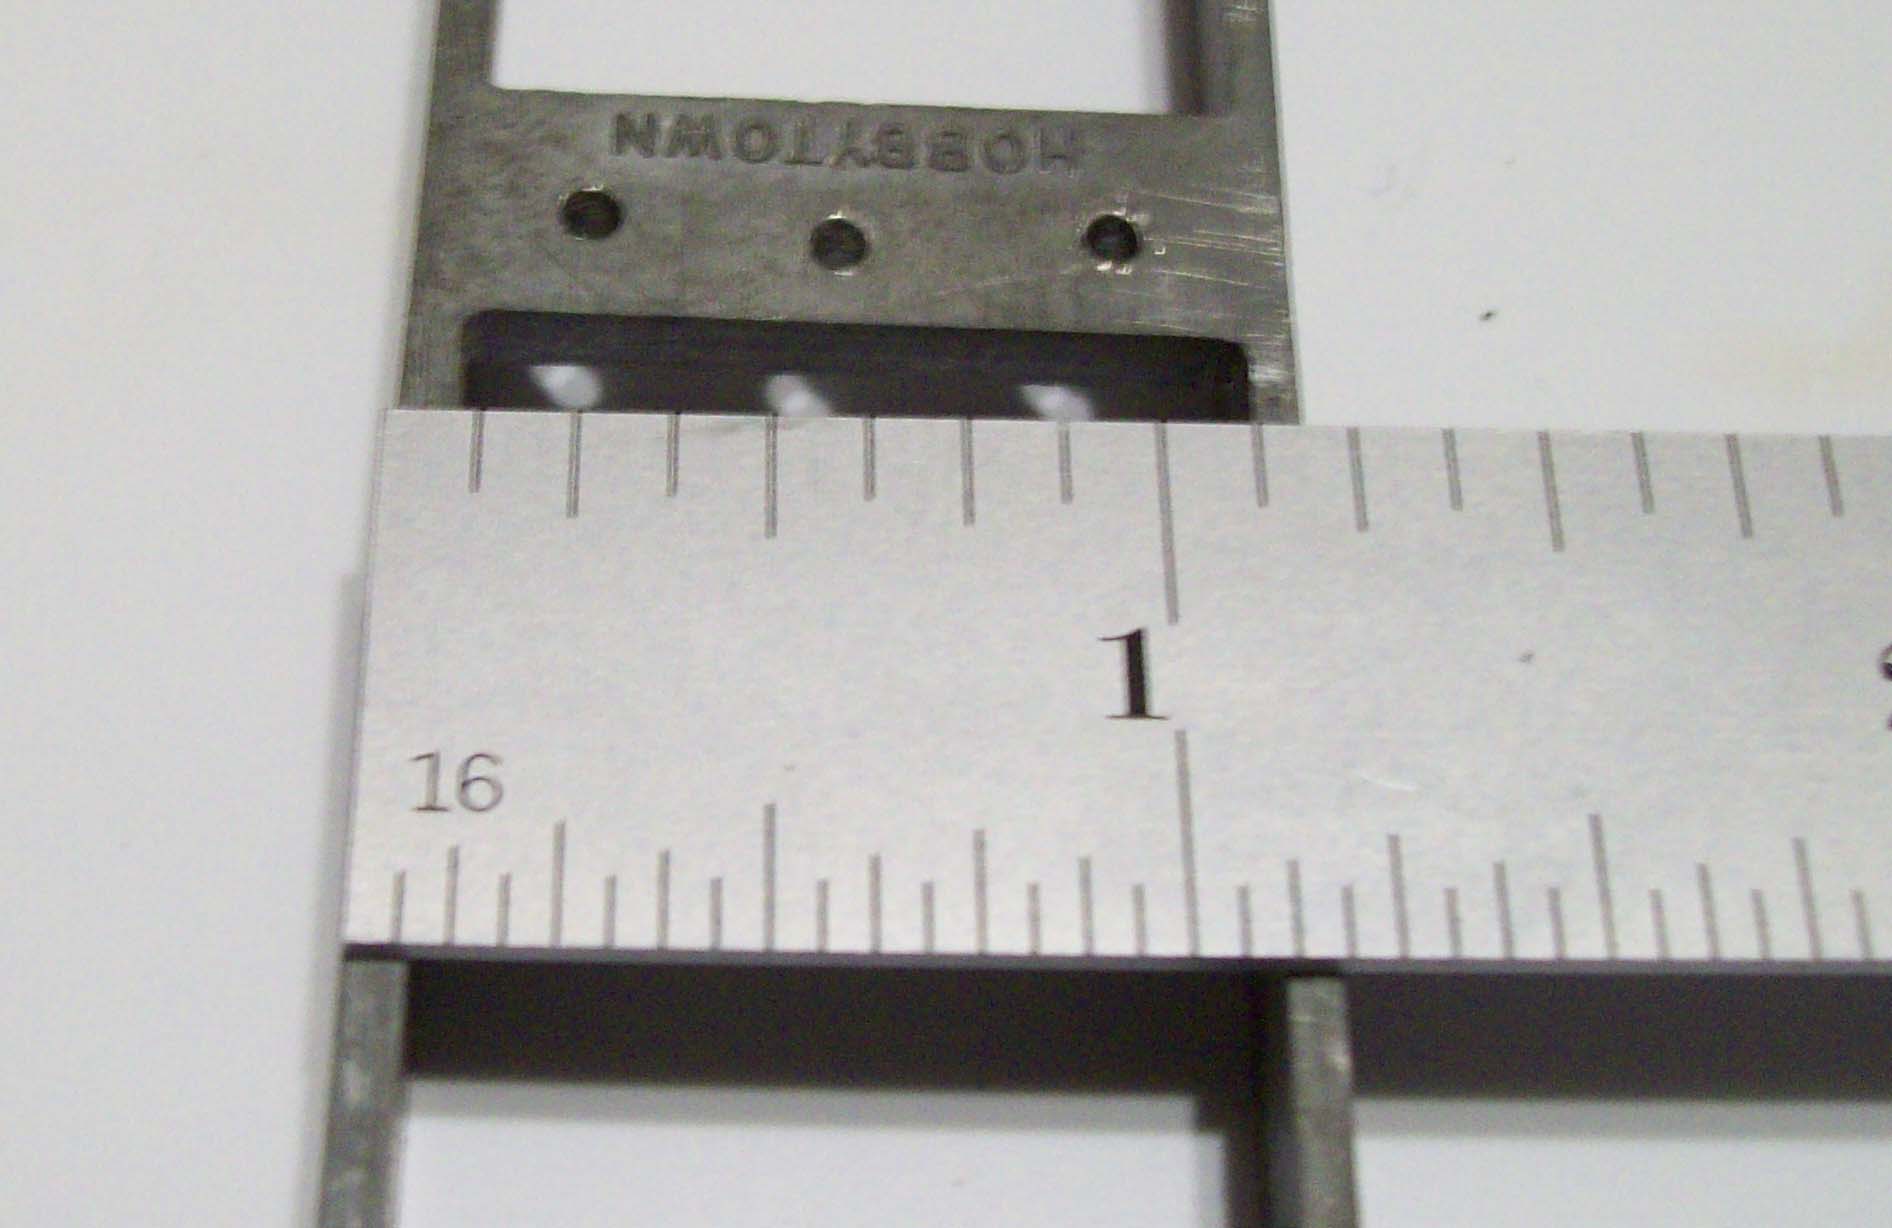
Step 2 is measuring and marking the styrene for the mount.
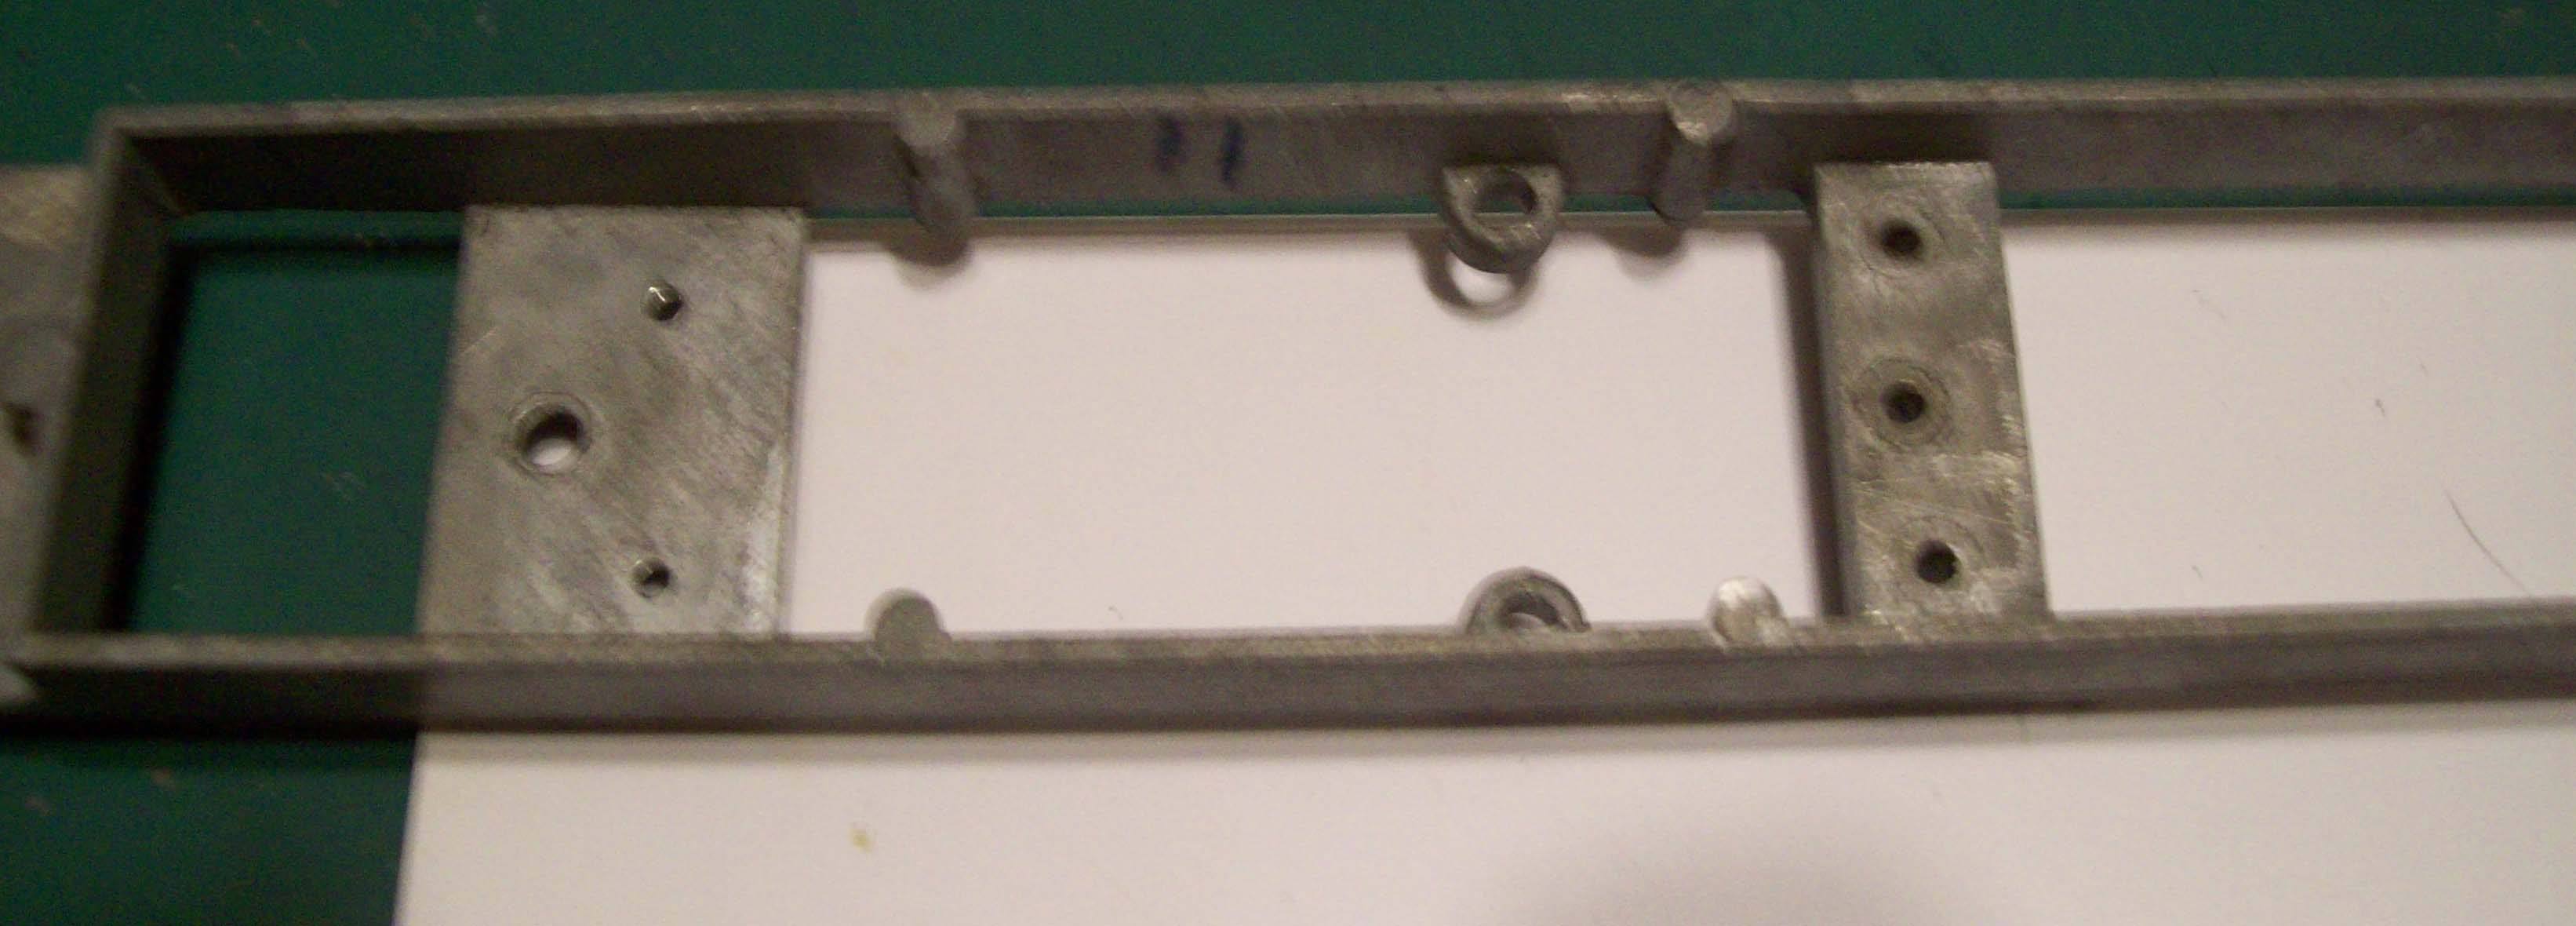
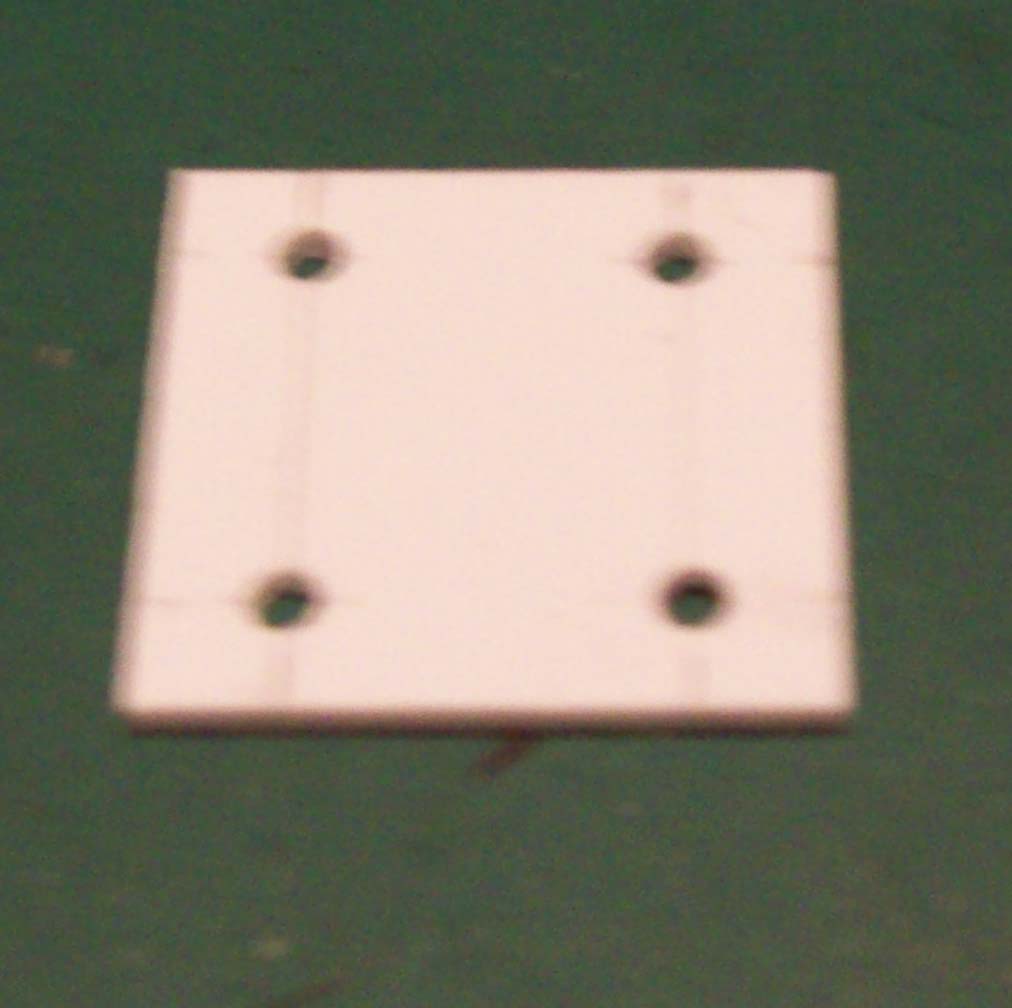
I placed the frame (area where the motor was to be mounted) on the styrene sheet and
used a pencil to outline the area. I then outlined the inside area. This is primarily for
the location of the two tabs (with the large holes) as these are the body mount holes
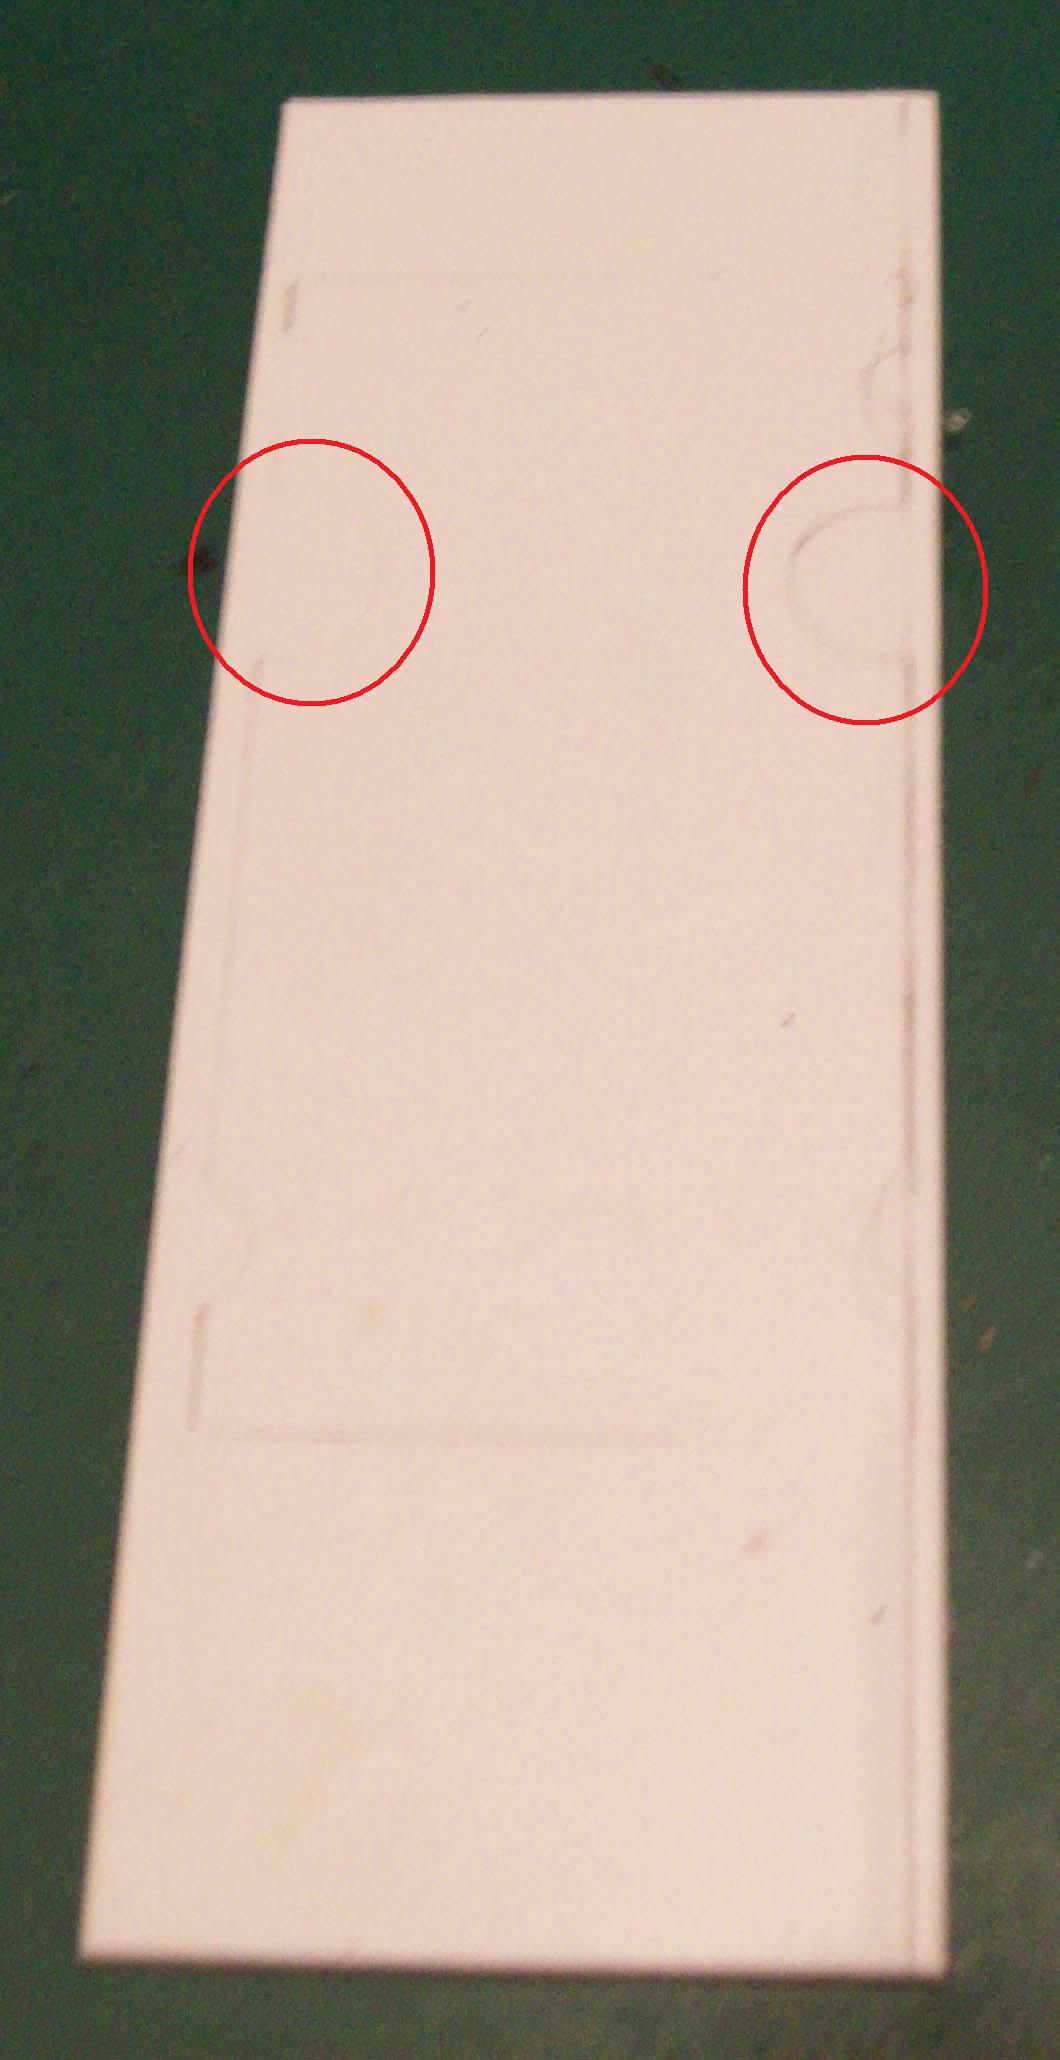
for the screws that attach the body to the frame. Then I cut out the mount using a
#11 blade. Pay particular attention to the area where the body mount tabs are. They
need to be cut as close to the marking as possible. Once its cut out, place it against the
frame to ensure that it fits properly.
Sorry about the fuzzy pics. When I edited them for upload they came out like that with the
close-up shots.
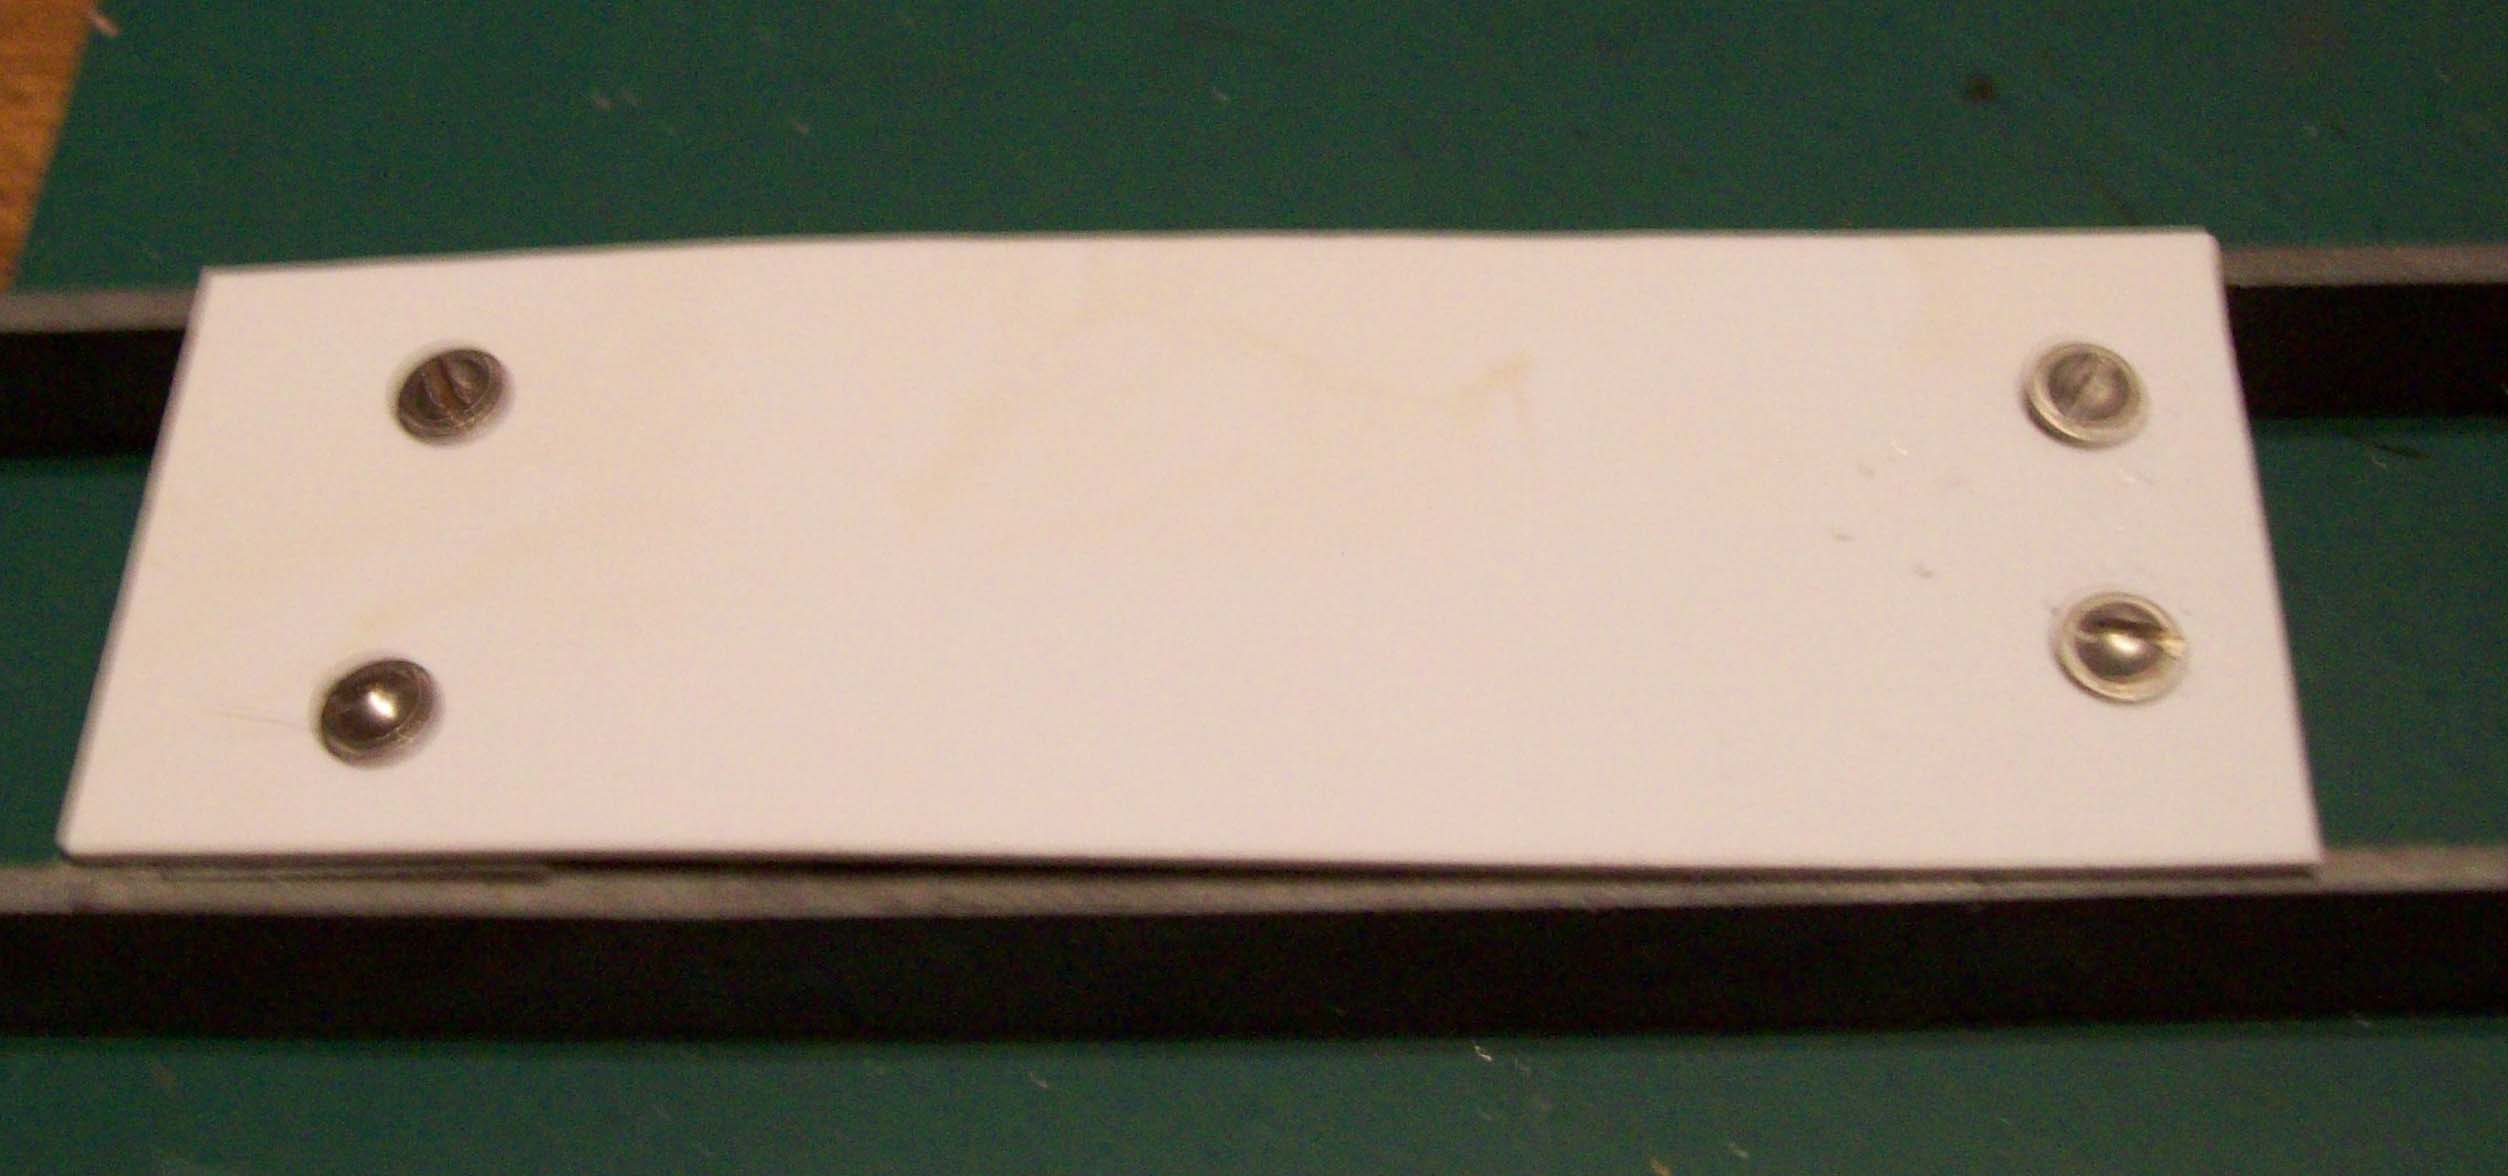
The next step is to make a smaller piece of styrene for the mount to the motor.
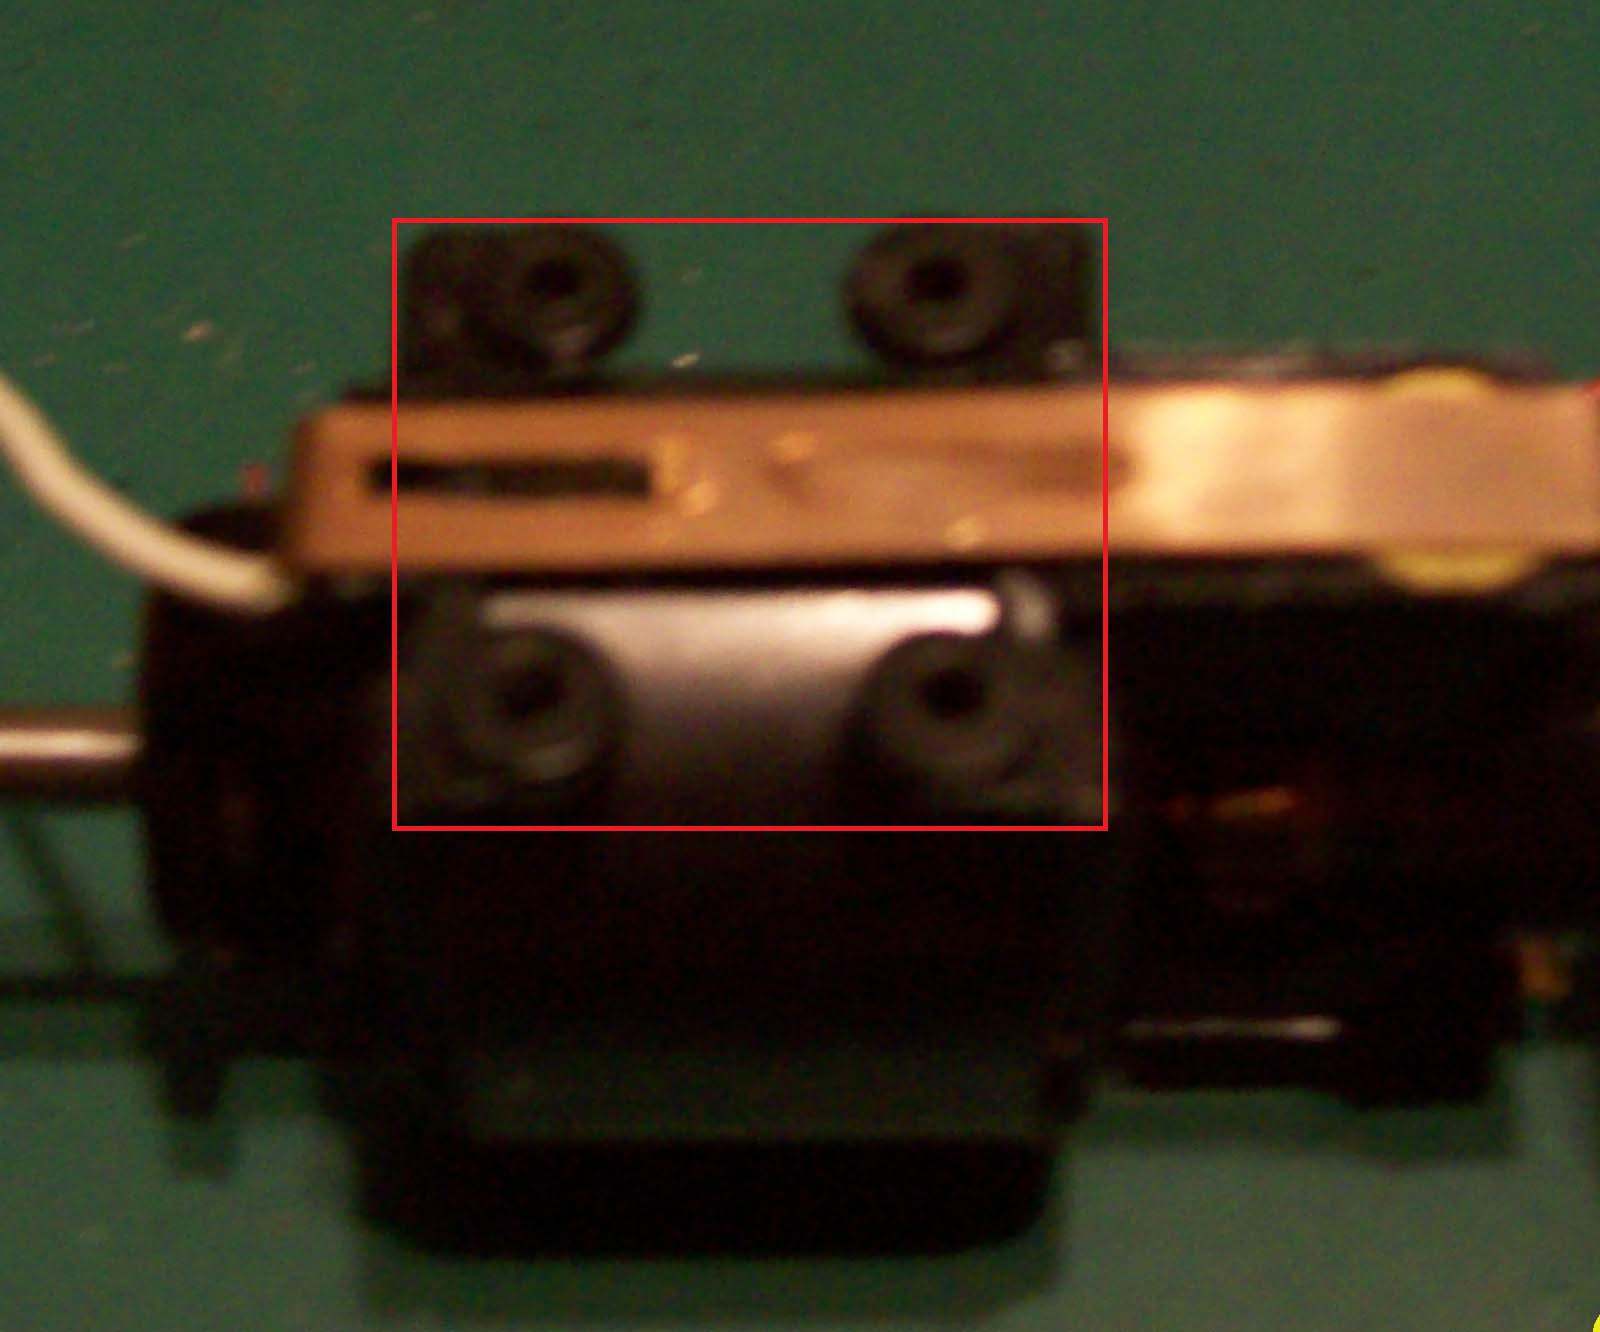
The piece needs to fit the mount that Athearn made on the bottom of the motor. This
mount has the screw holes that will hold it to the new mount. I measured from the outside
of the Athearn mount (see photo above). Then I marked it for the screw holes.
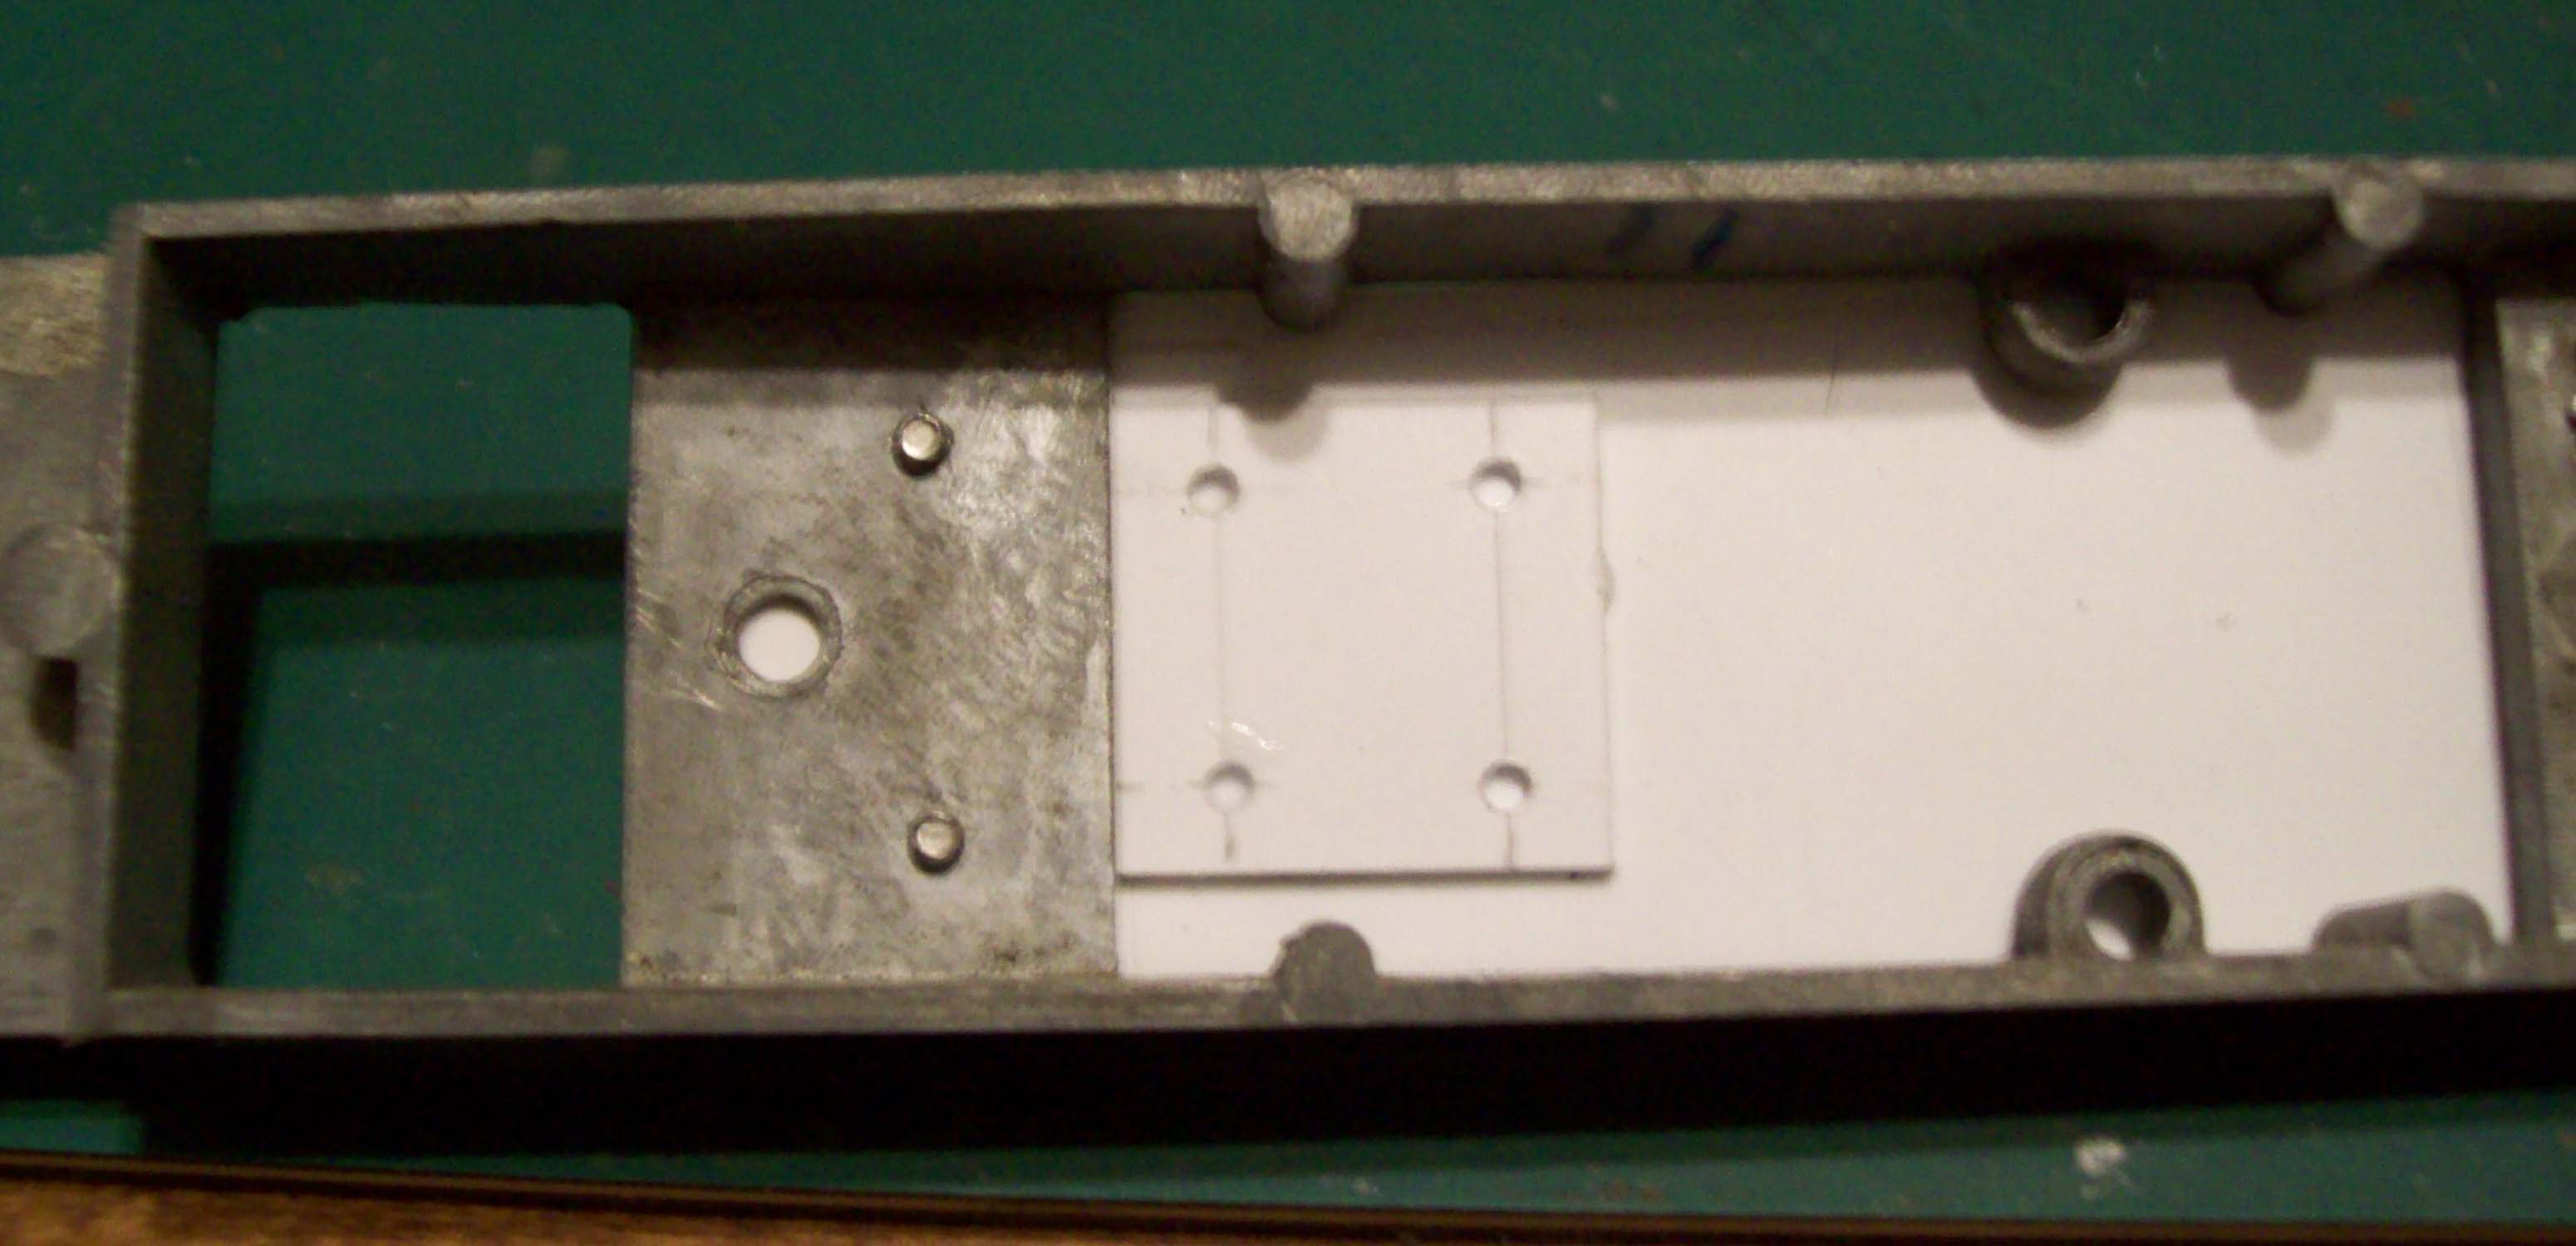
Now place the large piece of styrene against the bottom of the frame and drill the holes
for attaching it to the frame. I used a 2-56 Clearance Drill bit to make these holes as
the screw needs to be able to go threw them without catching. Then I drilled then 2-56
Tap holes in the frame. After that I used a tap to thread the holes for the screws.
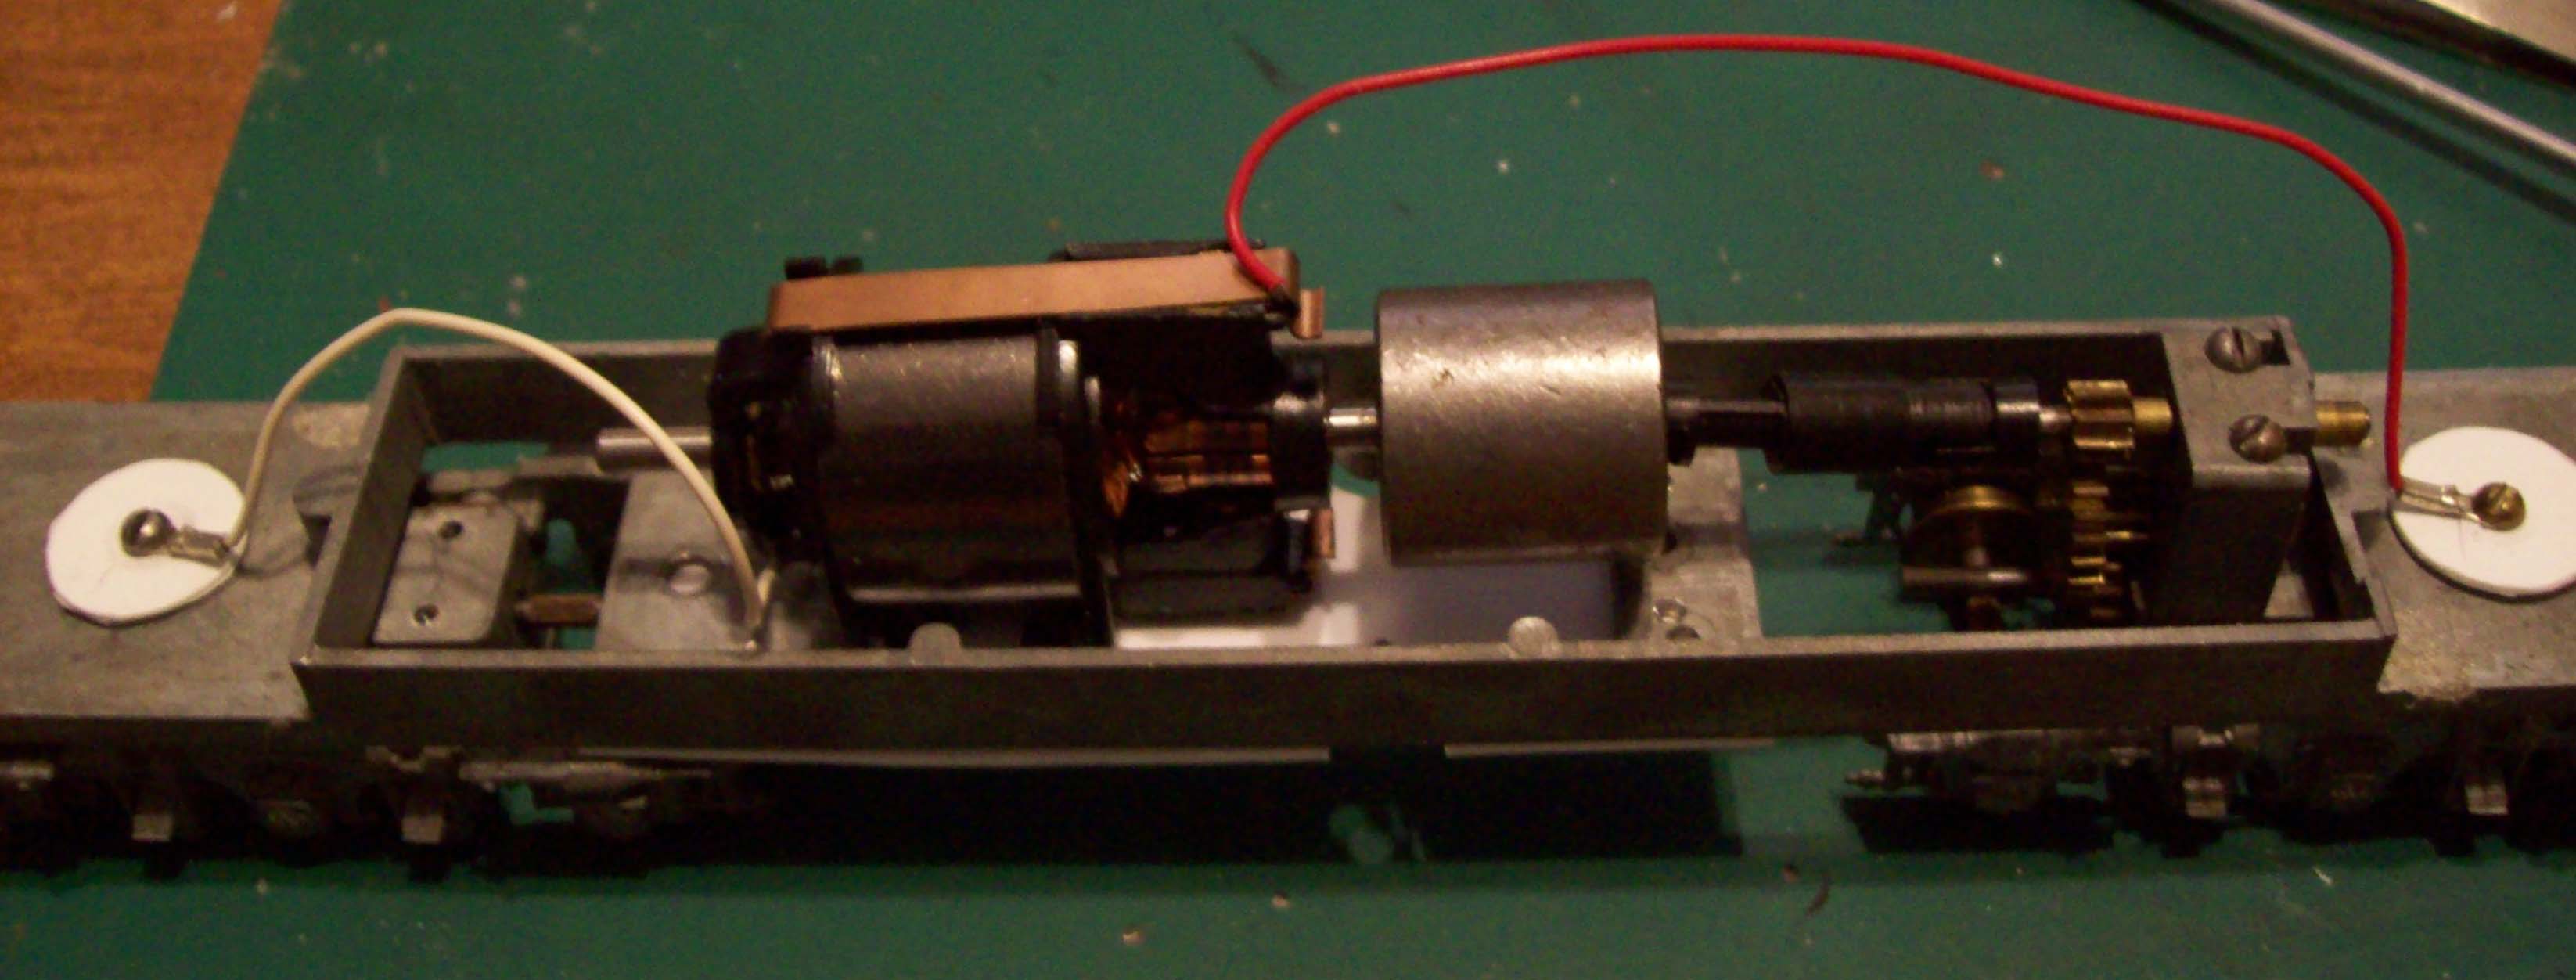
Next, I glued the smaller motor mount to the larger piece. When the glue dried, I drilled
the holes all the way thru the larger piece.
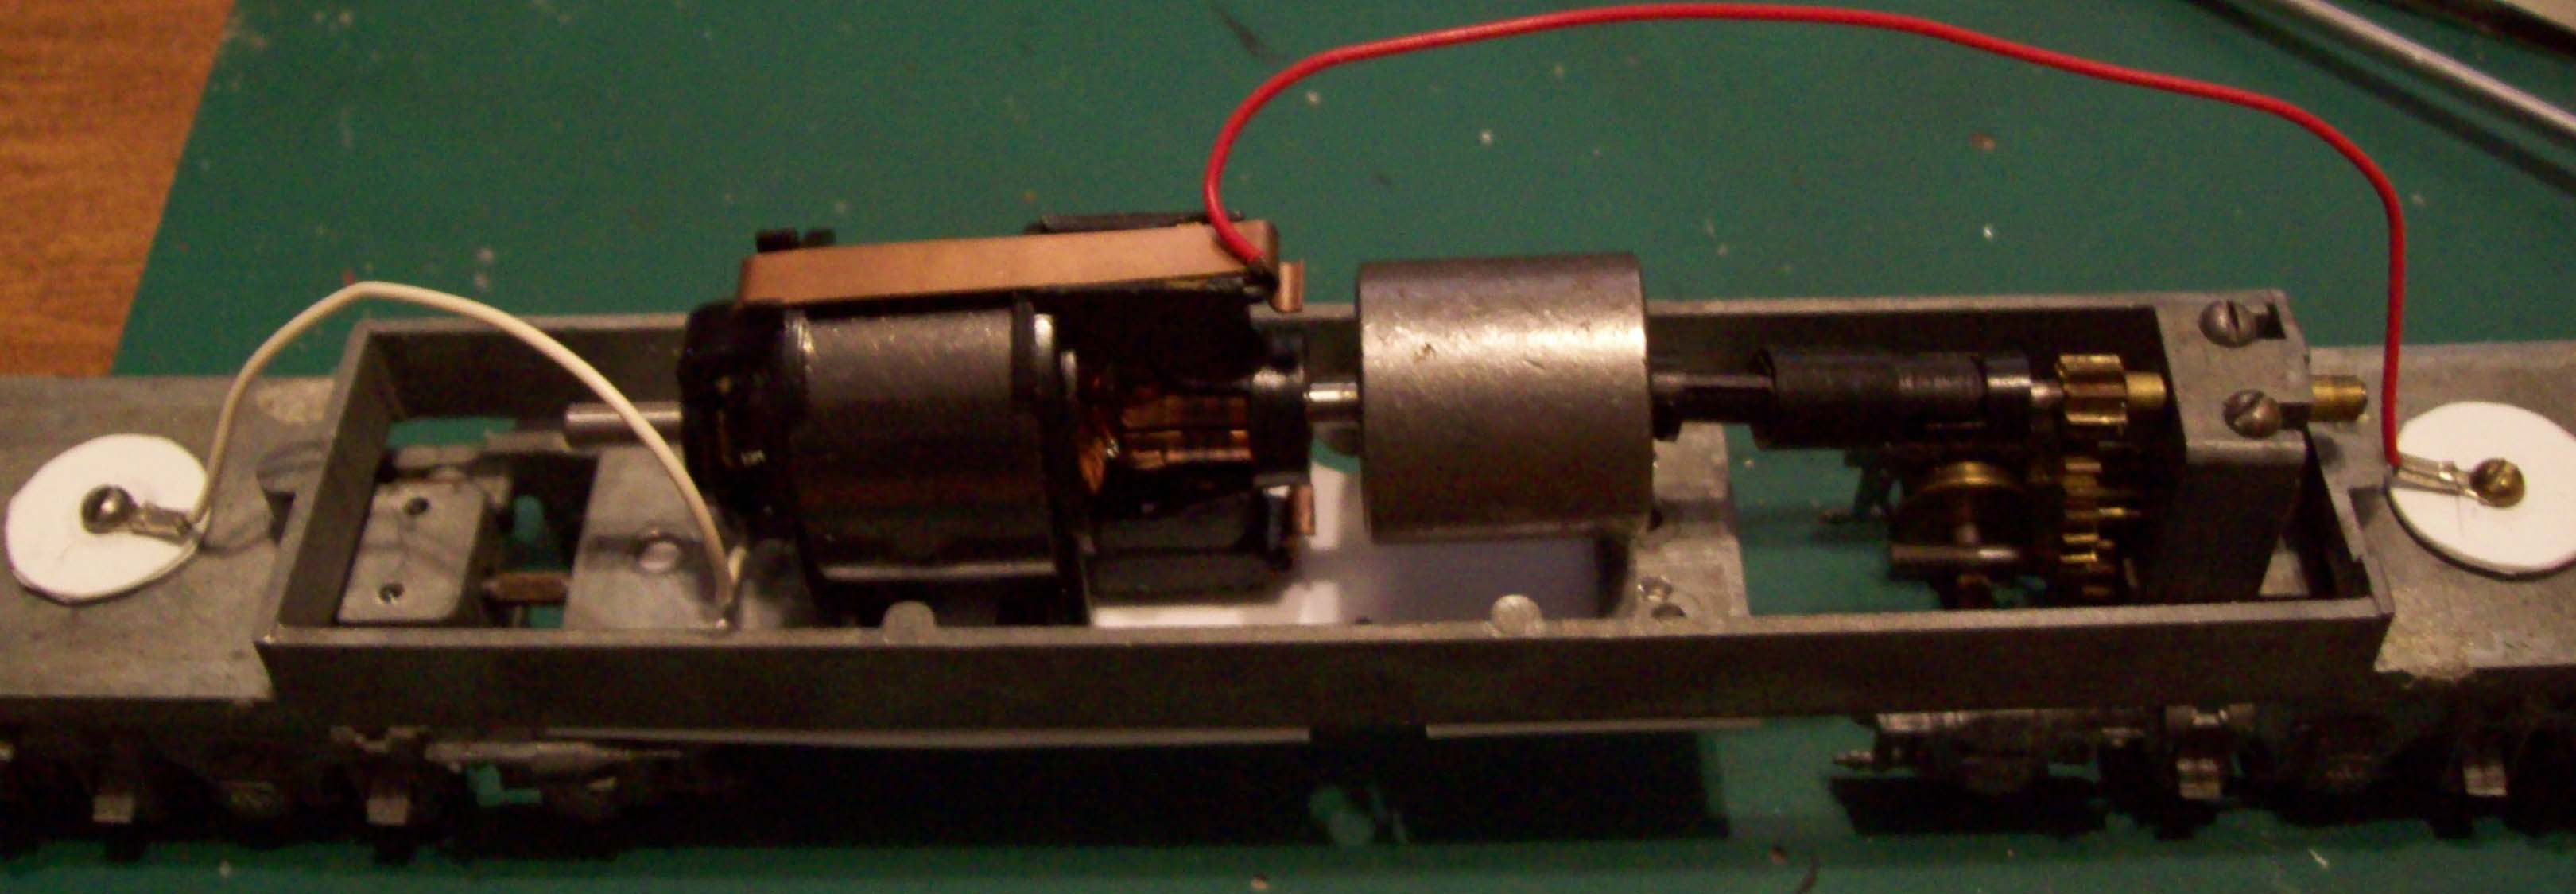
Then I mounted the Athearn motor and connected the drive shaft. After testing, which
still had some performance problems, I decided ti use the Athearn drive shaft
components as well. The next test went extremely well. Very smooth with strong
take-offs and a LOT less noise.
Edited by - oldtimer52 on February 09 2018 11:31:55 AM
|
Country:  USA ~
Posts: 865 ~
Member Since: September 23 2014 ~
Last Visit: May 01 2023 USA ~
Posts: 865 ~
Member Since: September 23 2014 ~
Last Visit: May 01 2023
|
 Alert Moderator
|
|
|
|
Posted - April 04 2018 : 5:12:15 PM
|
Wow, using an Athearn motor and drive train is a good idea, certainly far cheaper than getting a brand new can motor. I see that you used the old style Athearn motor with the ring magnet which is perfectly fine for a cab unit. You would need one of Athearn's newer slim motor to repower a road switcher or switch engine due to clearance issues inside the shell. Could you post a video on Youtube showing this engine in operation?
Proudly keeping Tyco Pluggers out of landfills since 2016
|
|
Country: USA ~
Posts: 821 ~
Member Since: December 26 2009 ~
Last Visit: March 28 2026
|
Alert Moderator

|
|
|
|
Posted - April 04 2018 : 5:34:02 PM
|
| Nice photo story George.
|
|
Country: USA ~
Posts: 2087 ~
Member Since: March 16 2013 ~
Last Visit: July 05 2018
|
Alert Moderator
|
|
|
|
Posted - April 05 2018 : 10:50:24 AM
|
Ok. Here is the video of the test run of the conversion. It seems to run pretty well in the
straight-a-way, but it doesn't seem to like the 18" radius curves very much.
https://www.youtube.com/watch?v=6DsAxx-6Dms
Edited by - oldtimer52 on April 05 2018 10:51:06 AM
|
|
Country: USA ~
Posts: 865 ~
Member Since: September 23 2014 ~
Last Visit: May 01 2023
|
Alert Moderator
|
|
|
|
Posted - April 05 2018 : 11:32:00 AM
|
Very Nice work!! The video looks awesome - and, I spotted your metal Sharknose.... I just can't help it! *Shark Master*
"Let your light so shine before men, that they may see your good works, and glorify your Father which is in Heaven." - Matthew 5:16
Youtube Channel: www.youtube.com/rpmodelrailroads
Instagram: https://www.instagram.com/rp_model_railroads/
|
|
Country: USA ~
Posts: 4669 ~
Member Since: August 11 2017 ~
Last Visit: July 20 2023
|
Alert Moderator
|
|
|
|
Posted - April 05 2018 : 5:16:38 PM
|
I've got one more shark nose awaiting paint and decals. Not sure if I'm gonna do it in
NYC or the original. By original I mean the real life company that purchased that
particular shark nose (Elgin, Joliet & Eastern - EJ&E).
|
|
Country: USA ~
Posts: 865 ~
Member Since: September 23 2014 ~
Last Visit: May 01 2023
|
Alert Moderator
|
|
|
|
Posted - April 05 2018 : 6:19:54 PM
|
By another Sharknose, you mean another Mantua metal RF-16? If so, I believe (please correct me if I'm wrong) E.J.&E. owned DR 4-4-1500's, not RF-16's - but from research I've conducted in the past, the DR 4-4-1500 was essentially an "RF-15," for the "RF-16" was an upgraded DR 4-4-1500, with more horsepower and rectified issues in the prime mover.
NYC did own RF-16s.  I truly cannot wait to see your painted Sharknose! I truly cannot wait to see your painted Sharknose!
"Let your light so shine before men, that they may see your good works, and glorify your Father which is in Heaven." - Matthew 5:16
Youtube Channel: www.youtube.com/rpmodelrailroads
Instagram: https://www.instagram.com/rp_model_railroads/
|
|
Country: USA ~
Posts: 4669 ~
Member Since: August 11 2017 ~
Last Visit: July 20 2023
|
Alert Moderator
|
|
|
|
Posted - April 06 2018 : 05:29:43 AM
|
Well RP, the two A&B sets that were owned by the EJ&E were the two demonstrator sets that
were produced. After they went into production, a Cab Filter was added behind the right side
cab door. If you will look at your models, you'll find that Mantua and the others modelled the
DEMONSTRATOR locomotives and not the PRODUCTION models. I have the write-up about this
and will find it and post it here. I also have the roster of which companies owned the production
models. Stay tuned for more......
NOTE: When the EJ&E went under, the two sets were sold to B&O RR.
Edited by - oldtimer52 on April 06 2018 05:30:47 AM
|
|
Country: USA ~
Posts: 865 ~
Member Since: September 23 2014 ~
Last Visit: May 01 2023
|
Alert Moderator
|
|
|
|
Posted - April 06 2018 : 09:48:11 AM
|
| My vote is for an EJ&E paint scheme. Your video and all is most instructional.
|
|
Country: USA ~
Posts: 11686 ~
Member Since: December 09 2013 ~
Last Visit: May 26 2026
|
Alert Moderator
|
|
|
|
Posted - April 06 2018 : 2:29:46 PM
|
Wow!! Thanks for the Shark insight! I also agree - the E.J.&E. livery will look awesome!
"Let your light so shine before men, that they may see your good works, and glorify your Father which is in Heaven." - Matthew 5:16
Youtube Channel: www.youtube.com/rpmodelrailroads
Instagram: https://www.instagram.com/rp_model_railroads/
|
|
Country: USA ~
Posts: 4669 ~
Member Since: August 11 2017 ~
Last Visit: July 20 2023
|
Alert Moderator
|
|
|
|
Posted - April 07 2018 : 09:25:07 AM
|
Thanks all. Since this topic is for Kitbashing and Customizing, I'm gonna put the info on the Sharks
in the Tyco Motive Power topic area under the Sharks - History topic.
Edited by - oldtimer52 on April 07 2018 09:28:54 AM
|
|
Country: USA ~
Posts: 865 ~
Member Since: September 23 2014 ~
Last Visit: May 01 2023
|
Alert Moderator
|
|