|
|
 Posted - September 29 2012 : 2:47:44 PM Posted - September 29 2012 : 2:47:44 PM


|
I picked this one up as a kit at a club swap meet a year ago and pulled it out recently.
The cab was black and lettered as Industrial Brownhoist, but was otherwise unremarkable,
as all parts were black.
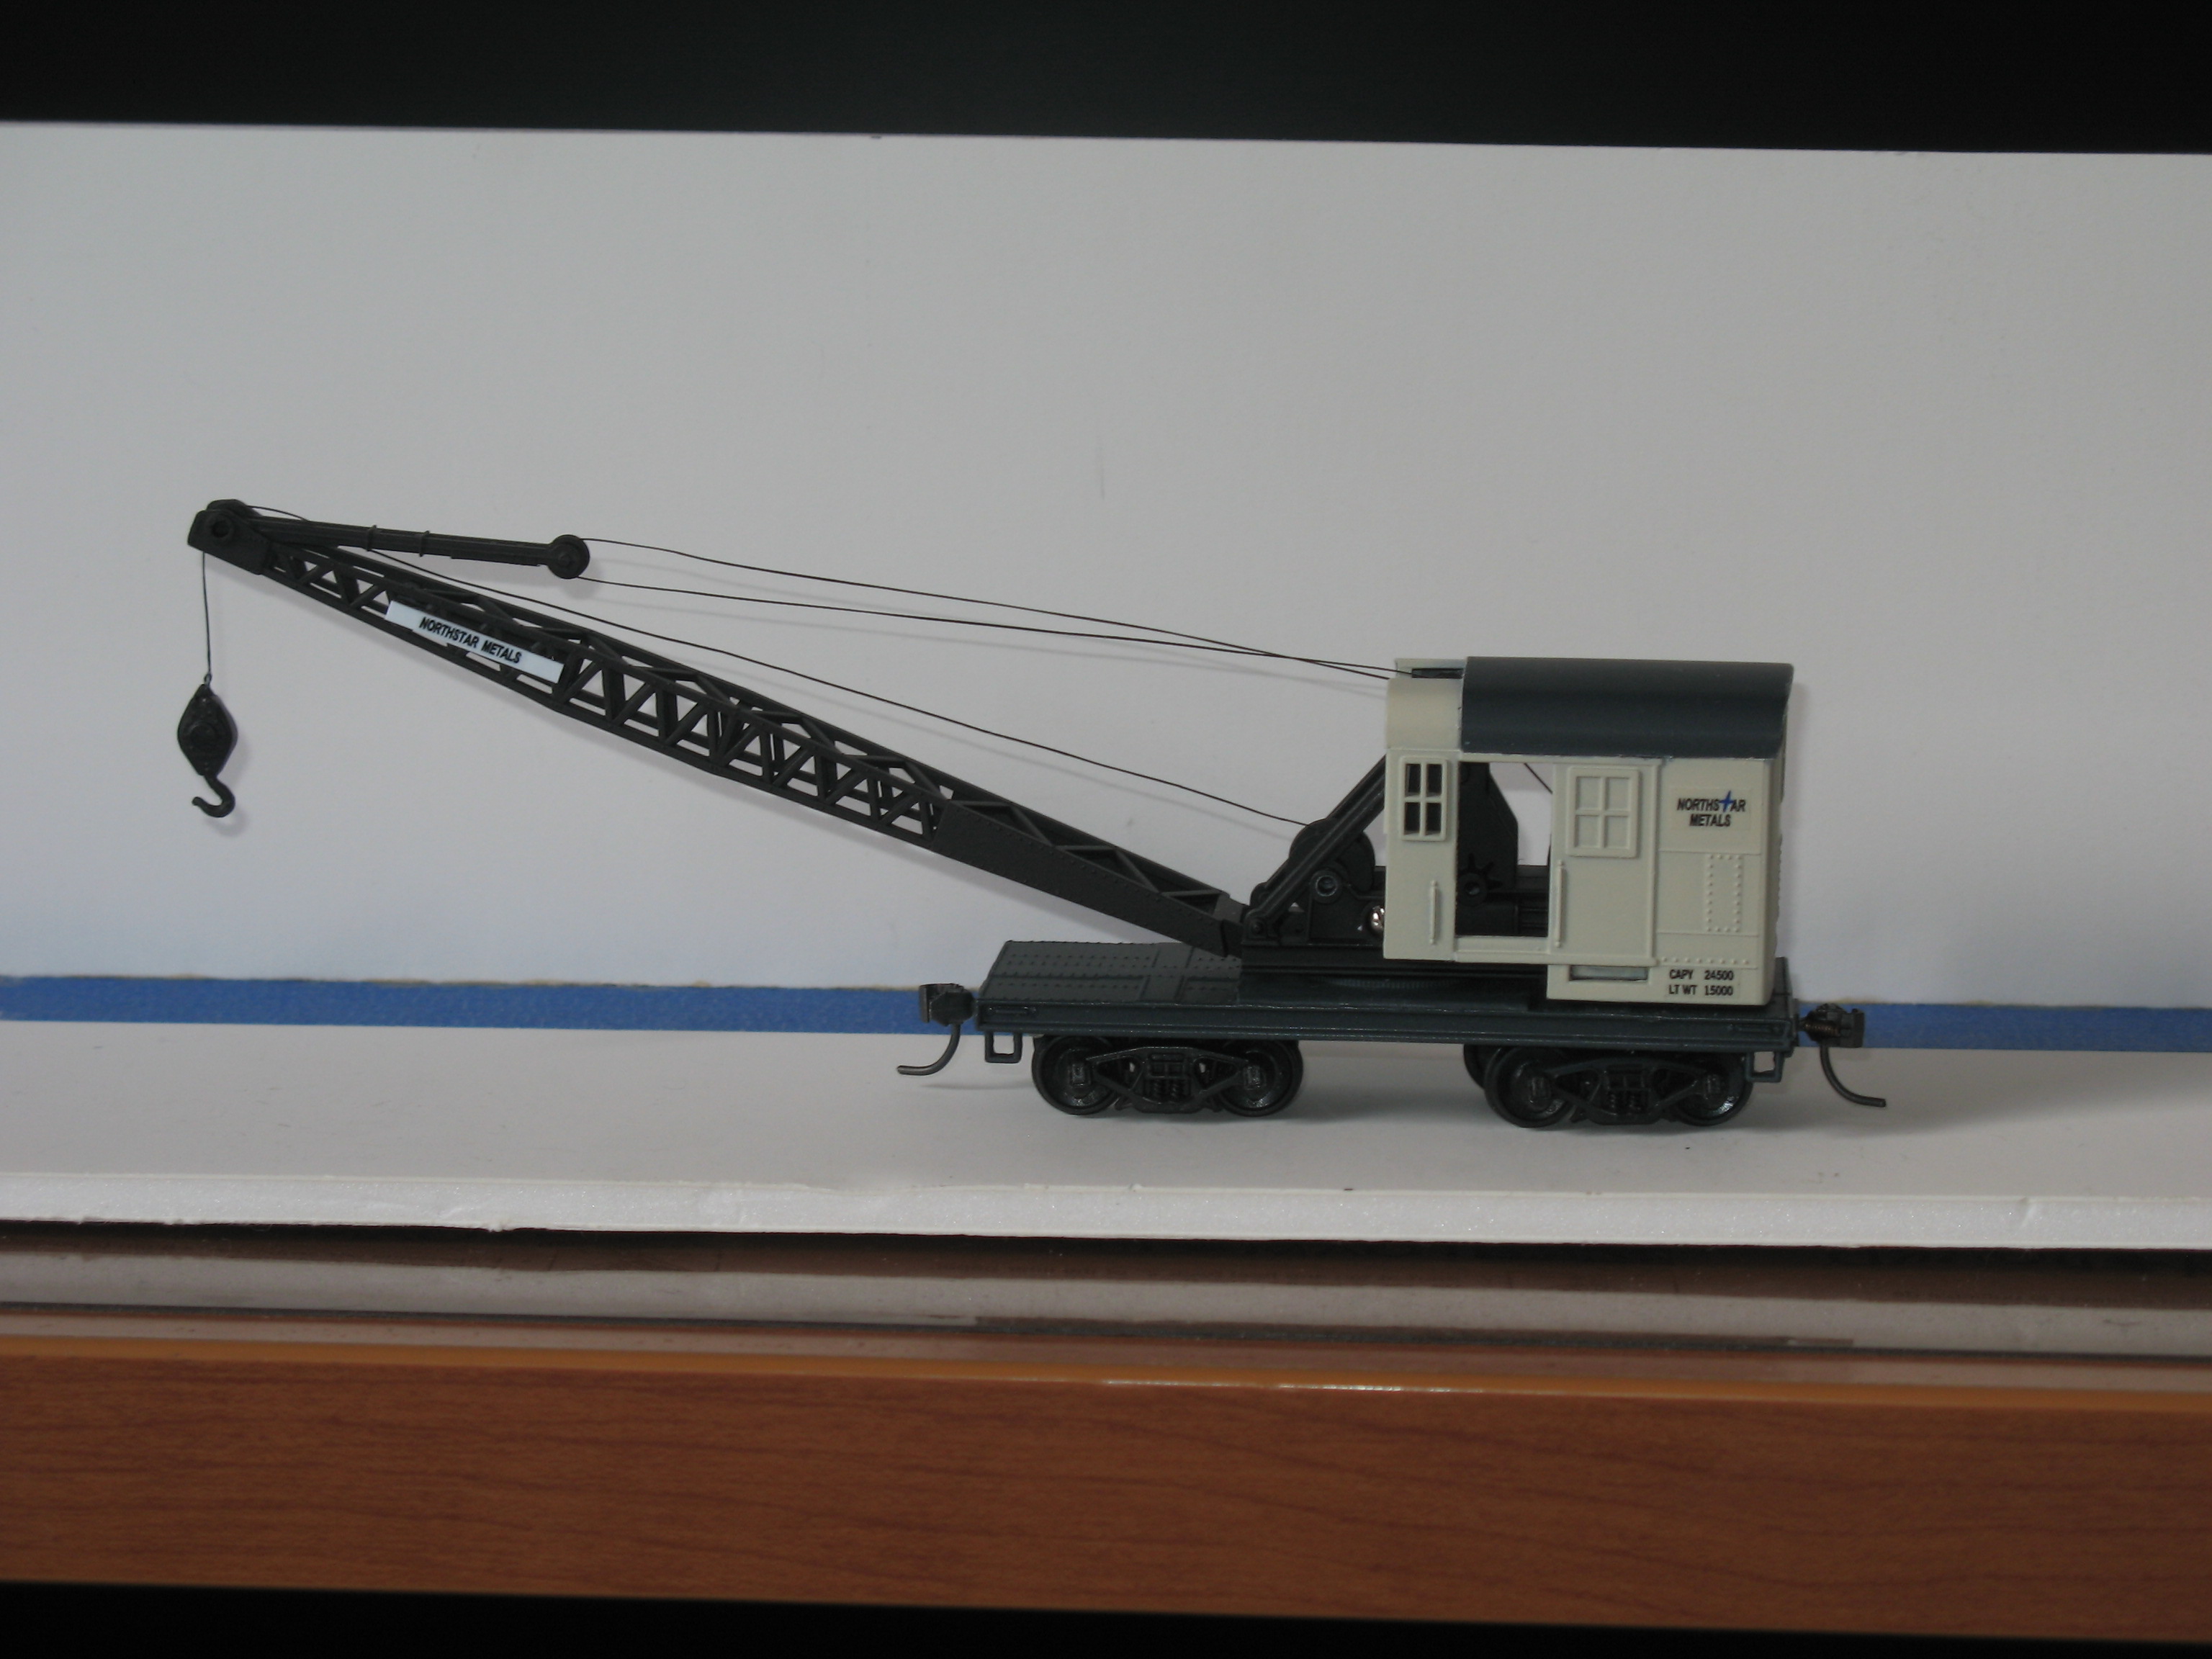
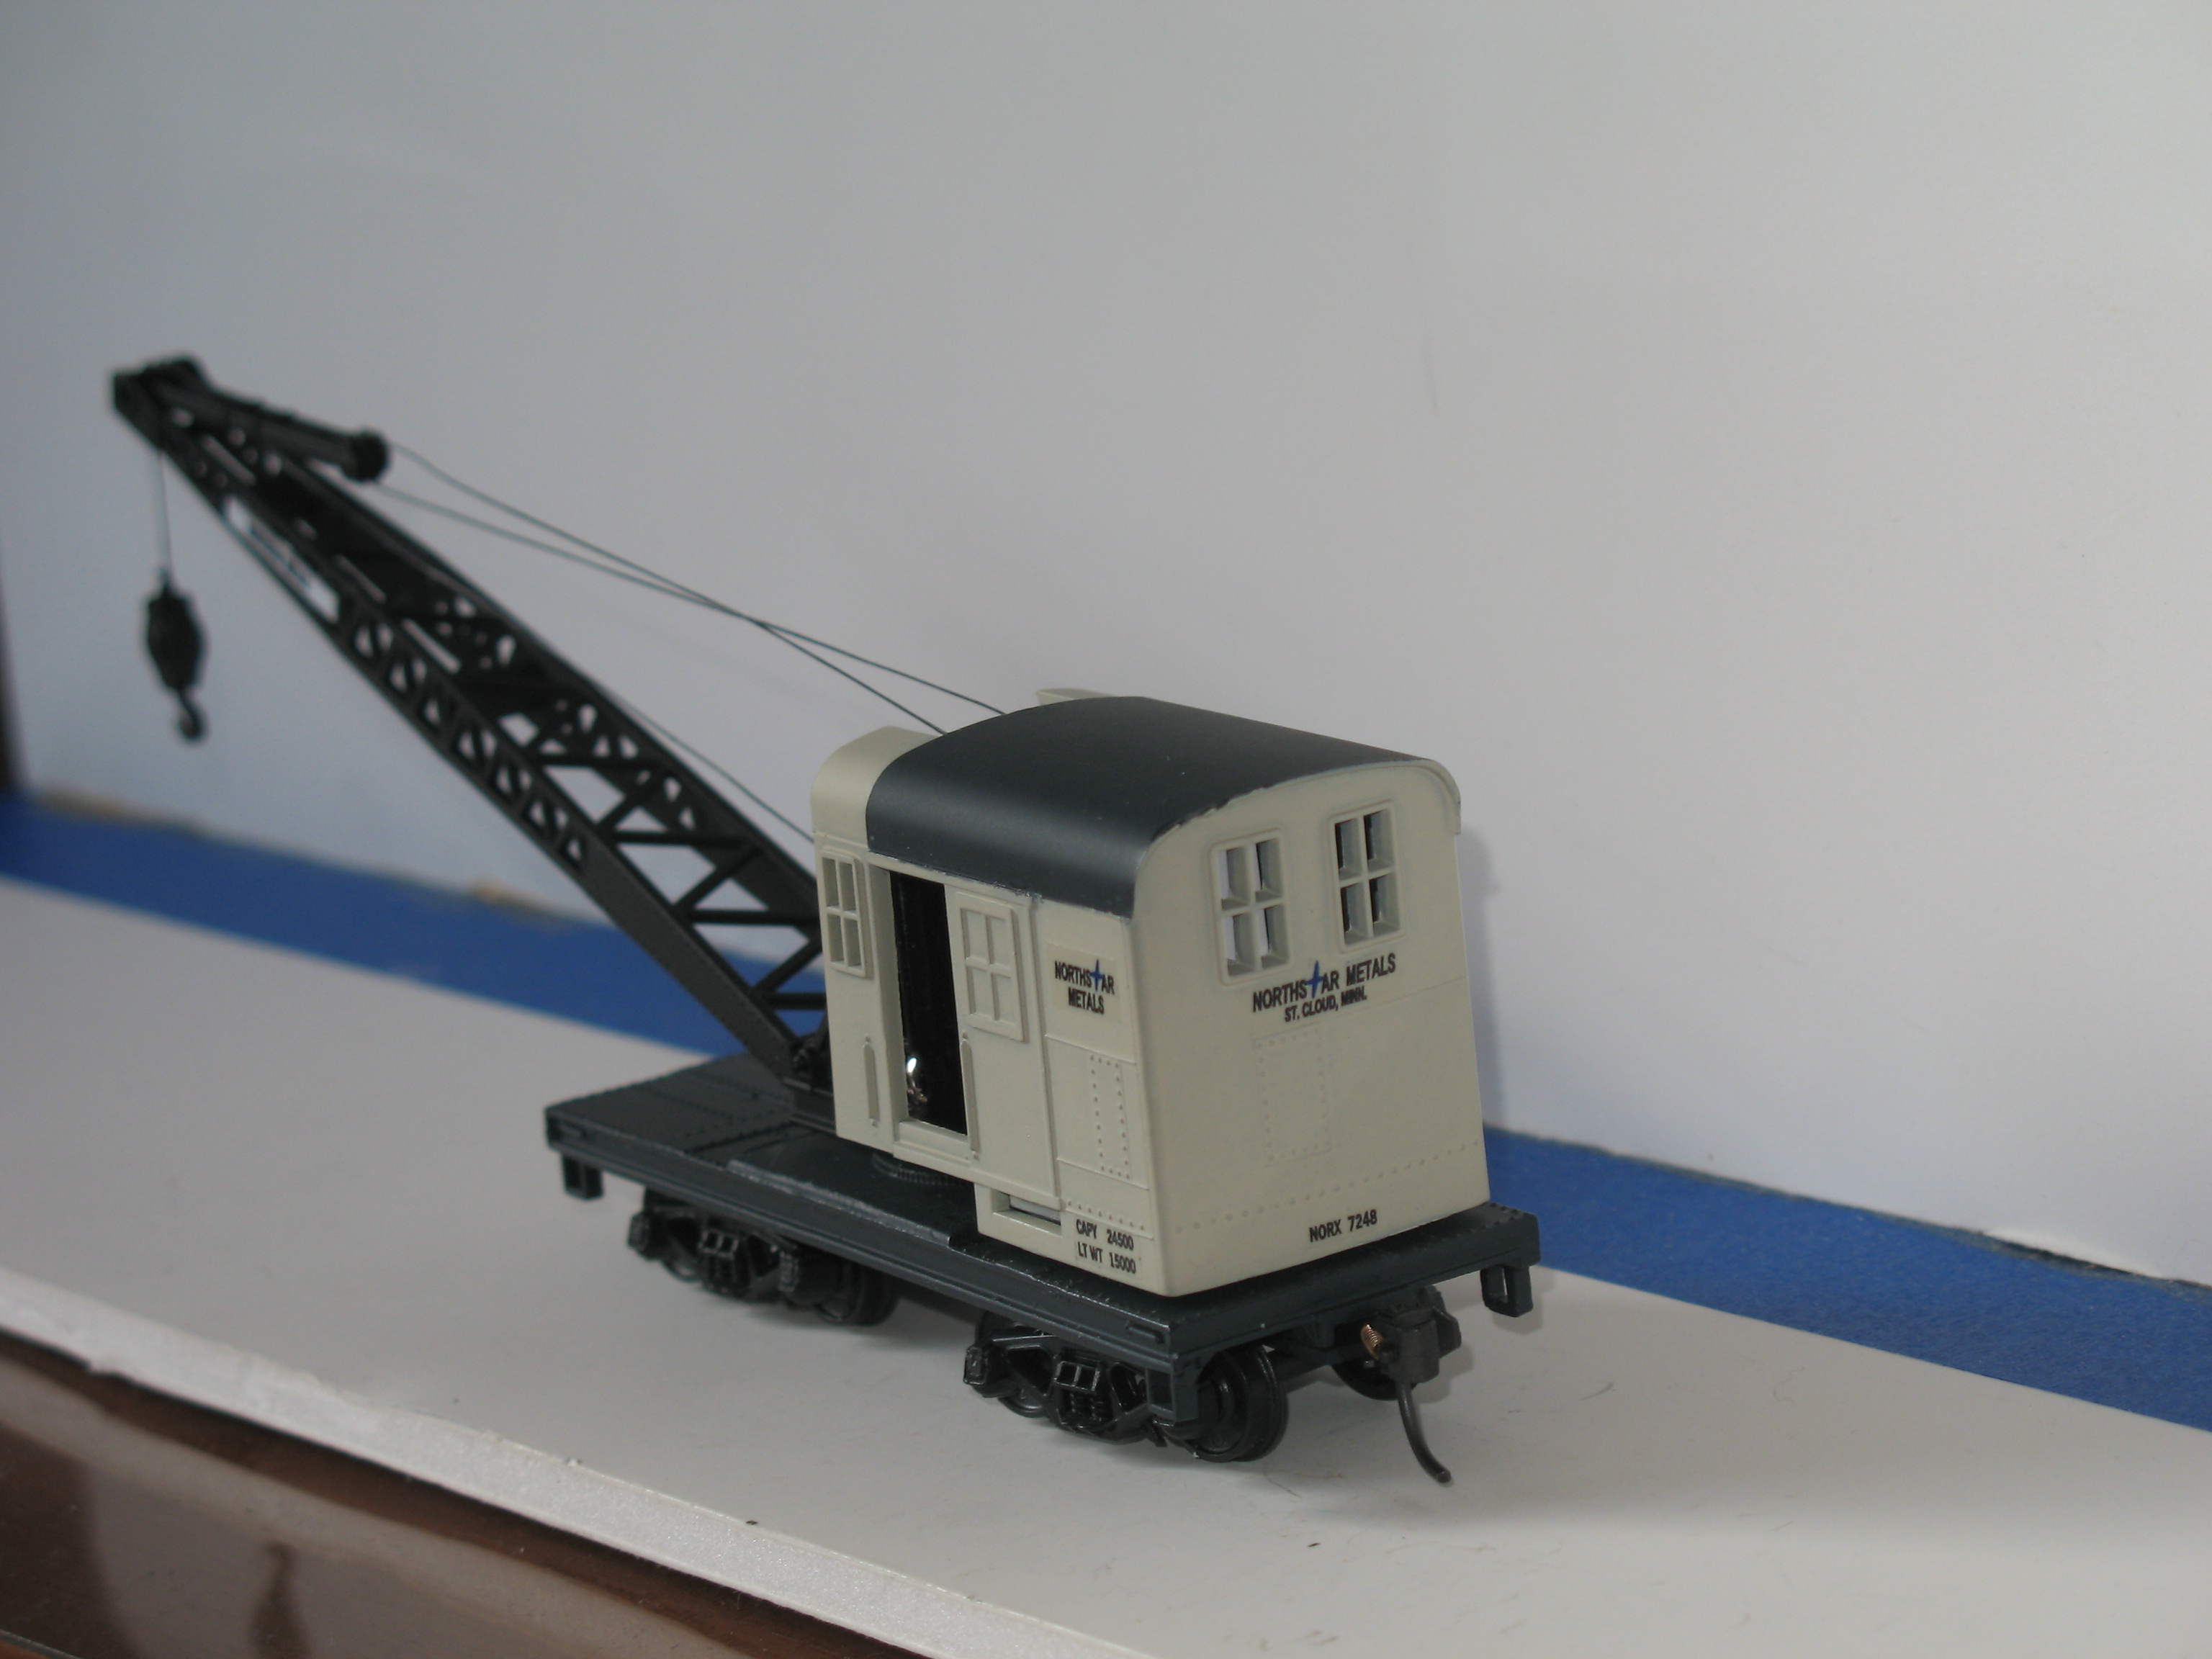
I had recently completed a gondola car with a custom load of what might appear to be agricultiral silo parts (or small silo storage walls), and I thought that a regional agricultiral and commercial metal fabrication company might be an interesting future structure project on my layout, so I came up with Northstar Metals (Minnesota being the "North Start state")
Let me say right off, that this was not a very fun kit to put together, as the parts fitment quality was poor and I had to do a significant amount of fiddling to get the crane mechanism (inside the cab) to fit so that the cabling could be wound properly. The crane car base is a piece of cast metal with very poor finishing, so that I had to drill and tap 2-56 screw holes
for the couplers and truck, as the provided screws would not start to seat in the existing holes.
I gave the top of the cab a roof treatment with model master dark sea blue and the body
of the cab with Krylon Almond satin (for contrast with black and blue decal lettering).
Interestingly, the satin finish did not require any gloss coating and took my Bel paper inkjet-printed decals well. The cab was covered with Dullcote after allowing the paint and decals to dry and settle.
The "cable" string that was provided with the kit was looped and tied in a loose knot in the package. When inwrapped, it remained very "curly" as well as the twisted strands becoming separated in various places along it's length. I have encountered this "crappy" cabling before and had a better answer in the form of jewelry-making bead thread that I picked up at Michael's Crafts for a few dollars. The kind I use for my HO modeling is Beadalon's Wildfire
in black, sized at .006 in. The 50 yards on one spool will last a long time. This should be cut cleanly with a razor or xacto and sealed at the end with a drop of CA glue.
Beacause of the weight of the all-metal car platform, I did no other weighting, and the car fell just above the NMRA standard as is. I left the original plastic wheels+brass metal axles, just painting the axles black. The underbody was already black, but I painted the deck and sides of the car platform in the same deep sea blue, to coordinate colors with the cab.
There was a small rectangle of molded plastic along each side of the boom, but I added a larger one of my own to allow for decaling.
Here are completed images:

|
Country:  USA ~
Posts: 510 ~
Member Since: September 21 2011 ~
Last Visit: December 21 2014 USA ~
Posts: 510 ~
Member Since: September 21 2011 ~
Last Visit: December 21 2014
|
 Alert Moderator
|
|
|
|
Posted - September 29 2012 : 3:51:17 PM
|
Looks great!
" Heck with counting 'em rivets, TRAINS ARE FOR FUN! Not called the Mad Scientist for nothing either!"
|
|
Country: USA ~
Posts: 3147 ~
Member Since: May 07 2007 ~
Last Visit: June 01 2026
|
Alert Moderator

|
|
|
|
Posted - September 29 2012 : 4:42:10 PM


|
Ron,
The boom lines were made from that spool you pictured? Where did you get that ?
~John
Many have tried to, and failed, ya just can't repair stupid... 
Do NOT try to Idiot-Proof anything!!!! God, will simply create a better......IDIOT!
|
|
Country: USA ~
Posts: 2911 ~
Member Since: March 26 2012 ~
Last Visit: January 14 2014
|
Alert Moderator
|
|
|
|
Posted - September 29 2012 : 5:57:15 PM
|
Michaels Crafts locally, but Joann Fabrics may also have this thread or similar durable jewelry threads. The stuff in many model kits is twisted and may be just simple cotton.
Ron
|
|
Country: USA ~
Posts: 510 ~
Member Since: September 21 2011 ~
Last Visit: December 21 2014
|
Alert Moderator
|
|
|
Jim
Little Six

Status:
offline
| |
Posted - September 29 2012 : 8:36:51 PM
|
| very nice work!
|
|
Country: USA ~
Posts: 145 ~
Member Since: September 26 2012 ~
Last Visit: December 23 2013
|
Alert Moderator
|
|