|
|
 Posted - November 21 2020 : 12:55:31 PM Posted - November 21 2020 : 12:55:31 PM


|
blueprinting always meant to me making the printed plans in order to make a part
but there is a second definition of taking a existing part and making plans to make more parts
I've had people offer to get pictures for me so I can dump them into a CAD program(my choice, Fusion 360) to be able to make 3d models that can be used for 3d printing or even machining molds for injection molding
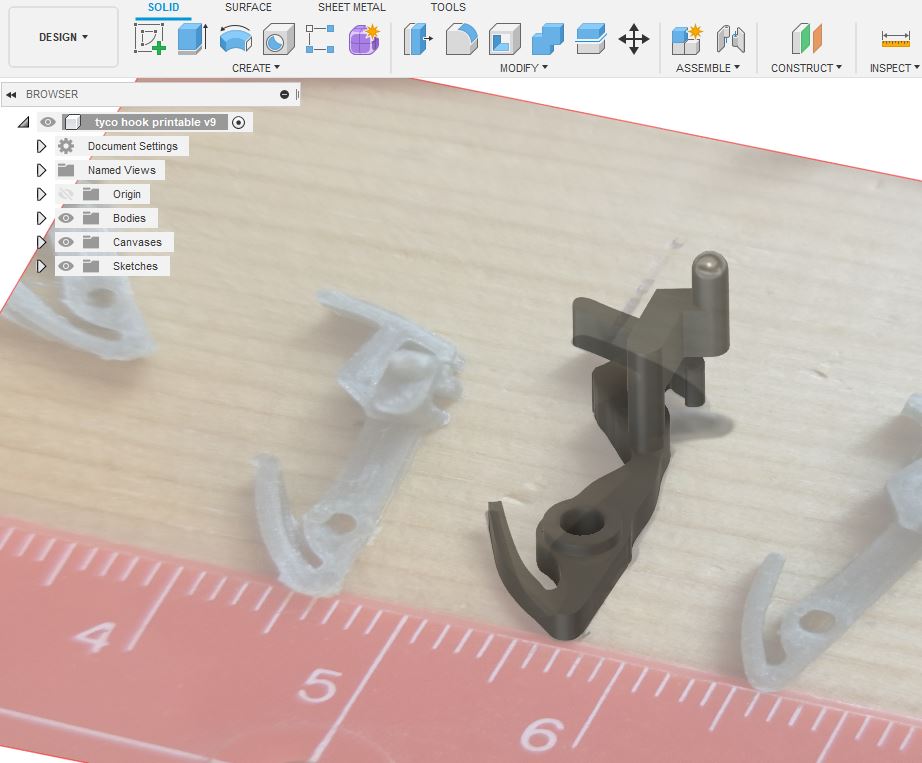
so here is an attempt at what to do to get prints that can help modelers get prints. this can also be used on full scale object(prototypes) if anyone had the ambition to do that level of modeling (you rivet counters know who you are;) )
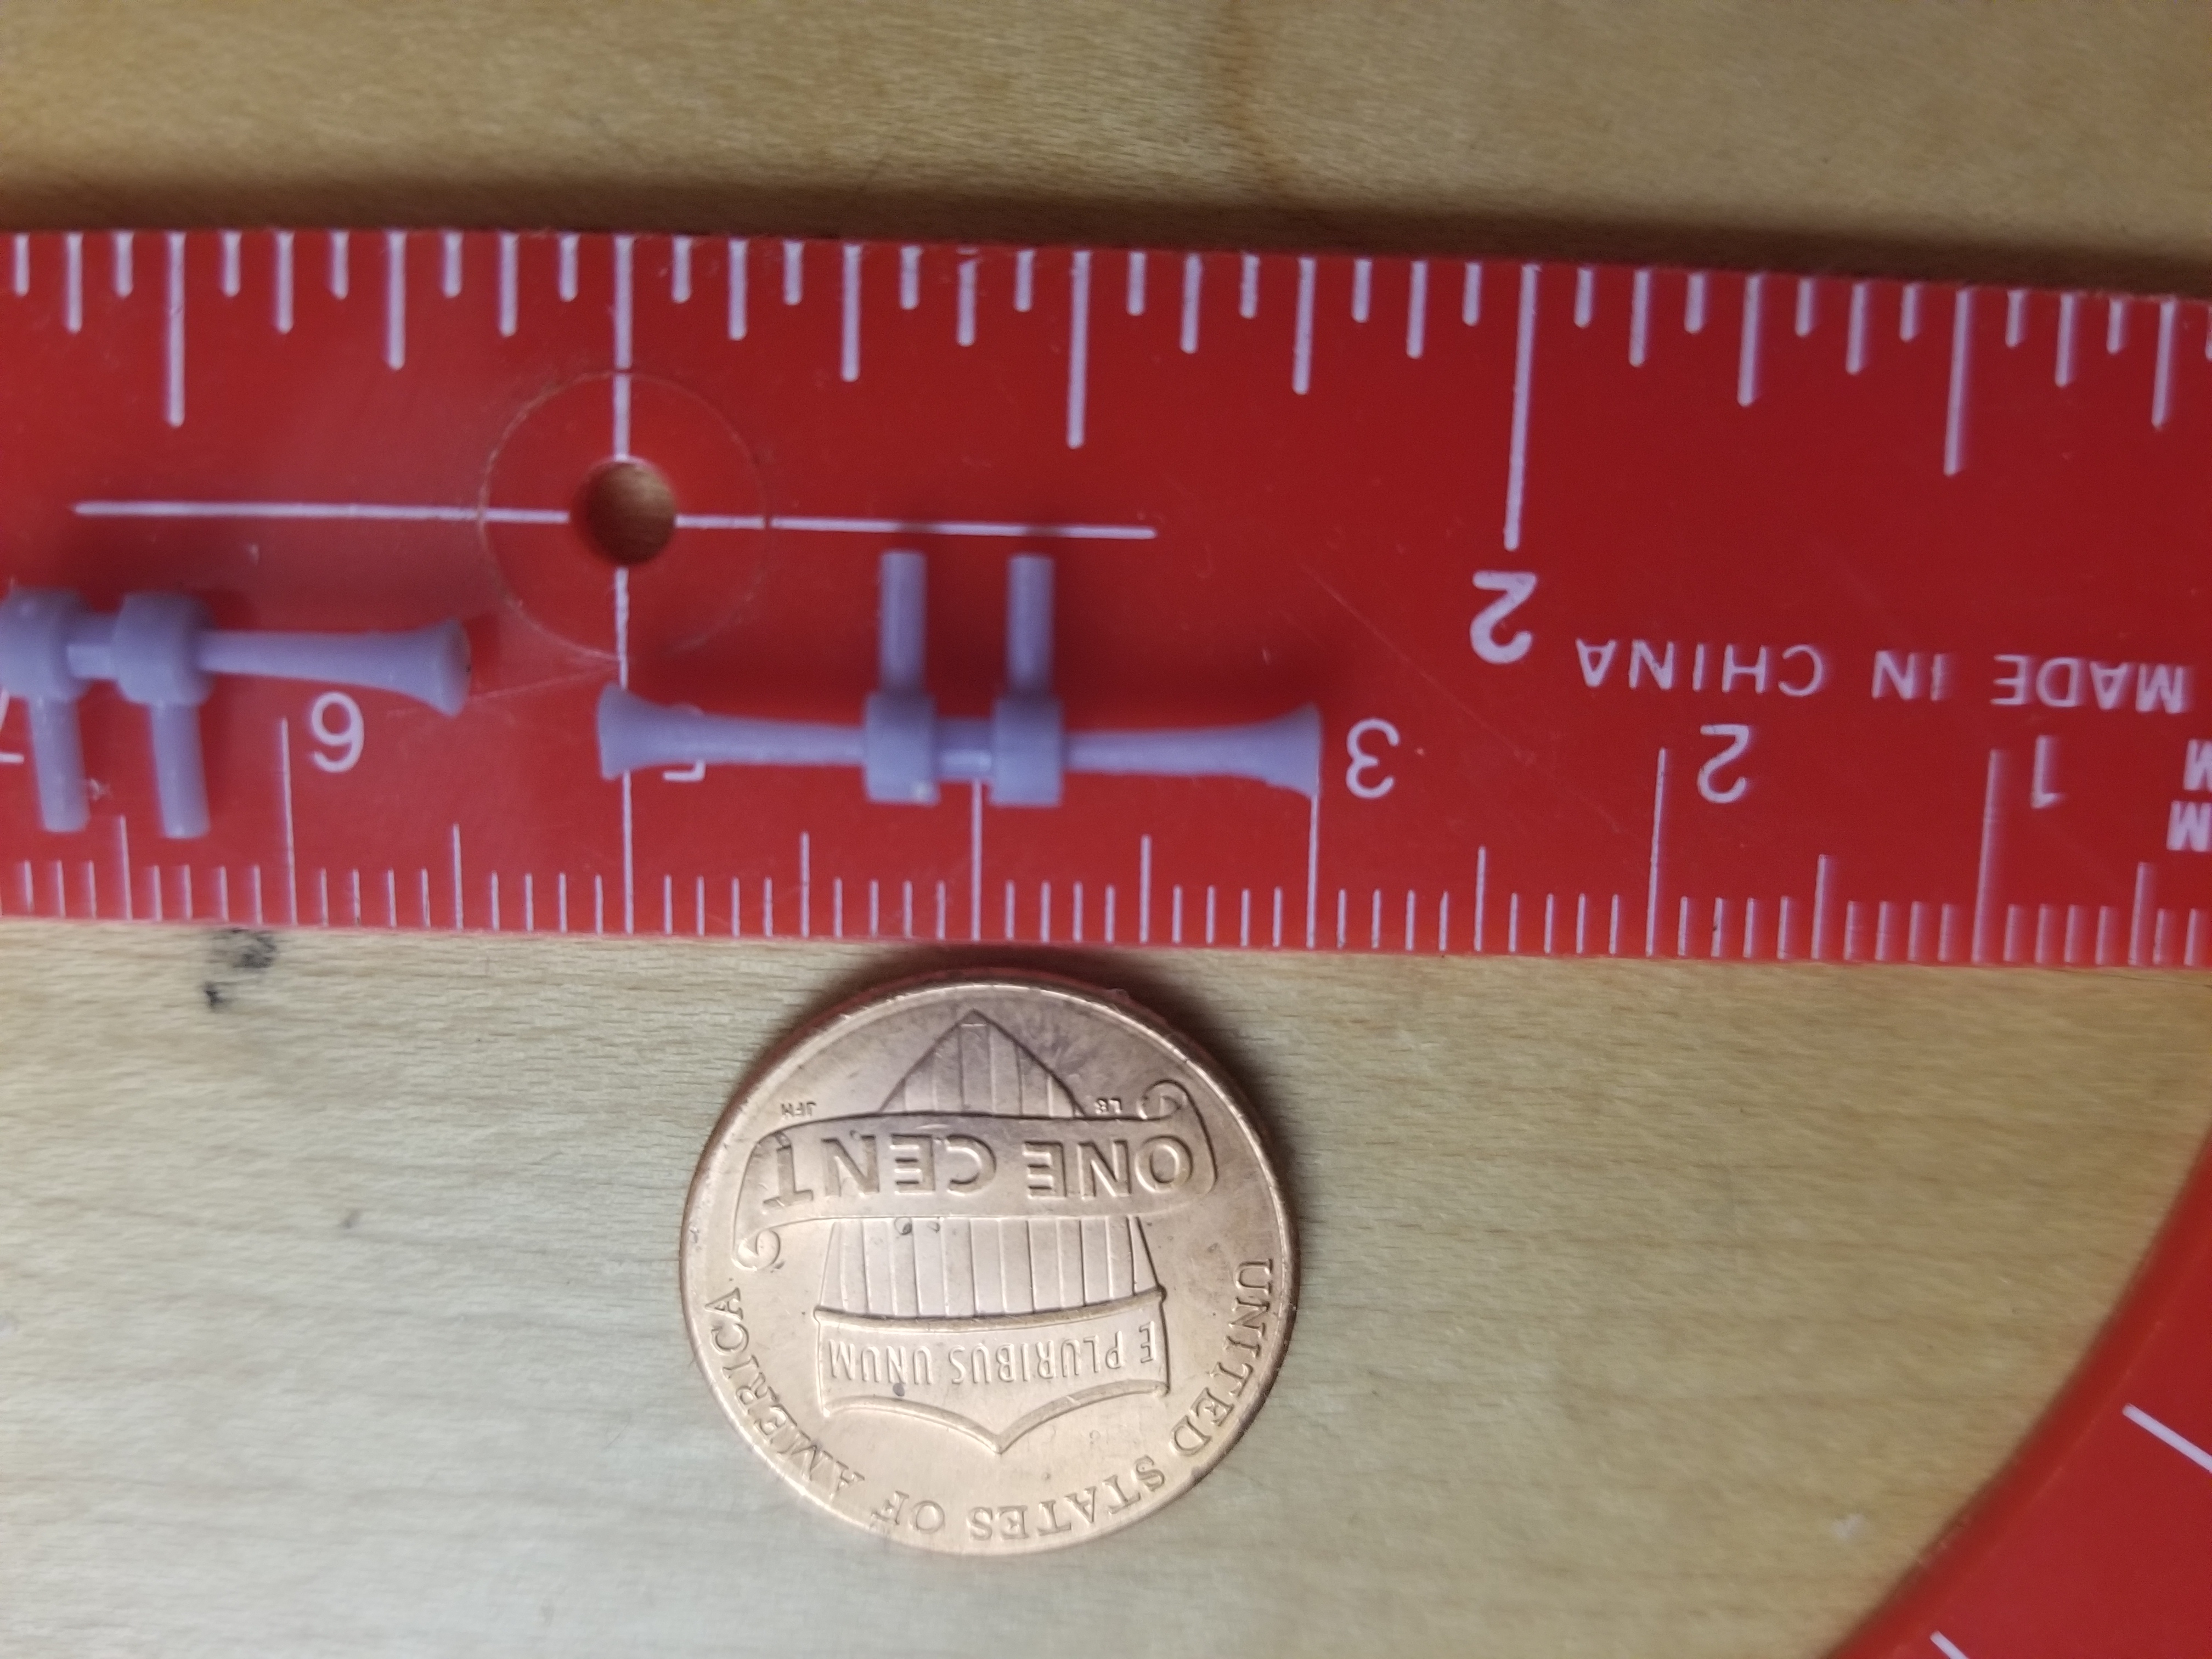
have a known size reference object, preferable a ruler, but even a penny will do
if something MUST be an exact size, try to measure as best you can and document it. the stems of these airhorn might be too big, RP will let me know when he tests them, but if I had asked for an exact size, I'd have less worries. calipers or micrometers are your friend, and even digital metal ones are fairly cheap now
try to get a straight on picture as possible (THIS IS A""WRONG"" EXAMPLE)
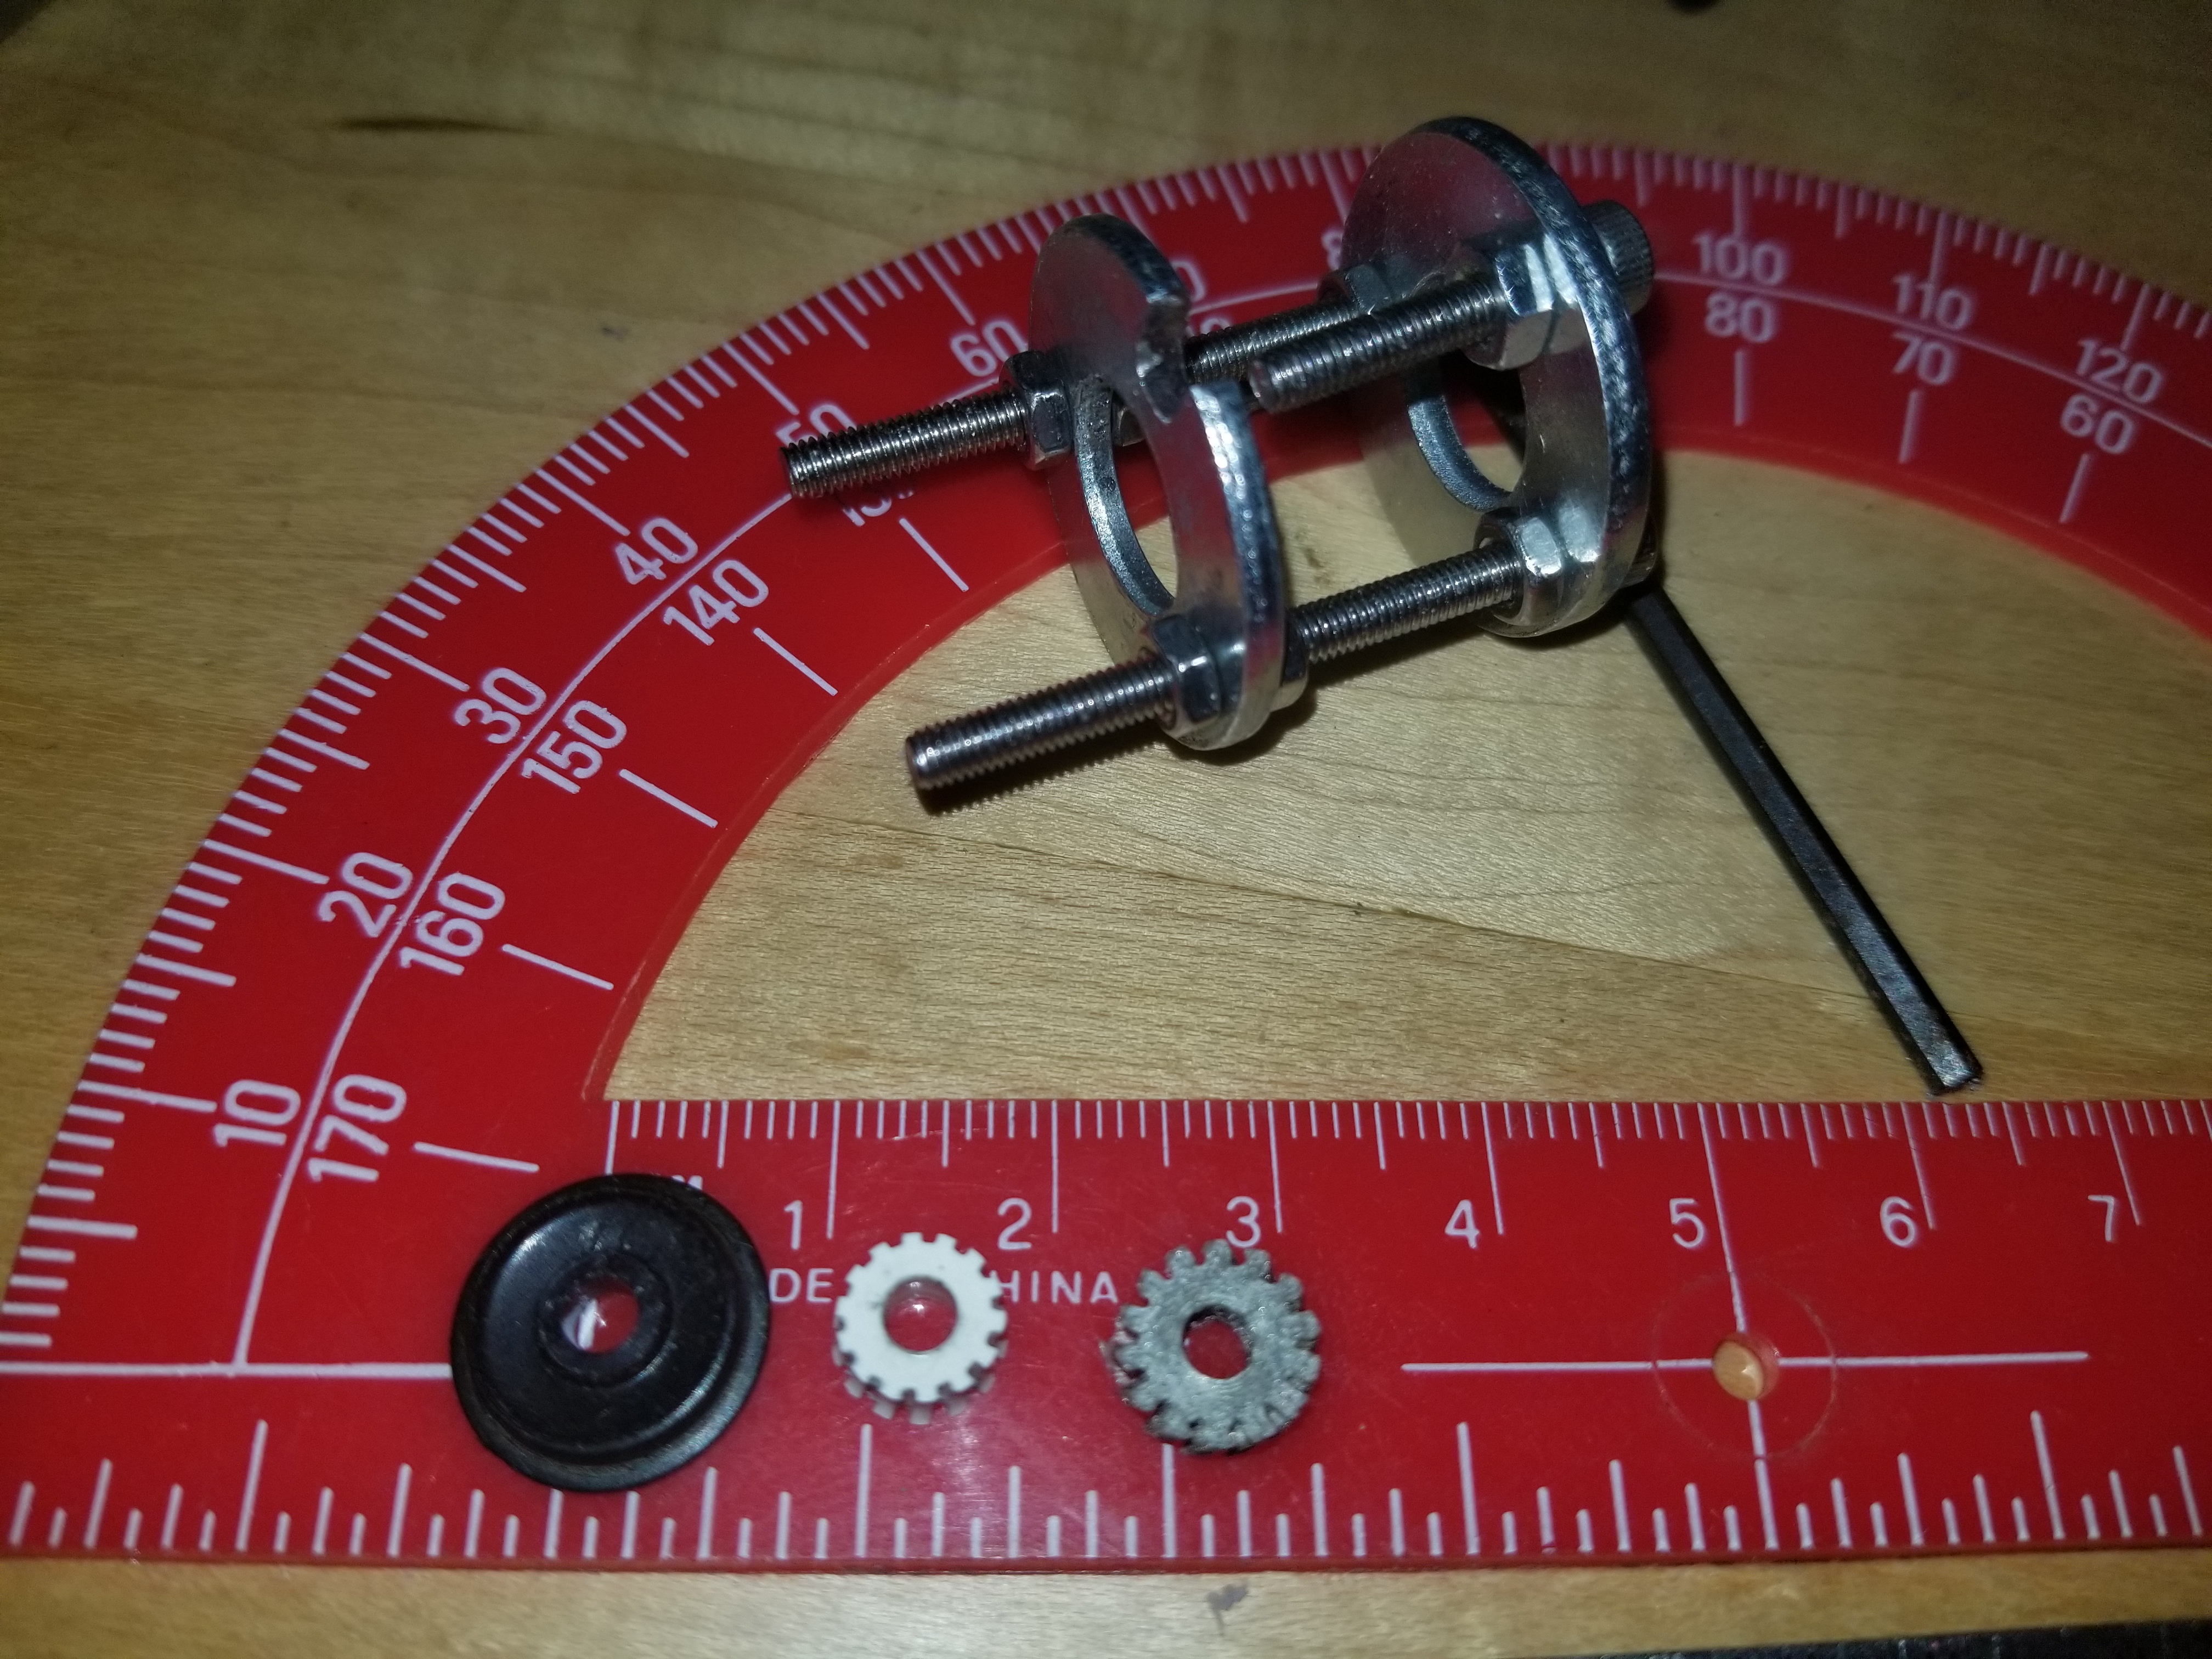
GOOD example, notice you cannot see the sides of the drive wheel?
real madness? click on the pic for full size image so you can count the scratches on the drive wheel
use multiple light sources, this helps keeping the shadows from hiding details. I am still experimenting with camera flash settings. and take lots of photos. digital memory on a camera is cheap compared to the time designing something wrong because there was no photos of an oval part that ended up being designed as round
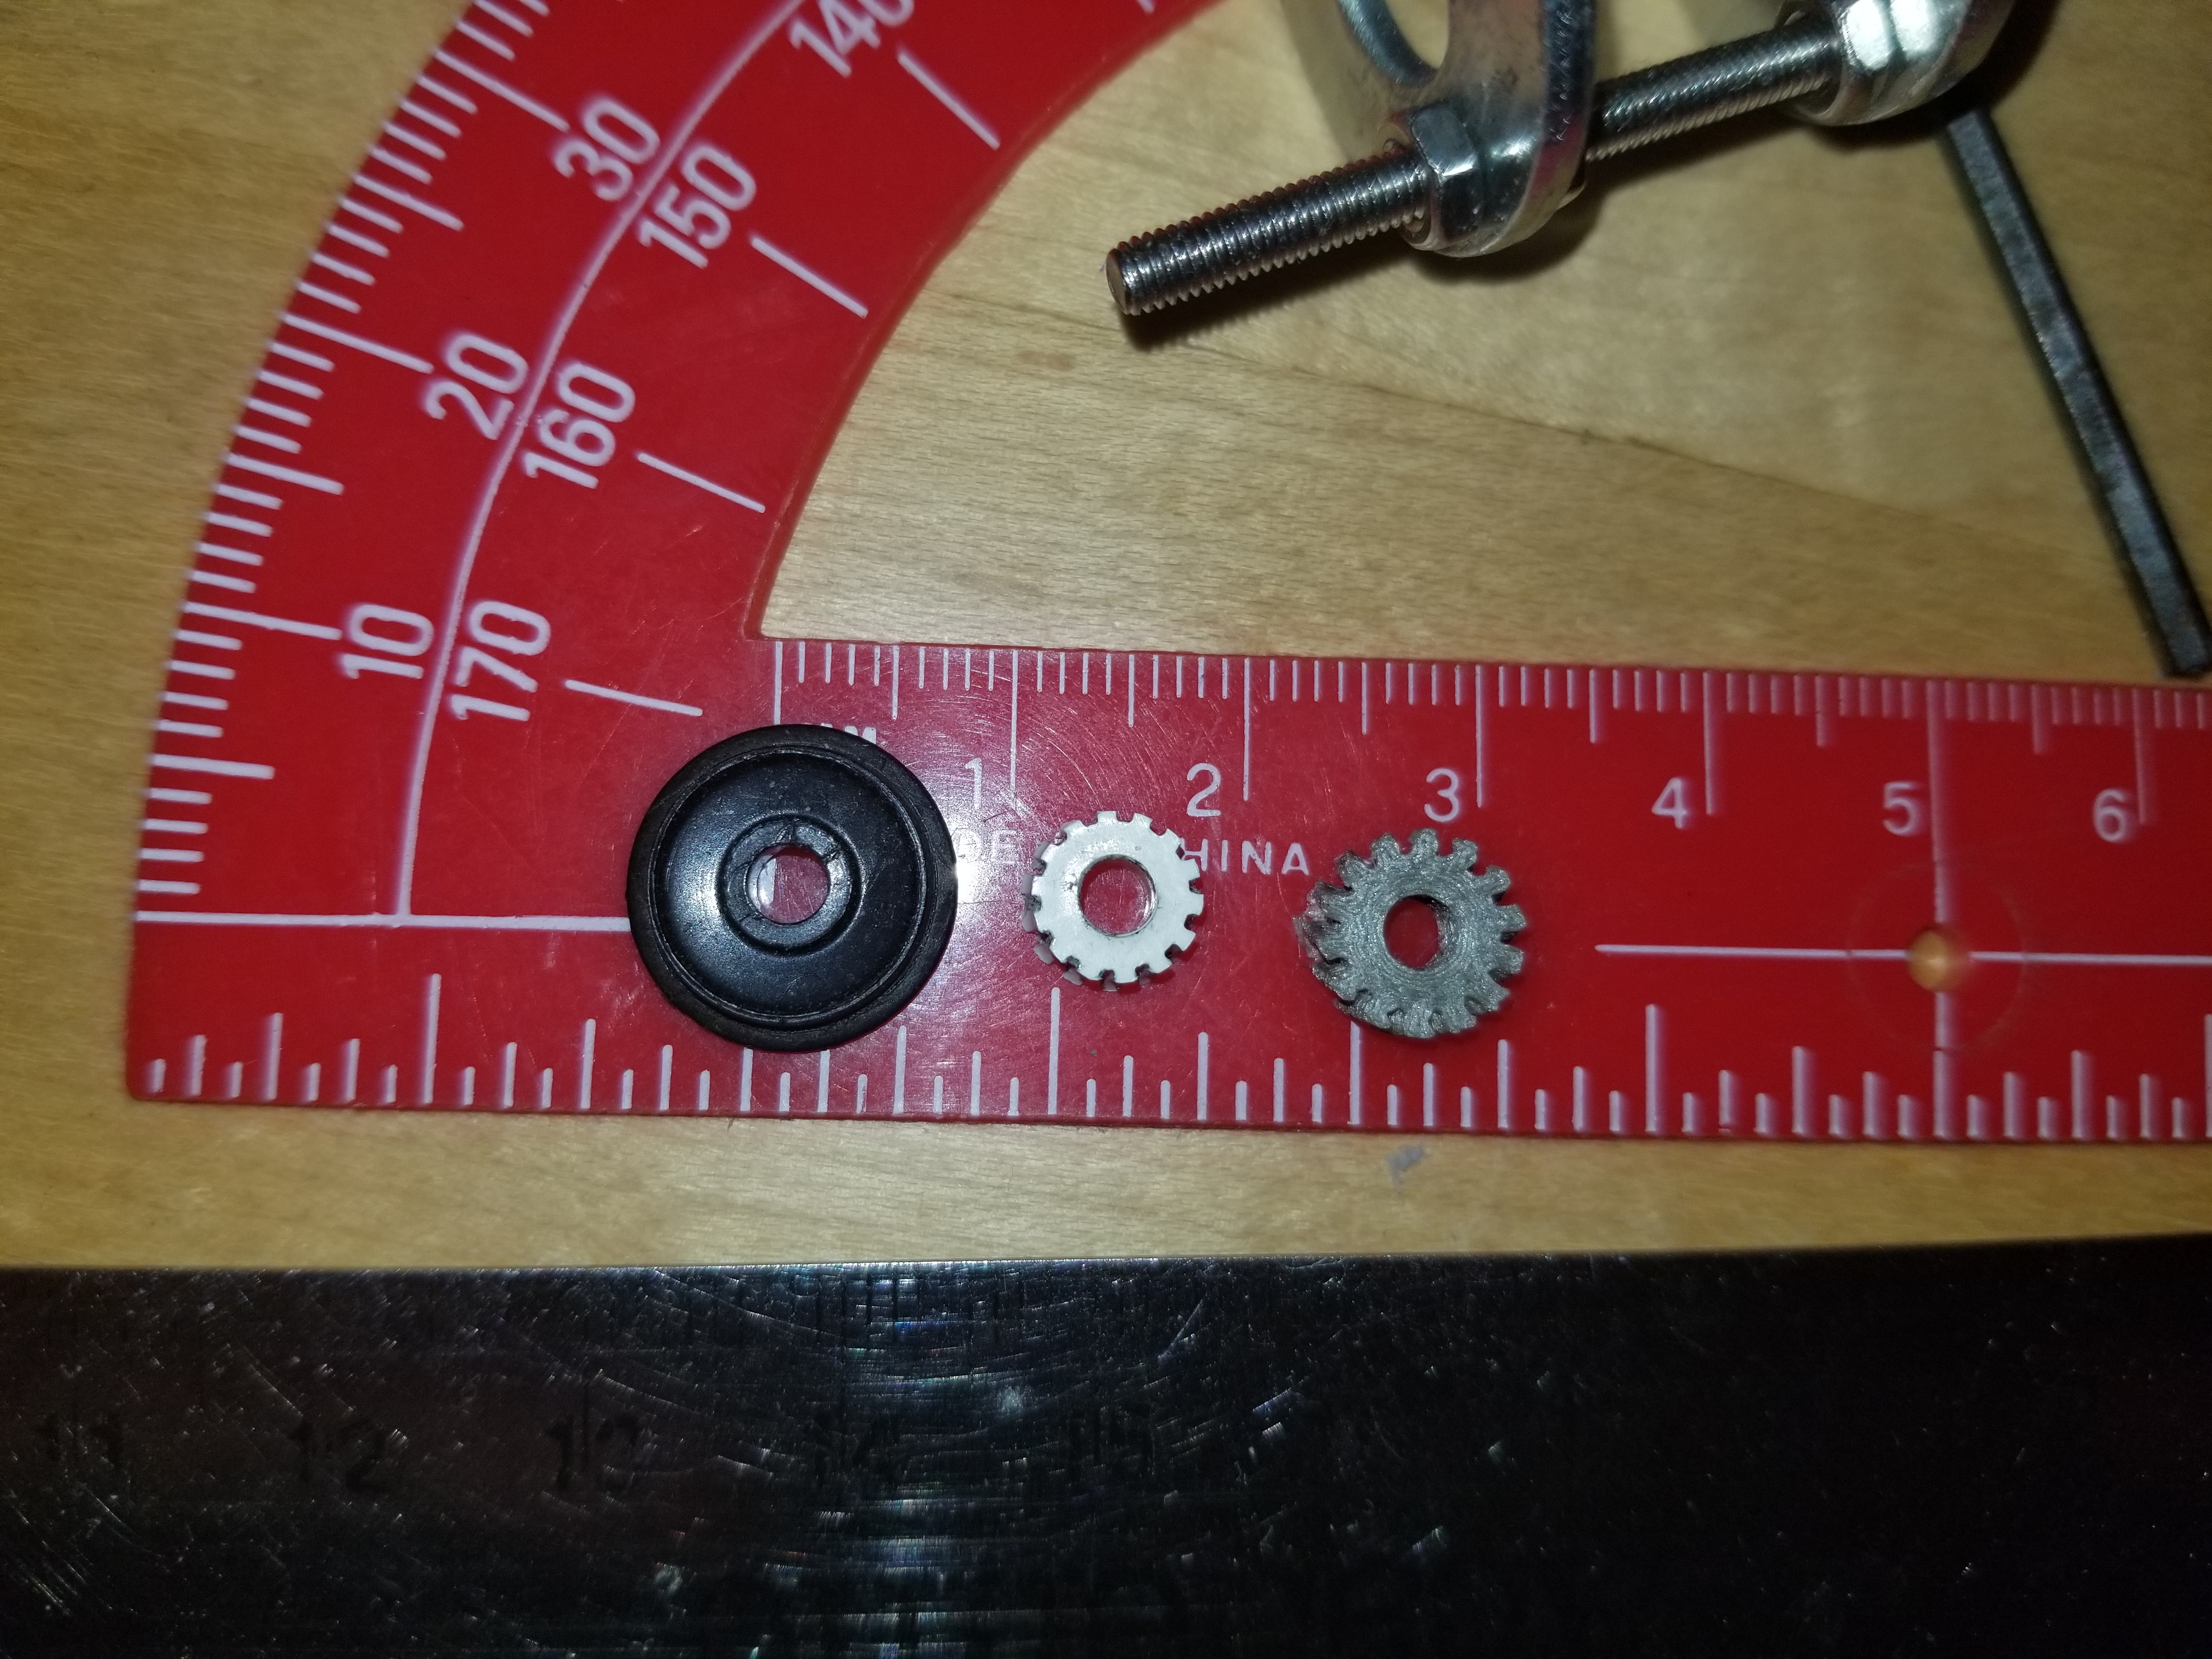
pic of counting gear teeth. grey gear is first attempt that is wrong pitch
flash(notice how sharp the white gear teeth are)
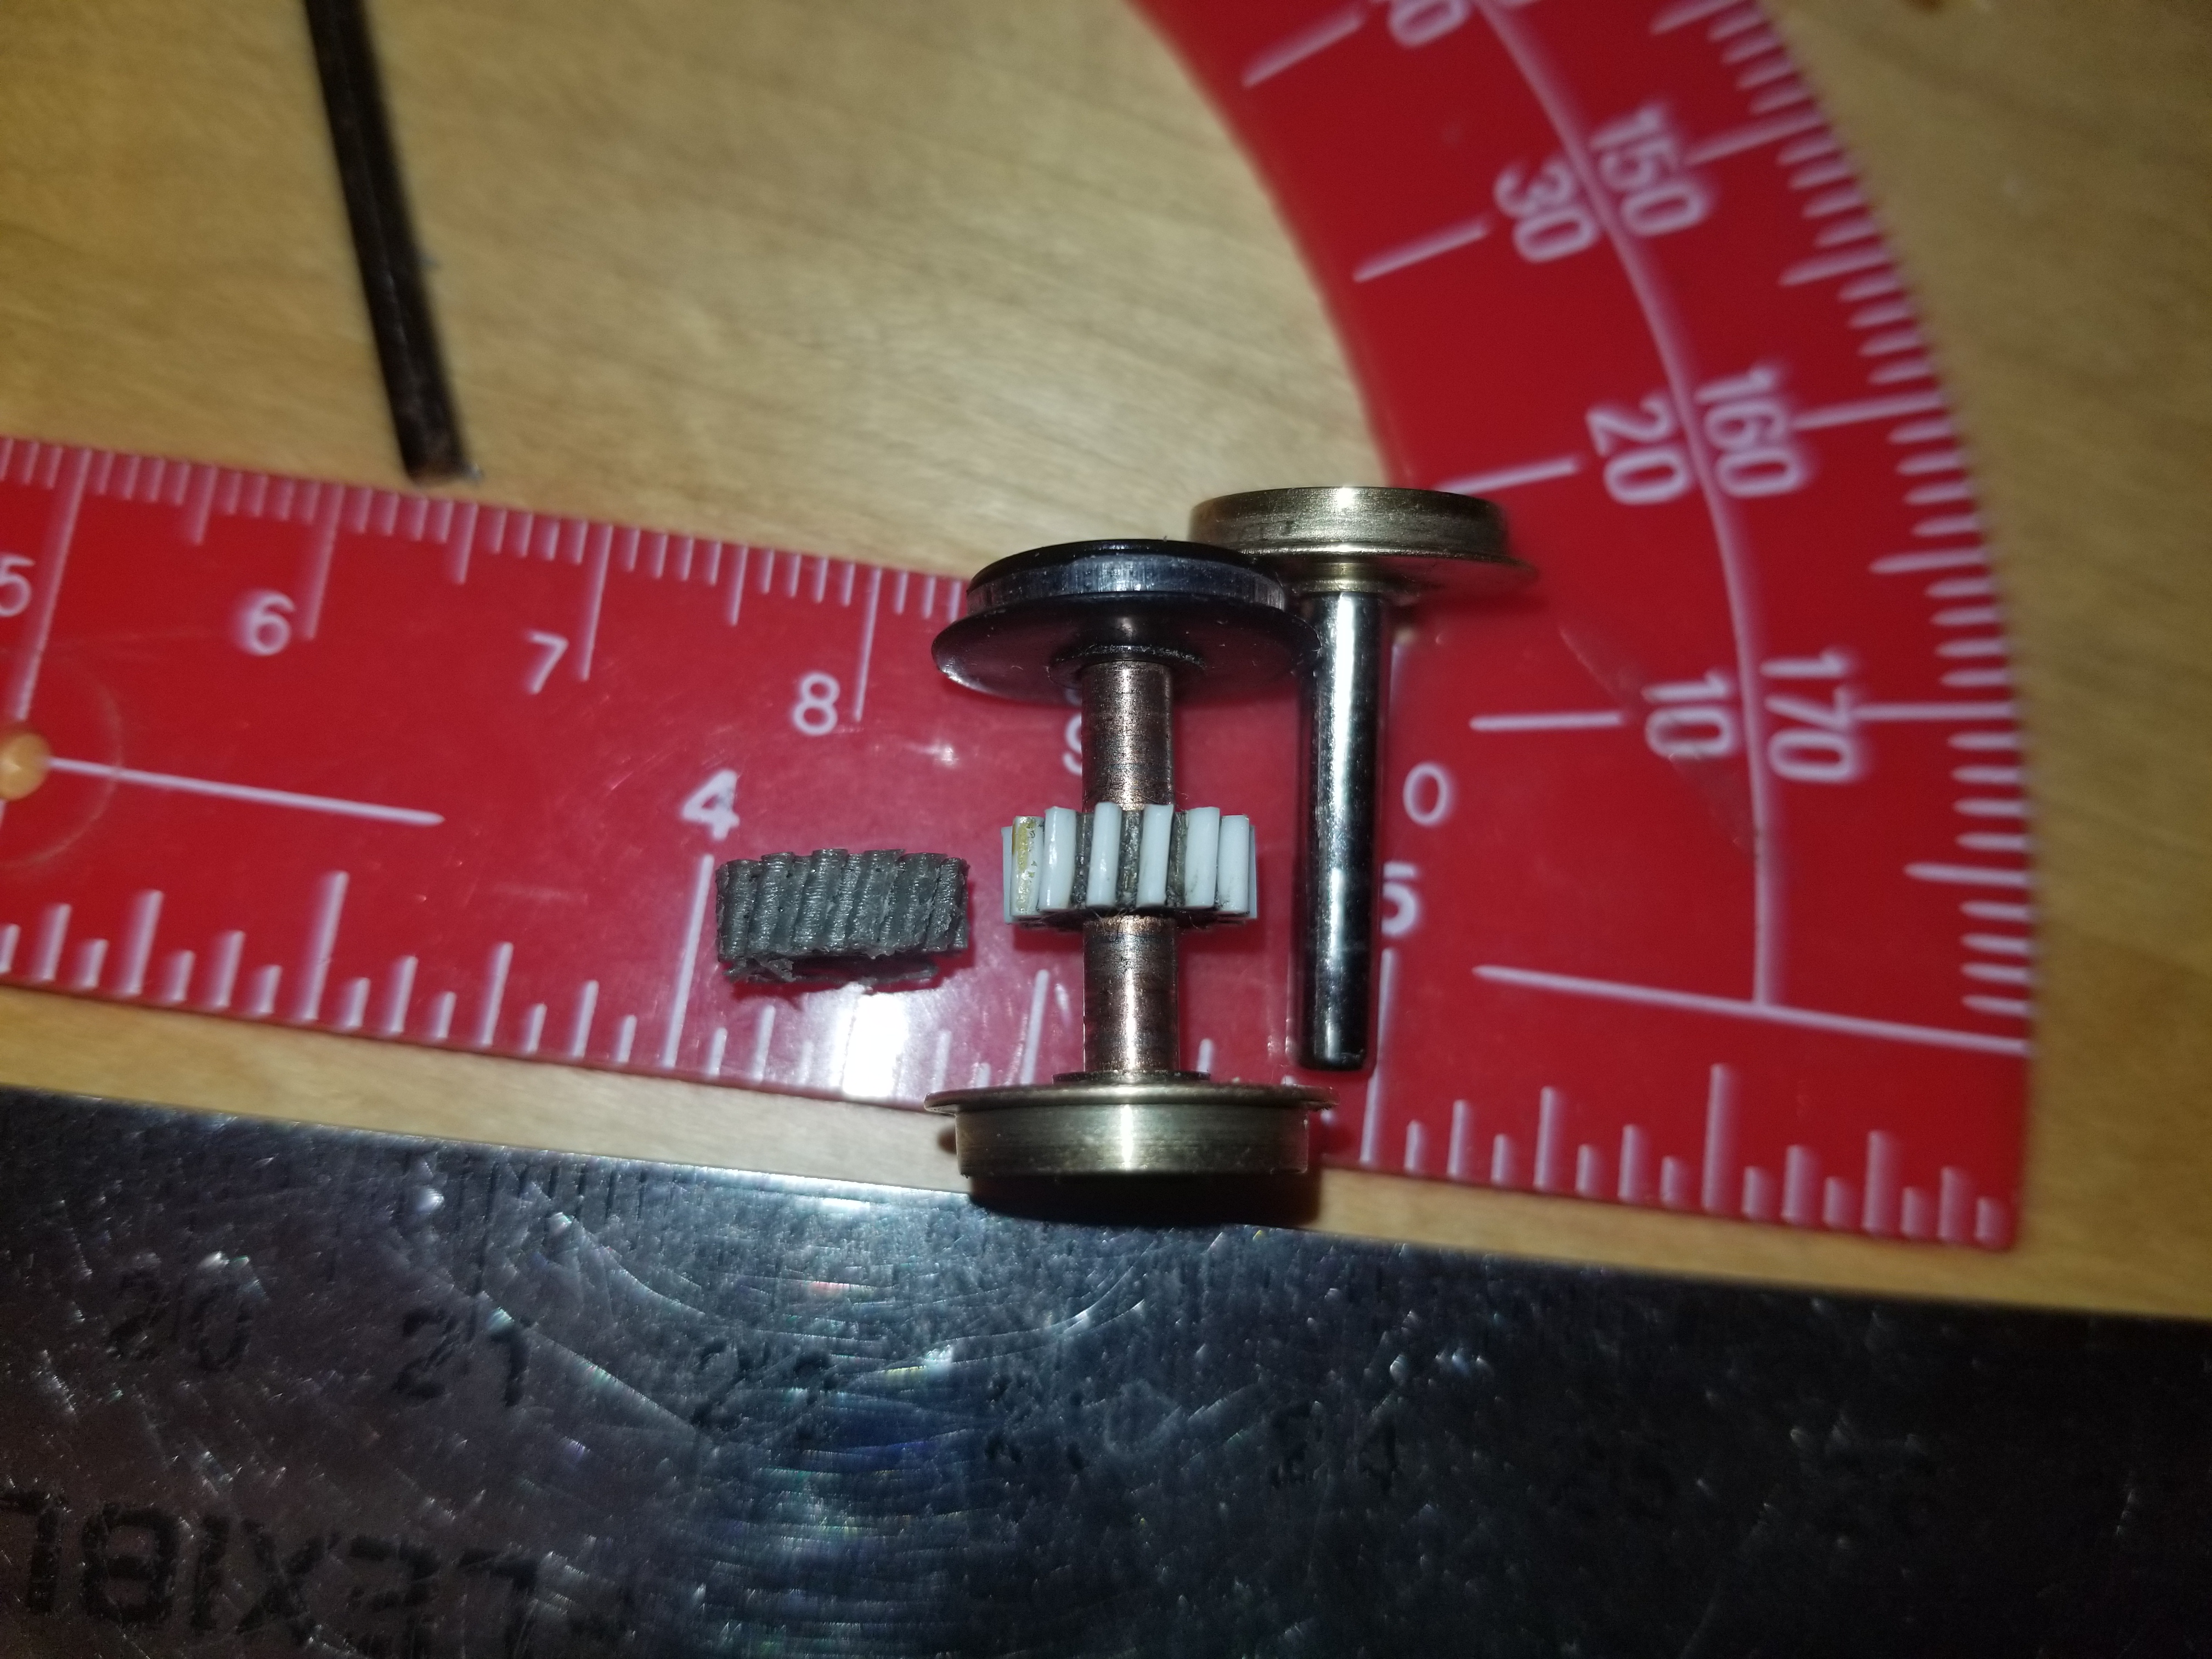
no flash(but better detail of the drive wheel)

|
Country:  USA ~
Posts: 170 ~
Member Since: October 09 2020 ~
Last Visit: July 15 2026 USA ~
Posts: 170 ~
Member Since: October 09 2020 ~
Last Visit: July 15 2026
|
 Alert Moderator
|
|
|
|
Posted - November 21 2020 : 1:01:22 PM
|
I'll add more as I come across pitfalls
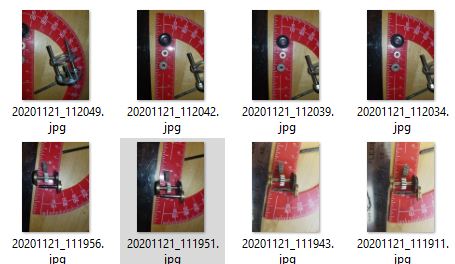
note: chops asked about focus. that depends on your camera, but I find that focusing on the part is more important than focusing on the ruler, and if you can only get one or the other on small parts. move your camera away about an inch or so and the camera should auto-change the depth of field settings
when in doubt, take 10 pictures each one an inch further away than the previous. photographers call this Bracketing(kind of)
example of two brackets I did today
Edited by - tater1337 on November 21 2020 1:02:37 PM
|
|
Country: USA ~
Posts: 170 ~
Member Since: October 09 2020 ~
Last Visit: July 15 2026
|
Alert Moderator

|
|
|
|
|
|
