|
|
 Posted - May 19 2015 : 01:05:06 AM Posted - May 19 2015 : 01:05:06 AM


|
I took MPH's suggestion, and that really did the trick. The burps caused by the
15 inch radius curves is still present, but they don't give me any trouble. The
biggest concern is nailing the track too tight, which I did in a spot or two, that
causes a dip in the rails. Easily fixed by gently prying the nail up a millimeter
or two. The track is rock steady firm and everything tracks sweetly.
MPH made another good point, one that I hadn't realized I was overlooking. He
said, "It's your railroad, do what you want." Looking at all these DYI videos, it
is easy to forget my roots and get bent up trying to "keep up with the Joneses."
I don't think I'll ballast, that is a lot of work, and I'd rather just run the trains
and not worry about gumming up expensive turnouts. I'll paint the nail heads
black, however.
/tyco/forum/uploaded/Chops124/20150519010149_Nailing WS 002.JPG[/
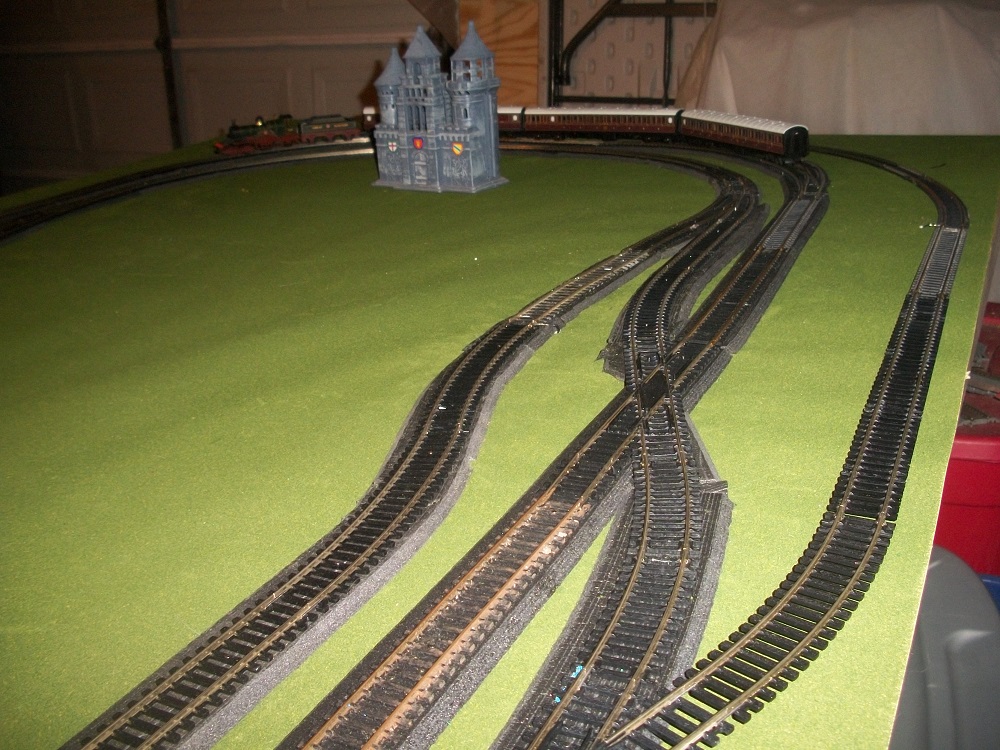
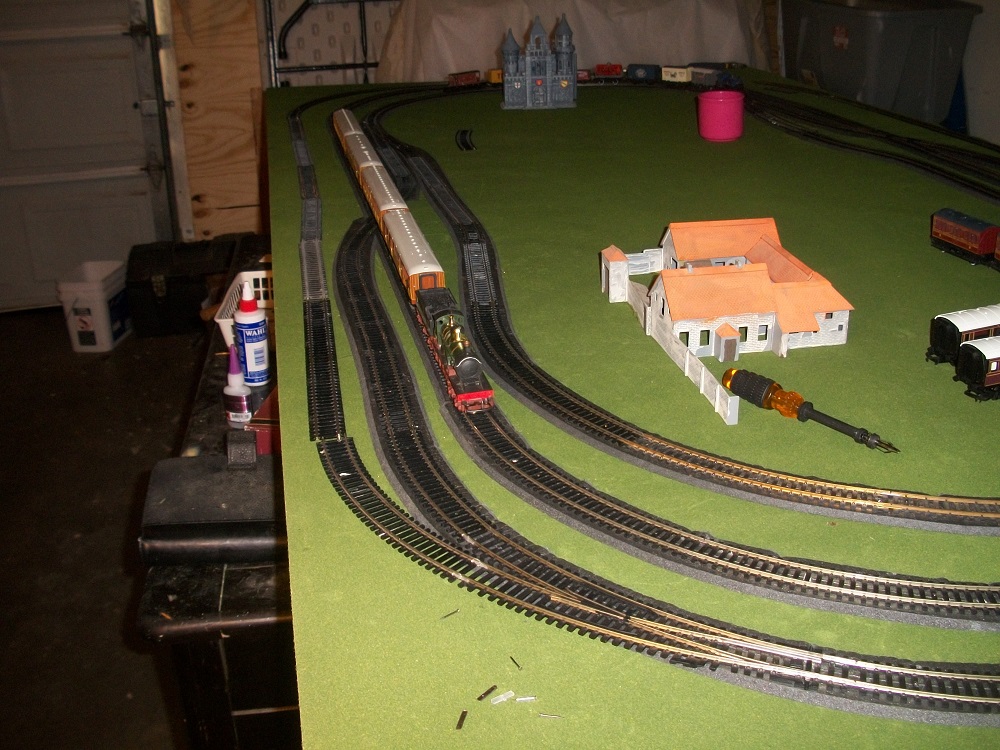
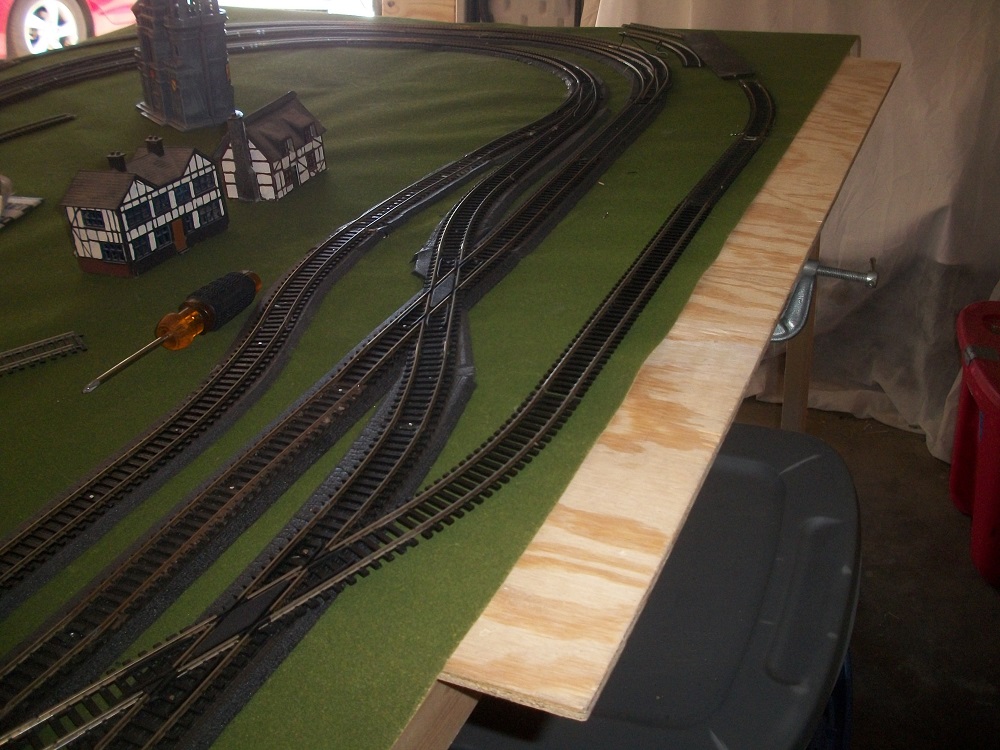
I was holding off on the road bed for the lead track to the yard and glad I did.
I realized I could run the yard lead around the outermost perimeter of the
layout and feed it back in on the inner loop. By going into the inner loop
and thus one more time around to the inner-inner loop one can navigate
between main lines and also into a single lead track to the future switching
yard. Using DCC, this will be even more interesting keeping the trains
from bonking into each other.
Because the WS roadbed is only tacked down with nails, it was nothing to
remove track sections and re-lay the road bed. Had it been glued down, it
would have been almost too much work to consider.
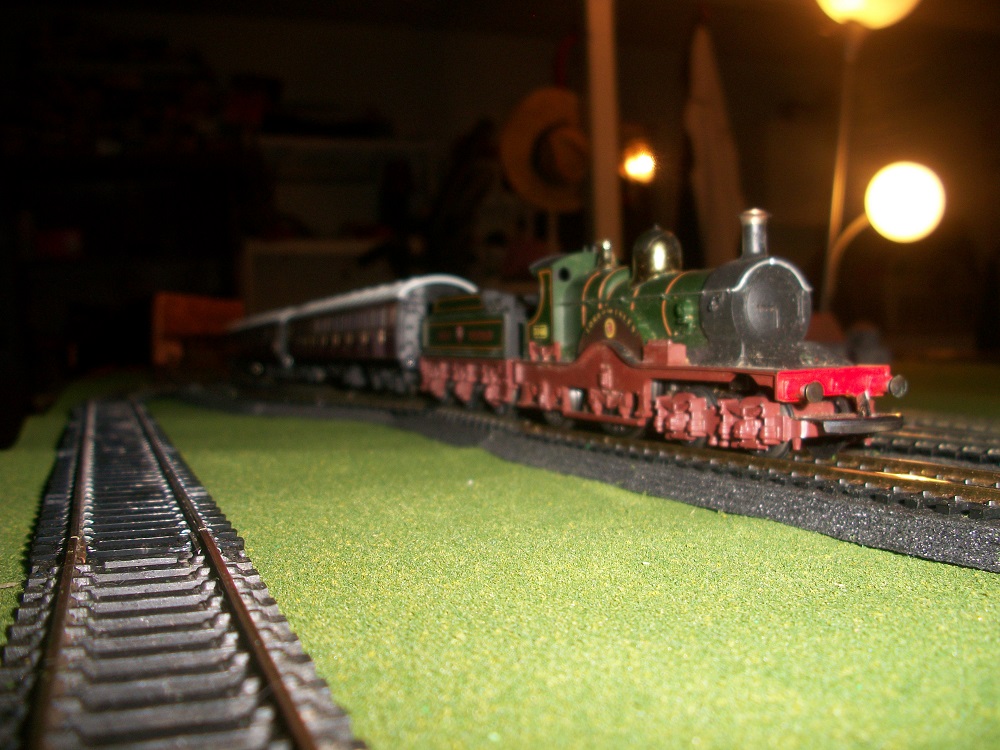
Incidentally, that "Lord of the Isles" pictured above has turned out to be
a very decent and reliable runner, after a little breaking in. New in box
from the late '60's or early '70's, she ran! A little sticky at first, but she
ran! She also has a working smoke unit!
Edited by - Chops124 on June 02 2015 4:48:04 PM
|
Country:  USA ~
Posts: 11686 ~
Member Since: December 09 2013 ~
Last Visit: May 26 2026 USA ~
Posts: 11686 ~
Member Since: December 09 2013 ~
Last Visit: May 26 2026
|
 Alert Moderator
|
|
|
|
Posted - May 21 2015 : 09:19:46 AM
|
Looking good Chops! You've probably noticed in my module posts, but I also used the WS foam roadbed. Think I might use cork next though. It seems easier to manipulate/form. The foam is too wide. Not sure how foam would do for tighter radii...
For your foam problem around the 15" curves, did you pie cut the outside or the inside? Cutting on the inside to about 1/4" from the edge allowing it to stretch should allow it to lay flat and then be hidden by the track.
|
|
Country: USA ~
Posts: 259 ~
Member Since: October 23 2014 ~
Last Visit: March 28 2017
|
Alert Moderator

|
|
|
|
Posted - May 21 2015 : 5:16:51 PM
|
I tried pie cutting, but it was difficult to get the exact spot, so I just let it bubble up and will chisel out bits here and
there.
Everything is working pretty good, but I am
having to go and adjust the coupler mechanisms on
the mahogany passenger coaches. It seems that
somebody got very creative down at the plant, and
what looked good on paper translates into couplers
with lateral stickiness, even on the broader curves.
Any ideas on how to lay a decent cobblestone
street? I am thinking of a Plasti-struc product, used
for retaining walls, but will end up with seams
where the ends join. I may have to live with
that unless there is a better way.
Edited by - Chops124 on May 21 2015 5:17:38 PM
|
|
Country: USA ~
Posts: 11686 ~
Member Since: December 09 2013 ~
Last Visit: May 26 2026
|
Alert Moderator
|
|
|
|
Posted - May 21 2015 : 6:06:09 PM
|
quote:
Any ideas on how to lay a decent cobblestone
street? I am thinking of a Plasti-struc product, used
for retaining walls, but will end up with seams
where the ends join. I may have to live with
that unless there is a better way.
Originally posted by Chops124 - May 21 2015 : 5:16:51 PM
|
I found some interesting options Googling "ho cobblestone streets". Here's a couple:
http://www.modelbuilderssupply.com/index.php?cPath=275&sort=2a&page=2
http://www.micromark.com/cobblestone-paper-4-sheets-ho-scale,8522.html
http://tycodepot.com/
|
|
|
|
|
Posted - June 02 2015 : 4:59:55 PM
|
Thank you very much for cobble stone info. Saved me a lot of trial and error. I will put in an order for the Micro Mark version today.
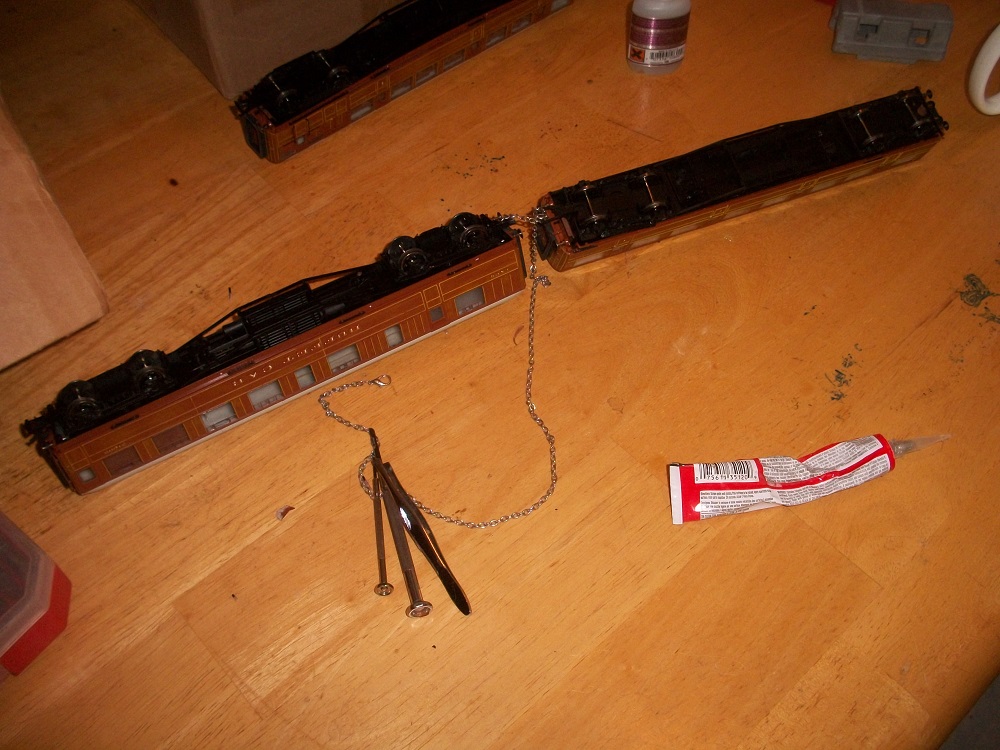
As of late been doing a lot of testing and ironing out of bugs; making progress.
I was bedeviled by three things:
1. I was off by an inch, requiring me to patch in an
extension to accommodate the interchange track.
2. These clever Hornby couplers had a cam thing allowing the trucks to swivel on
tight curves. Well they didn't. The cam bound the coupler flipping the entire skunk
works off the rails. Had to take a deep breath and carve out the cam. One coach had
a broken coupler, so had to affix a small bit of chain to permanently couple the two.
3. Bending the rules ended up with a super tight clearance, it works with the short
goods wagons, but passenger consists will have to go slow order through this squeeze.
|
|
Country: USA ~
Posts: 11686 ~
Member Since: December 09 2013 ~
Last Visit: May 26 2026
|
Alert Moderator
|
|
|
mph
Switcher

Status:
offline
| |
Posted - June 02 2015 : 9:44:42 PM
|
The layout is really coming along nicely!
Mark
|
|
Country: USA ~
Posts: 39 ~
Member Since: January 19 2013 ~
Last Visit: February 15 2016
|
Alert Moderator
|
|