|
|
 Posted - October 25 2014 : 08:31:00 AM Posted - October 25 2014 : 08:31:00 AM


|
Not sure if this has been posted here before. This looks like the trick for model railroaders.
http://www.beldecal.com/model_decals.cfm
Unspoken expectations are premeditated failures.
|
Country:  USA ~
Posts: 825 ~
Member Since: December 22 2008 ~
Last Visit: March 16 2015 USA ~
Posts: 825 ~
Member Since: December 22 2008 ~
Last Visit: March 16 2015
|
 Alert Moderator
|
|
|
|
Posted - October 25 2014 : 10:46:40 AM
|
This is the same place as "decalpapers.com" that I buy from regularly- and you see my custom -made (DIY) decals on my posted projects in the Kitbashing/Customizing forum.
I recently split an order and purchased some white backround decal paper as well as the clear I normally get. There is a significant problem with the white paper- when you create a design, you either enclose it in a colored border box that you can cut along the lines of to get a good result, or you have to incrementally cut around the design itself- very hard to do, even with an exacto blade- to get the decal ready to soak and apply.
When you use clear decal paper, yellows and light reds/ light blues will show as faded colors against the body color of the car you are applying them onto, as the inkjet inks of these lighter tones become translucent against a backround color (except pure white). Black is never a problem; dark and medium blues generally also; same goes for darker reds and browns. Pastels or lighter colors (oranges, pinks, yellows) can only be applied on a white backround to be seen in their normal tone, otherwise they will show up translucent, as I mentioned. So I would stay away from the white backround decal paper, unless you have the hands of a surgeon. The clear paper is best.
I use the recommended Krylon Gloss Crystal Clear- get it at Walmart- to overcoat the decals after they have dried from the printer. I make 3-4 passes over the printed decals and let them dry overnight just to be safe.
Procedure:
1-Design decal- use the least amount of paper space possible with your designs and lettering
2-Print decal
3-Cut off (use a straight edge and make sure the cut is 90 degrees!) printed area from decal paper (you will be able to adjust your printers feed tray and use the remainder of that sheet several more times for other decal projects later on)
4- Tape the cut-off printed decal design to some scrap cardboard, let dry for at least 12 hours, then spray (3-4 passes) the printed decal paper with Krylon Gloss Crystal Clear
5- Let dry overnight (trust me on this!) after clear coating the decals!
6- Cut decal designs and/or lettering strings from decal sheet, soak 1-2 minutes in room temperature water and apply to a glossy surface.
7- Let decals dry overnight and then apply Testor's Dull-Cote and allow to dry for a few hours
That is how you obtain the results I have had, as per my posted project cars.
PM me if you have any further questions.
Siouxlake Ron
Edited by - siouxlake on October 25 2014 10:50:37 AM
|
|
Country: USA ~
Posts: 510 ~
Member Since: September 21 2011 ~
Last Visit: December 21 2014
|
Alert Moderator

|
|
|
|
Posted - October 26 2014 : 03:31:01 AM

|
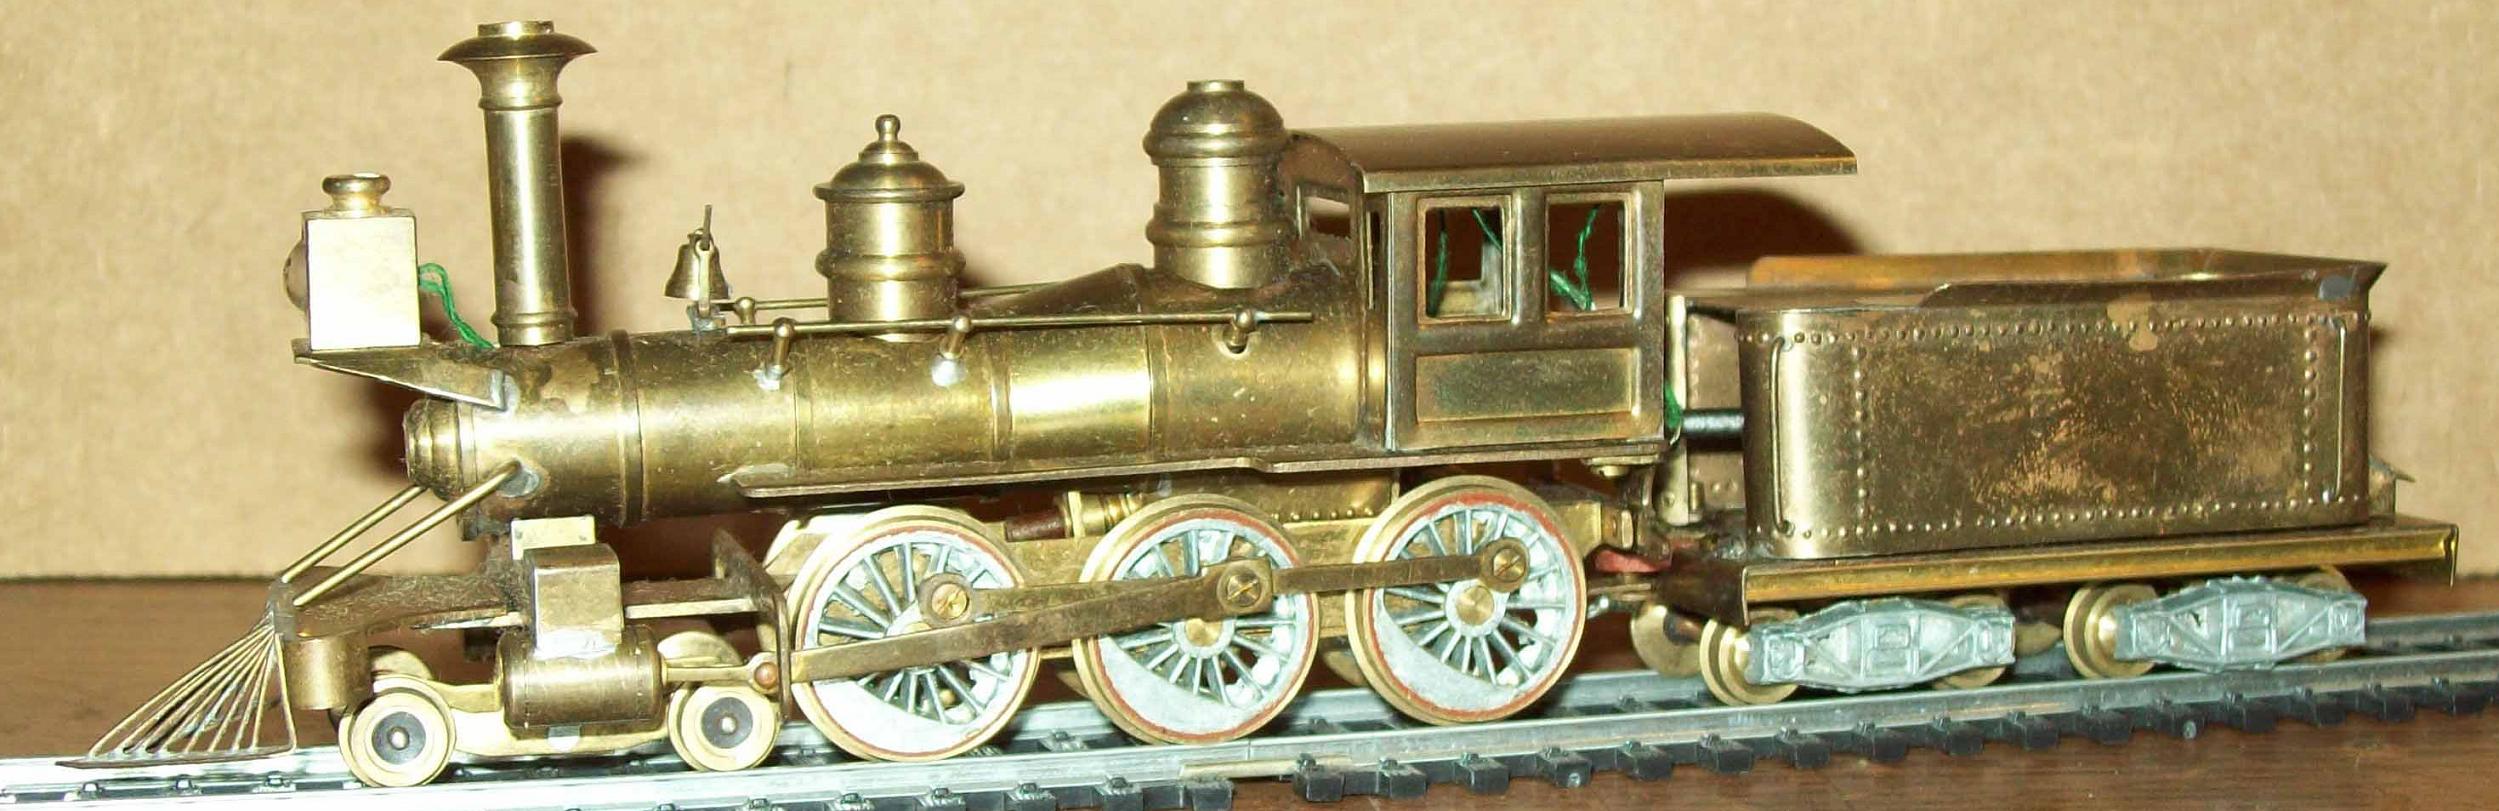
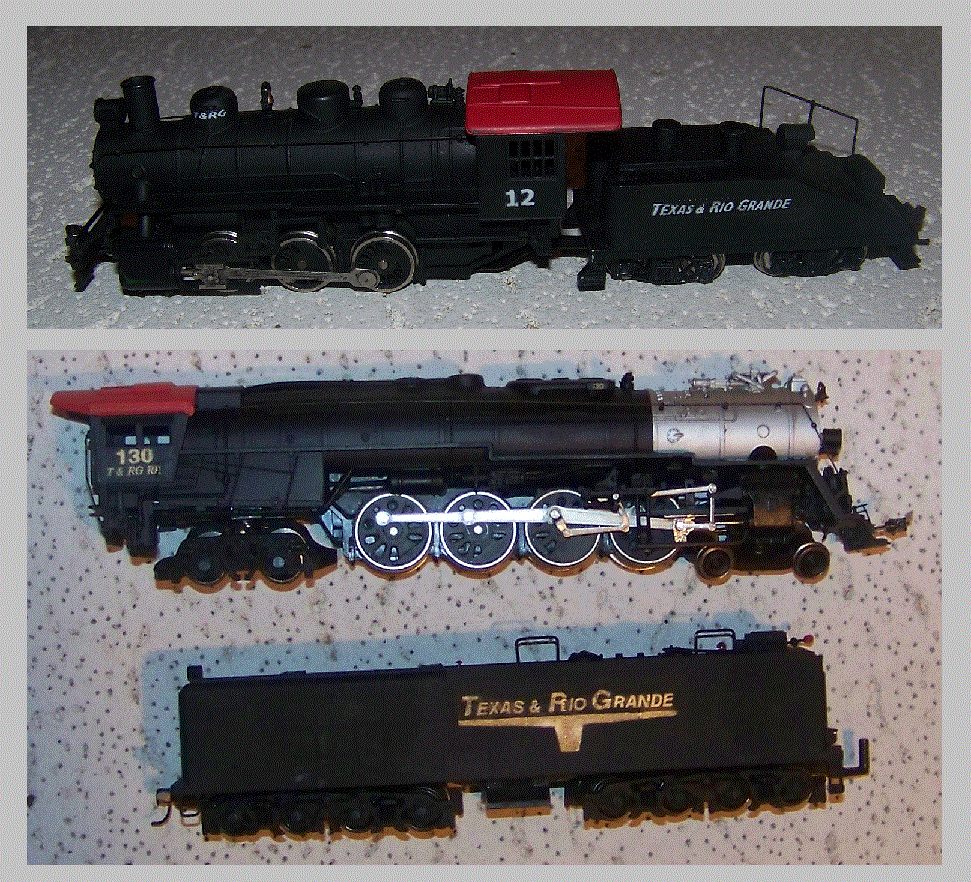
Here are a couple of examples of homemade decals. These were laser printed.
The switcher has white paper decals that have been blended with black paint around the edges.
The 4-8-4 has clear paper decals that were laid over a gold painted area. They were also blended with black paint.
Regards John ***********************
If I were two-faced, would I be wearing this one? <> Abraham Lincoln
|
|
Country: USA ~
Posts: 886 ~
Member Since: January 11 2012 ~
Last Visit: December 16 2023
|
Alert Moderator
|
|
|
|
Posted - October 26 2014 : 1:22:30 PM
|
Thank you John. I've been trying to figure out how to get white/gold/silver decals from my laserjet. Never thought to do it that way. And they really look good.
Edited by - oldtimer52 on October 26 2014 1:23:21 PM
|
|
Country: USA ~
Posts: 865 ~
Member Since: September 23 2014 ~
Last Visit: May 01 2023
|
Alert Moderator
|
|