|
|
 Posted - December 08 2012 : 4:32:50 PM Posted - December 08 2012 : 4:32:50 PM


|
Well, after advise from Frank, Ray, and John and some good ol' fashion ingenuity, I have started my latest steam kitbash. I'm taking a Mantua 0-4-0 mechinism and adding it to a 0-8-0. Another cheap project that ends you with a locomotive to the roster with spare parts. So nothing did come from something! I use a Dremel with a grinder bit (similar to a die-grinder bit) and started to grind the motor mount portion today. Afterwards, I cleaned the area and knocked the high spots down with a file.It didn't take much to get the area for the motor to sit level with the gear. My advise it take a break in between and keep checking!
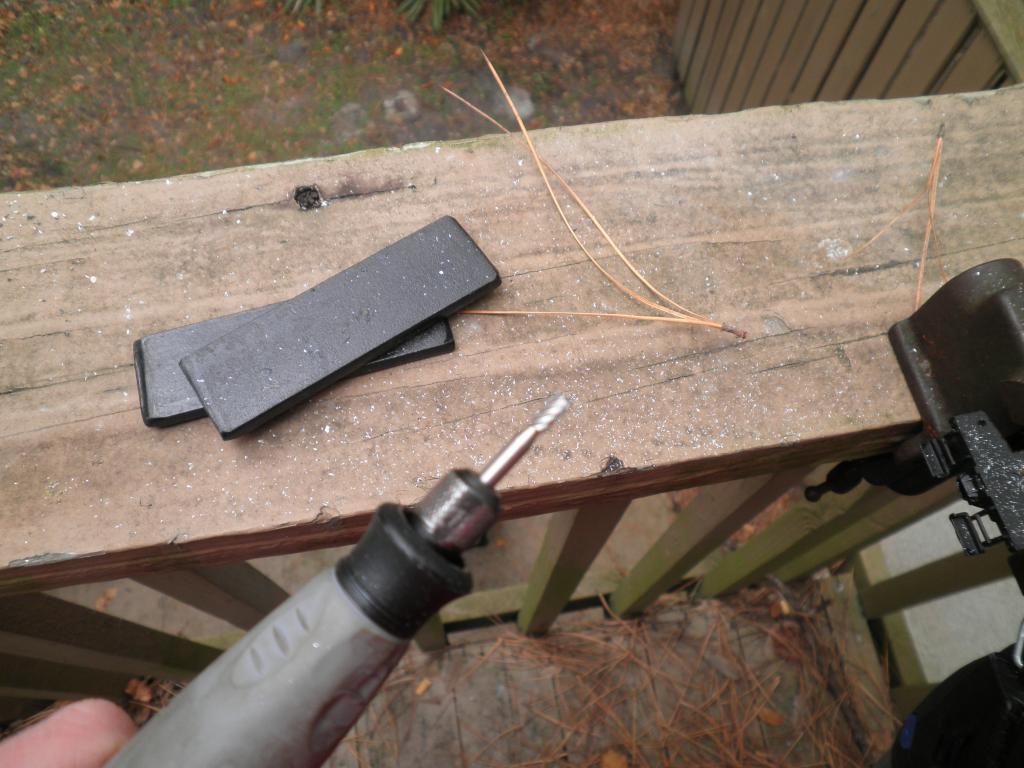
The bit I used:
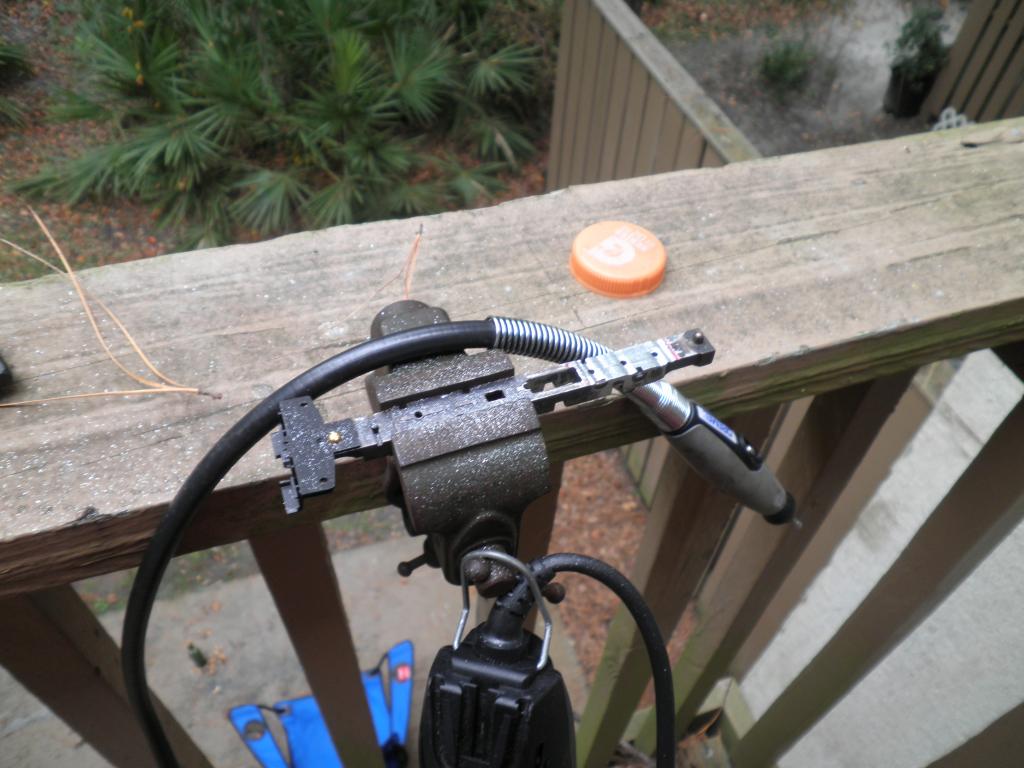
The setup:
I decide the pilot coupler needed a upgrade. I used that same bit, and a lower speed to grind away the old coupler pocket and guide. Be careful here so you don't gouge the frame up or burn the plastic up! Other adviser is do not let the bit "walk". If it does, the pilot steps will be wiped out. The pin casted on the frame for the old coupler's whisker needs to grinded down to the frame level. Slow to medium speed on the Dremel setting is also advised.
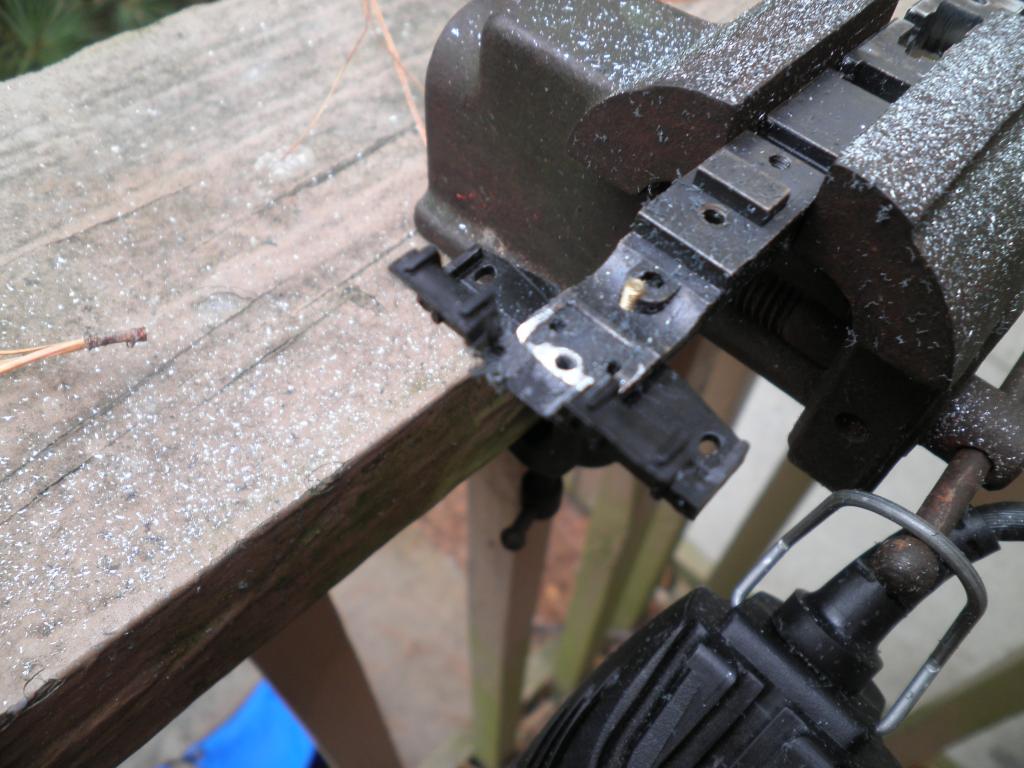
After the area was prepped:
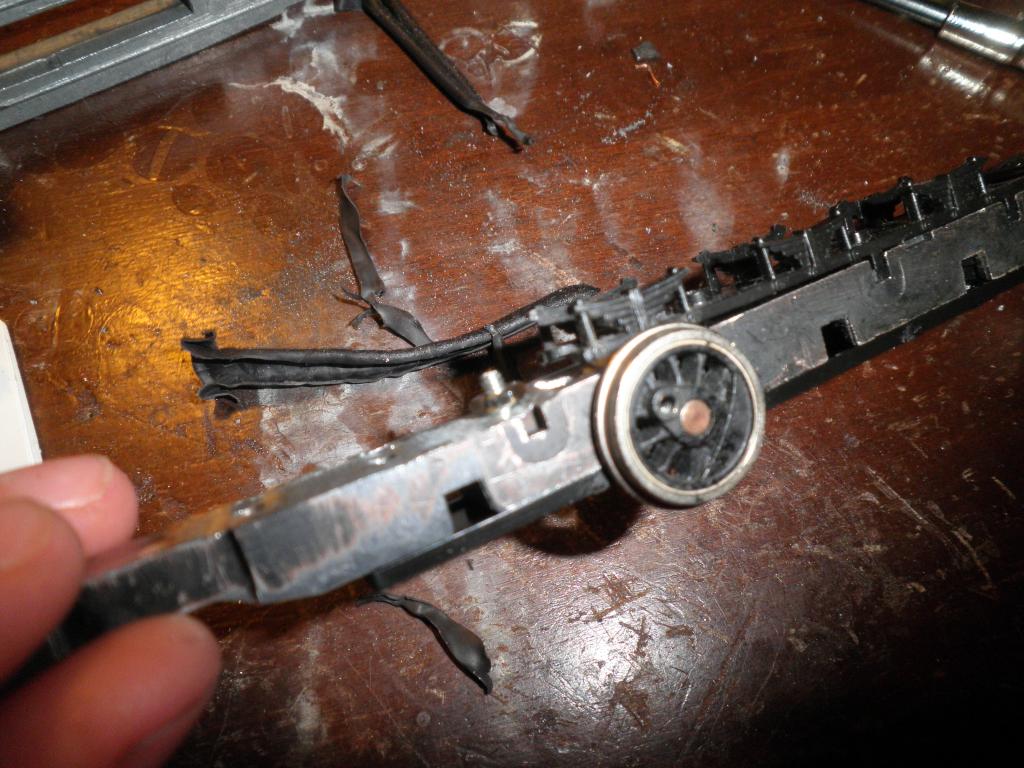
Once the motor was test fitted, the screw (a 2-56) needed to be shortened. I used a 2-56 nut and a hand file and filed until it was short enough. Be careful so the file doesn't nick the threads and keep the file level:
To mount the motor propperly prior to or after milling the frame, you need to get the frame center marked out and the motor centered and marked for drilling. I used the old brass bracket from a old Mantua motor and bent the top back so it had clearence for the drill and drill bit. I used a drill bit larger enough for the 2-56 screw to clear it so it's easier to remove the screw and motor without a left or right turning to do a simple dismantle!
More to follow soon.
" Heck with counting 'em rivets, TRAINS ARE FOR FUN! Not called the Mad Scientist for nothing either!"
|
Country:  USA ~
Posts: 3147 ~
Member Since: May 07 2007 ~
Last Visit: June 01 2026 USA ~
Posts: 3147 ~
Member Since: May 07 2007 ~
Last Visit: June 01 2026
|
 Alert Moderator
|
|
|
|
|
|