|
|
 Posted - October 20 2012 : 5:31:04 PM Posted - October 20 2012 : 5:31:04 PM


|
I recently completed a coal load for another hopper, where I glued 2 balsa pieces together, then cut and sanded a poad "profile", which I covered with black decorative sand.
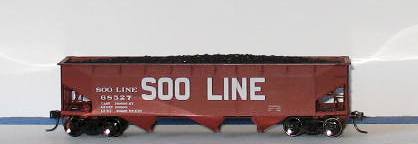
Here is a different hopper with a differently-made load.
There's a story here!
I was thinking about those old salt maps we made for grade school years ago, and thought that this might be an inexpensive way of creating custom profiles for various types of loads.
Flour, salt, water- what could be simpler, right?
Well, aside from the mess, the resulting load turned out to have very little structural integrity-more like a sugar cookie. I let the thing dry for 5 days and all it did was crack in half!
(and the mess of it all)
Next up, I tried carving some free styrofoam, the beaded white kind found in computer packaging. Yes, it is somewhat esy to carve, but the tiny bits of foam go all over and, again, what a mess!
Finally, I went to WalMart and bought a small contained of DAP Patching Plaster. I cut and fit a piece of balsa to the hopper bay, then used a putty knive to lathe the plaster compound on, being careful to scrape the sides of the balsa, to avoid making the board larger than the bay.
I used the same blade to smooth the contour of the load, achieving a gradual slope from each end towards the middle, as I originally wanted.
About two hrs later, I used a finger wet with water to smooth any ridgelines left by the initial application, and adjust the contours as needed.
After letting it dry for 2 days, I had myself a proper profile. I sprayed the pile with flat black, then carefully masked the side edges to glue would also not enlarge the balsa, then brushed on Elmers wood glue (the yellow kind) and sprinkled the black "coal" sand on the top. I then patted down the pile carefully with finger pressure only, and it dried in about 3 hrs.
I labeled the underside of the load, as it was removeable and, after I inserted the load in the hopper bay, I completed the rest of the car kit (Accurail AAR Triple Hopper #7506) with metal wheels and kadee #5's, weighting it to NMRA standards, as the load dod not contribute much weight.
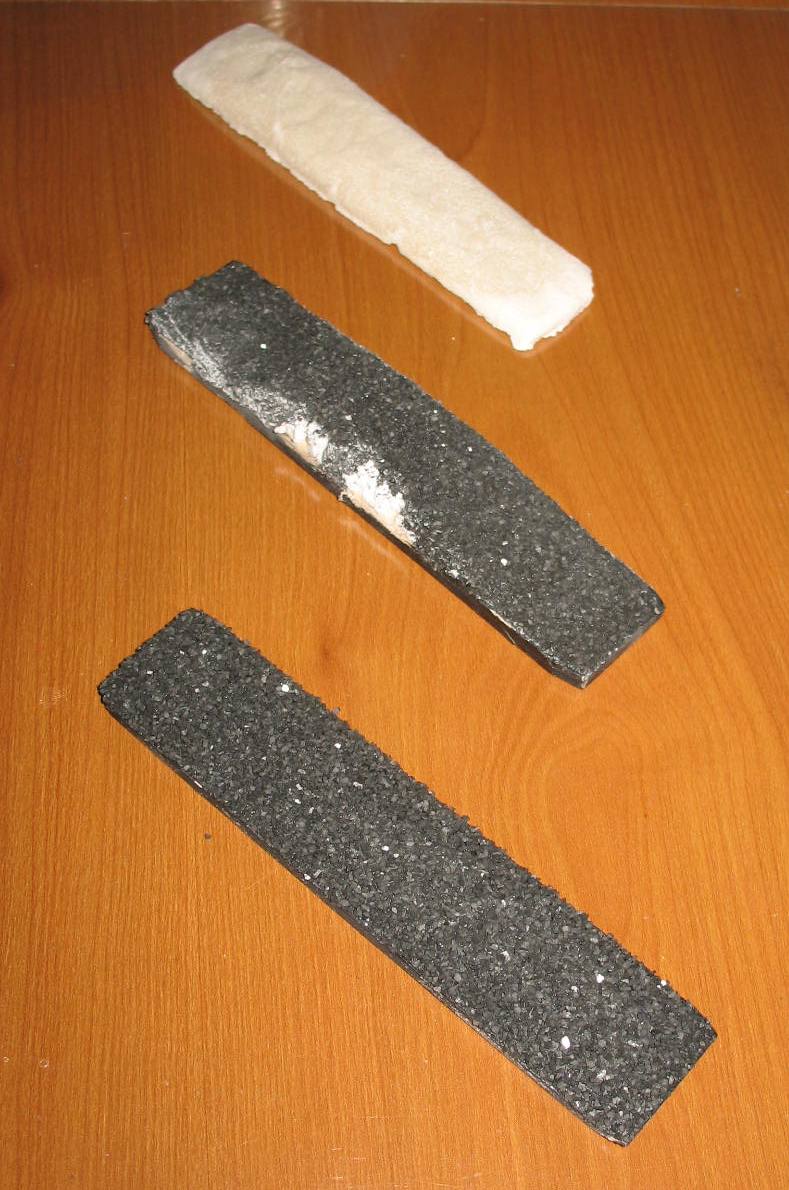
These images show the three versions of the load and the finisheed product.
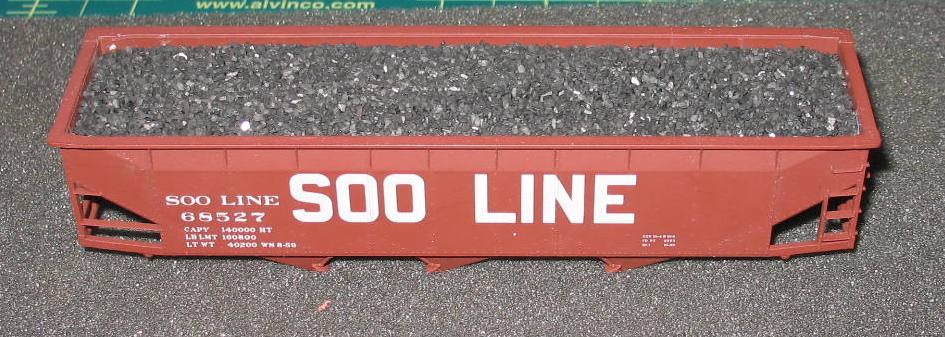
Sure looks real to me- total cost- the price of the DAP Plaster ($3.98), as I have many "board-feet" of balsa and the glue was from my woodworking in the garage.
That Michaels Crafts Black decorative sand is just the thing for a coal load.
Now- on to a sand load for another hopper or a gondola.
Siouxlake Ron
|
Country:  USA ~
Posts: 510 ~
Member Since: September 21 2011 ~
Last Visit: December 21 2014 USA ~
Posts: 510 ~
Member Since: September 21 2011 ~
Last Visit: December 21 2014
|
 Alert Moderator
|
|
|
|
Posted - October 20 2012 : 10:01:21 PM


|
Ron,
LOOKS AWESOME!
Now your doing it a way that I had seen in a MR magazine!
I still need to get pictures on how I do it!
~John
Many have tried to, and failed, ya just can't repair stupid... 
Do NOT try to Idiot-Proof anything!!!! God, will simply create a better......IDIOT!
|
|
Country: USA ~
Posts: 2911 ~
Member Since: March 26 2012 ~
Last Visit: January 14 2014
|
Alert Moderator

|
|
|
|
Posted - October 21 2012 : 09:52:10 AM
|
Very impressive - looks like the real thing!
Starting my Tyco and other favorites collection over again after 37 years.
My still in progress list of inventory and wantlist: tyconut.com
|
|
Country: USA ~
Posts: 396 ~
Member Since: November 02 2009 ~
Last Visit: March 14 2021
|
Alert Moderator
|
|
|
|
|
|


