|
|
 Posted - July 10 2012 : 8:27:52 PM Posted - July 10 2012 : 8:27:52 PM


|
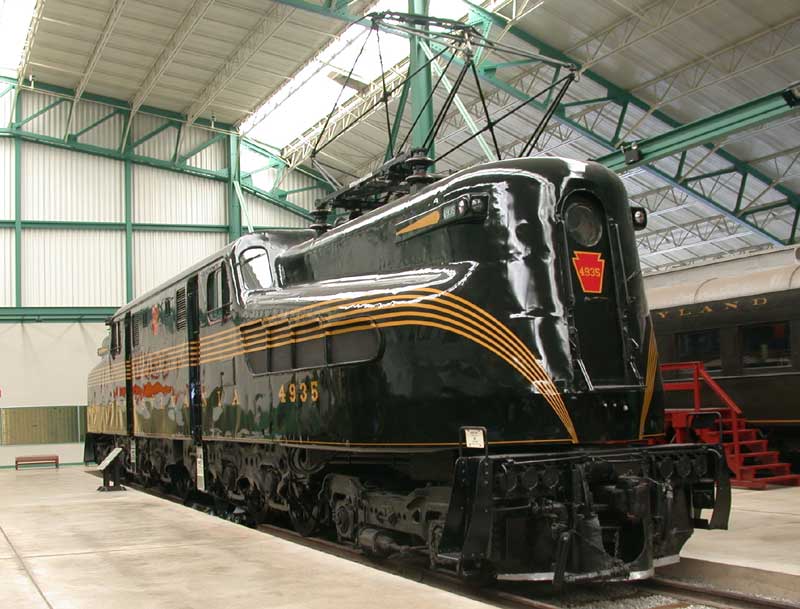
About a year ago, I picked up a 1953 production Mantua metal Shark diesel in pretty nice shape (aside from sloppy custom paint). It was an OK runner after cleaning it and tuning it up, but the plastic wheels were all a little off-center and causing a bad wobble. On top of that, the electrical pickup was unreliable. So! I upgraded to new, all metal wheels and added some electrical wipers!
Mantua uses 40" wheels on their diesels with a 1/8" axle. For this conversion, I used Precision Scale wheels because they were available. For anyone else, I would highly recommend using NWSL 37129-4 axles. The PSC wheels are great, but their axles are slightly larger than 3/32" (0.097"), making them more difficult to work with. NWSL axles are a true 3/32" diameter (0.093", it makes a huge difference!). I also used 1/8" brass tubing, thin brass sheet, fine wire (I use 24 gauge), thin plastic bubble packaging, and Kadee centering springs.

I started by polishing the brass tube to a high shine. I then cut it to a 14mm length to press onto each axle.
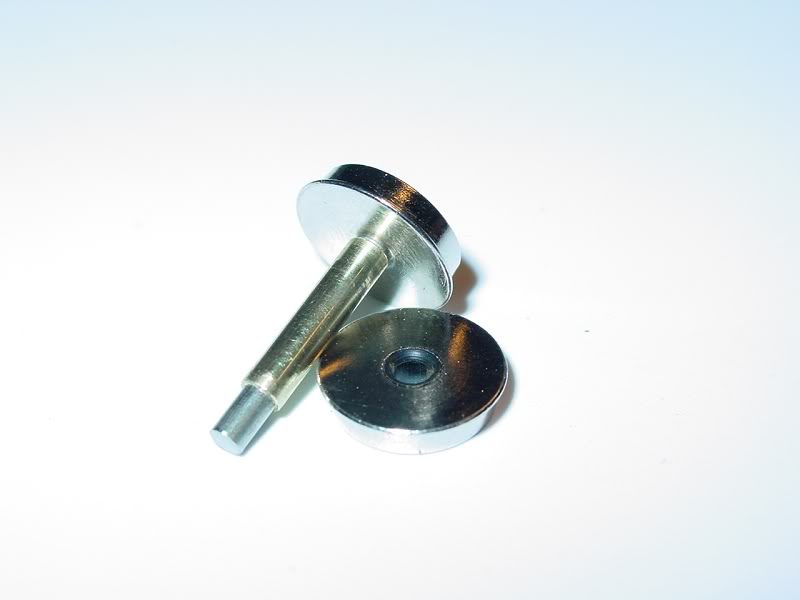
Next was to remove a wheel to press the tubing on. The extra diameter of the PSC axles made this very difficult. They will probably be closer to a slip fit on NWSL axles, so a dent or two may need to be tapped into the center of the tube to grab the axle.
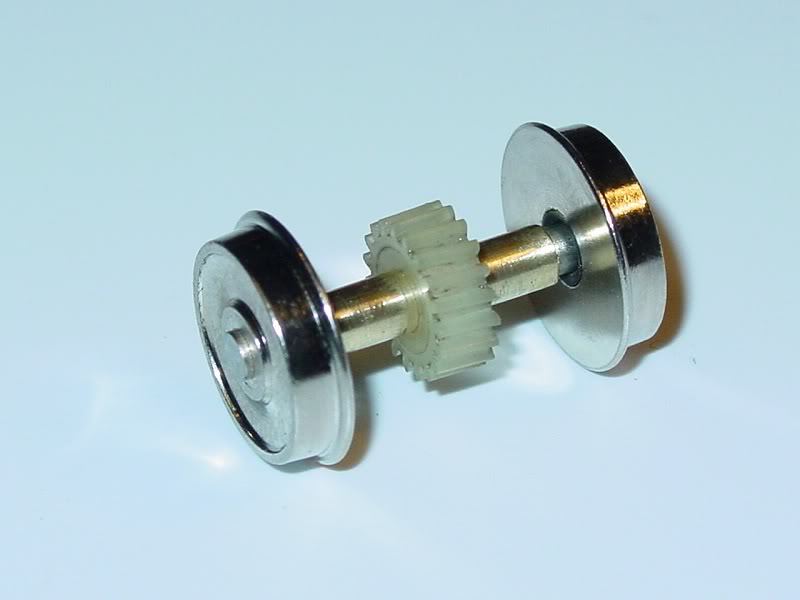
I then removed the gear from the Mantua axle and pressed it onto the new one, and then pressed the wheel back on. An NMRA standards gauge was very helpful for this. The gear needed to be as well centered as possible.
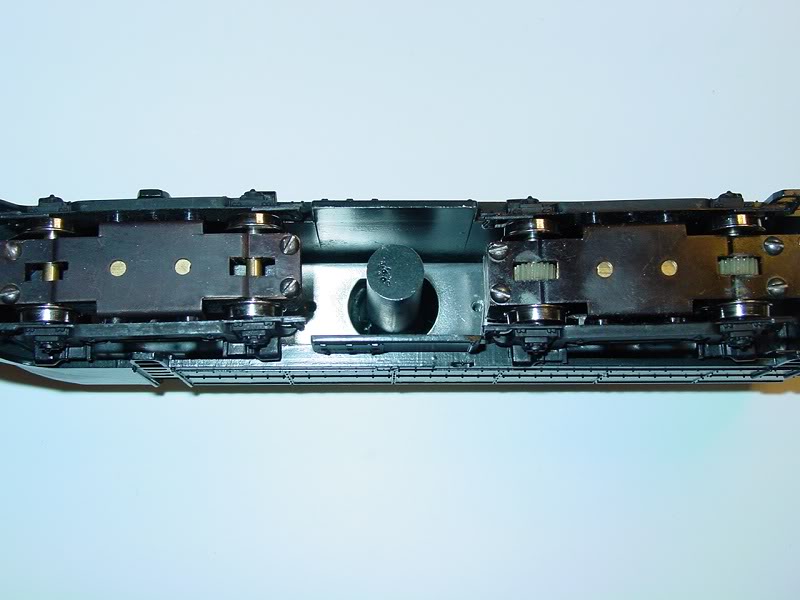
I tested each axle after completion for free rolling and smooth running. Because the tubing was so tight on the PSC axles, the ends warped a tiny bit and had to be ground down to eliminate binding. Once every axle was spinning freely, I ran the whole engine on track to make sure all was working well. The rear truck grounded wheels go to the right rail, and the front truck to the left.
To improve electrical pickup, I decided to make wipers for the backs of the insulated wheels. Kadee centering springs worked very well for this. They give enough tension for reliable conductivity without causing a lot of drag, they're easy to modify, and they're easy to solder.
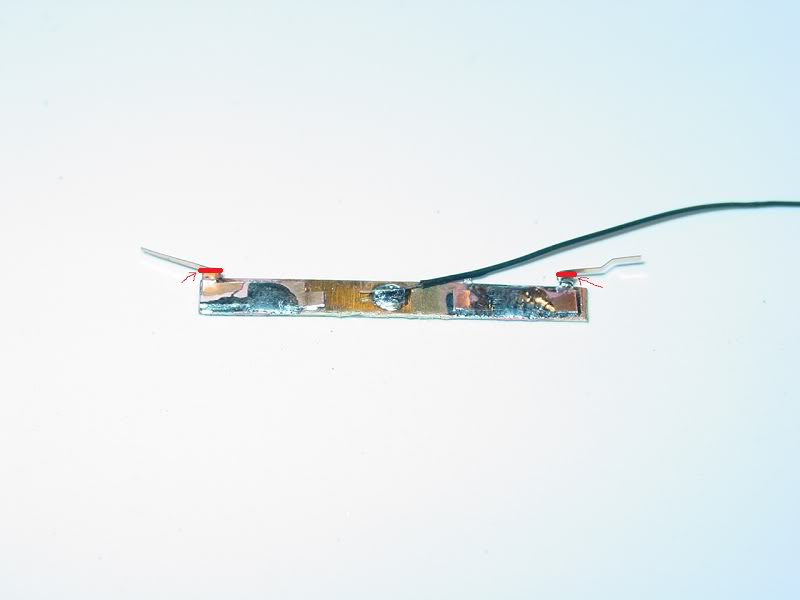
To make the wipers, I cut the centering springs in half, bent the arms almost all the way back, and soldered the halves to a 4x35mm piece of brass sheet. The MU-1 truck is a little longer than the more common MU-2, so a 30mm length of brass should work better for those. There are little tabs above the arms which had to be cut off for clearance (marked in the picture). I then soldered a wire to the center of the sheet to reach the motor (about 2" for the motor truck, and about 4" for the dummy truck). To insulate the assemblies from the metal truck frame, I cut clear plastic bubble into sheets the same size as the wiper assemblies and super glued them to the bottom.
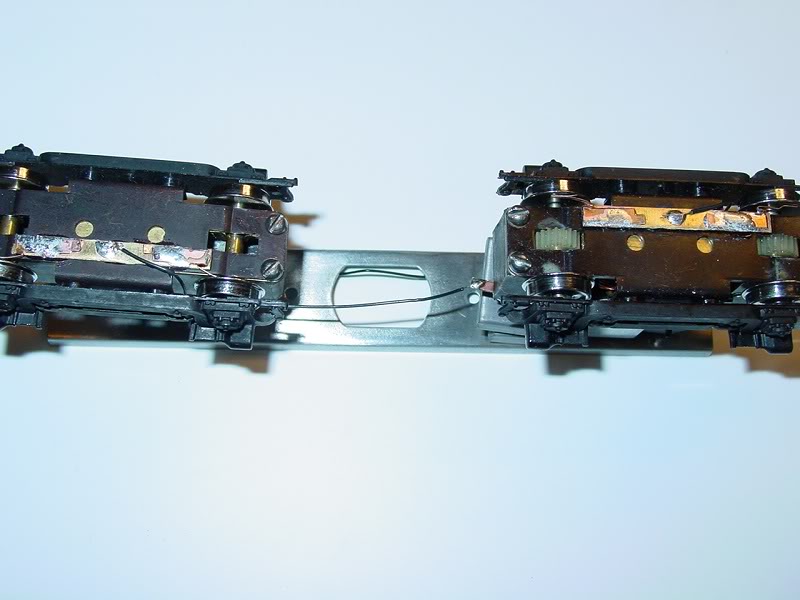
Once the glue was strong and dry, I super glued the wipers to the bottom of the trucks where they would contact the insulated wheels. I further adjusted the wiper arms for best electrical contact.
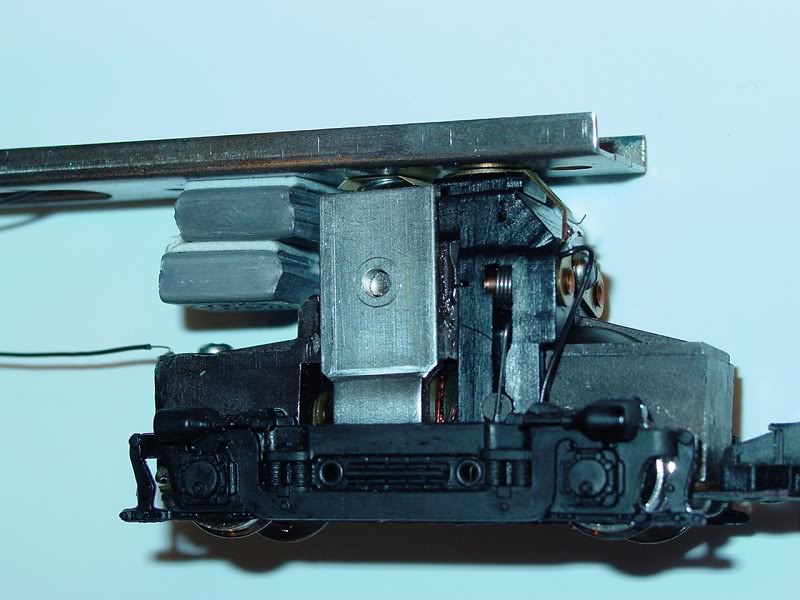
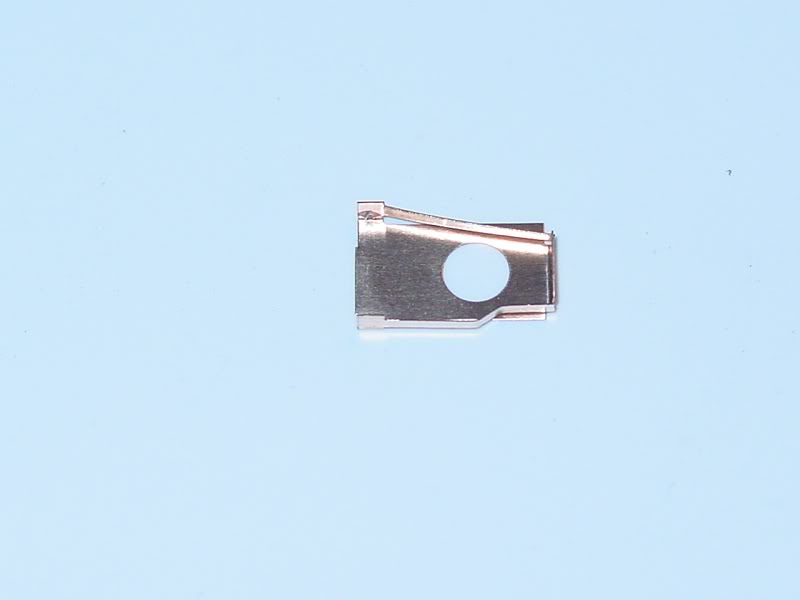
To connect the wires, I soldered the one from the motor truck directly to the brush contact for the left rail. I soldered a terminal to the other one and screwed it to the motor truck frame. Then I tested to make sure all wheels were providing good electrical pickup. Some running helped to get everything working just right.
Once all was working well, I reassembled the model.
My Mantua Sharknose is now a very smooth and more reliable runner.[:D] Because there are no tires, some extra weight was needed to improve traction.
This project should work with all MU-1 and MU-2 power trucks built by Mantua. The later MU-2 trucks made by Tyco and Roco (for Tyco) should also be compatible, but many of them use plastic construction that might require a little modification to work.
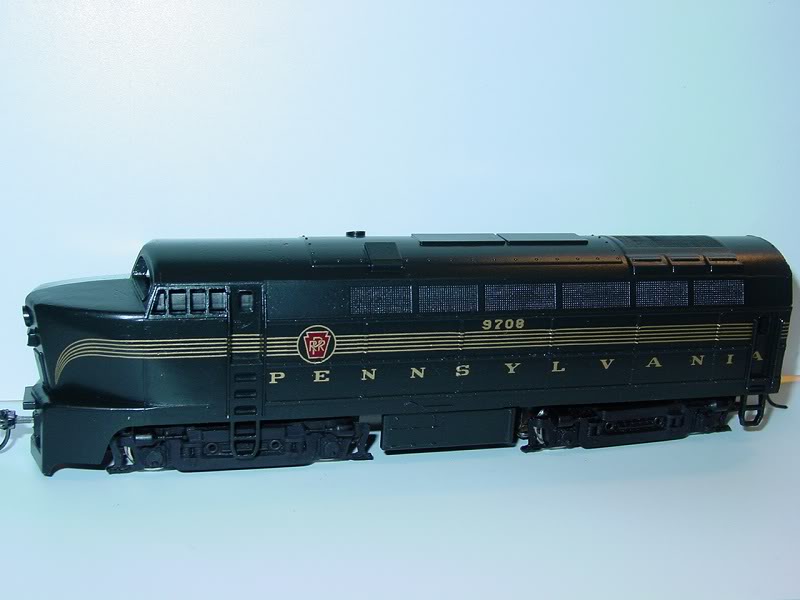
In addition to this, I upgraded the original very weak alnico magnet to neodymium, and the performance improved substantially! And as long as I'm posting this, I think my PRR paint and decal job turned out pretty well.
So there you go! If anyone ever wants to upgrade their Mantua power trucks, this is a great way to do it! This project didn't get any attention on the MRR forum, but maybe someone here might find it more helpful.
Darth Santa Fe, doing weird and challenging projects for the fun of it!

|
Country:  USA ~
Posts: 260 ~
Member Since: September 13 2011 ~
Last Visit: July 04 2026 USA ~
Posts: 260 ~
Member Since: September 13 2011 ~
Last Visit: July 04 2026
|
 Alert Moderator
|
|
|
|
 Posted - July 10 2012 : 9:02:45 PM Posted - July 10 2012 : 9:02:45 PM


|
Brandon,
VERY nice! Altho, I'm the type of guy that would have chucked up some brass bar stock of around .300 of an inch thick (diameter), into the Unimat or Microlux, and made those axles to fit without the trouble. I understand and know not everyone has a lathe nevermind 2 of them, so.......But then again, I mold my own detail parts as well! 
~John
Many have tried to, and failed, ya just can't repair stupid...
Do NOT try to Idiot-Proof anything!!!! God, will simply create a better......IDIOT!
|
|
Country: USA ~
Posts: 2911 ~
Member Since: March 26 2012 ~
Last Visit: January 14 2014
|
Alert Moderator

|
|
|
|
Posted - July 10 2012 : 10:18:41 PM
|
That's a really slick looking Shark, Darth. Great paint and decal work.
Judging by the axle gears, it looks like it might have more reduction than the MU-2 truck. Clever solution. I'm surprised you got the tubing over the axles without damaging it.
I'd keep my eyes peeled for a second power truck. Without traction tires speed matching won't be as critical.
Nelson
The Tyco Depot
|
|
Country: USA ~
Posts: 3927 ~
Member Since: June 20 2007 ~
Last Visit: November 19 2015
|
Alert Moderator
|
|
|
|
Posted - July 11 2012 : 12:39:00 AM
|
| Once again, great work Brandon. Thanks for (re)posting. It just goes to show that with a little work those MU's can be restored better than new. - Thomas
|
|
Country: USA ~
Posts: 1091 ~
Member Since: July 07 2011 ~
Last Visit: July 01 2026
|
Alert Moderator
|
|
|
|
Posted - July 11 2012 : 01:22:40 AM
|
| I agree, a very sweet paint job.
|
|
Country: USA ~
Posts: 664 ~
Member Since: May 05 2012 ~
Last Visit: June 11 2024
|
Alert Moderator
|
|
|
|
Posted - July 11 2012 : 06:47:29 AM
|
Very nicely done Darth! It seems everyone else is complimenting you on the paint job, which is very nicely done by the way  , but let me be the first to really compliment you on how awesome your solution is to the poor electrical contact problems those motor designs have. Your solution to utilize the insulated wheels as additional pick-up was just short of genius! Awesome! , but let me be the first to really compliment you on how awesome your solution is to the poor electrical contact problems those motor designs have. Your solution to utilize the insulated wheels as additional pick-up was just short of genius! Awesome!
Sean
"If everything seems under control, you're not going fast enough!" - Mario Andretti!
|
|
Country: USA ~
Posts: 1729 ~
Member Since: June 15 2011 ~
Last Visit: June 26 2021
|
Alert Moderator
|
|
|
|
Posted - July 11 2012 : 08:52:32 AM
|
Darth Santa Fe,
Great work and really nice Brunswick paint job.
Using insulated wheels for extra electrical pick-up is a clever idea.
Most of all you used a Mantua/ Tyco for your project.
Thanks
Alco Fan
Edited by - Alco Fan on July 11 2012 08:56:09 AM
|
|
Country: USA ~
Posts: 2496 ~
Member Since: August 03 2006 ~
Last Visit: September 17 2024
|
Alert Moderator
|
|
|
|
Posted - July 11 2012 : 11:06:45 AM
|
Edited by - shaygetz on July 11 2012 11:08:28 AM
|
|
|