|
|
 Posted - July 02 2012 : 9:50:30 PM Posted - July 02 2012 : 9:50:30 PM


|
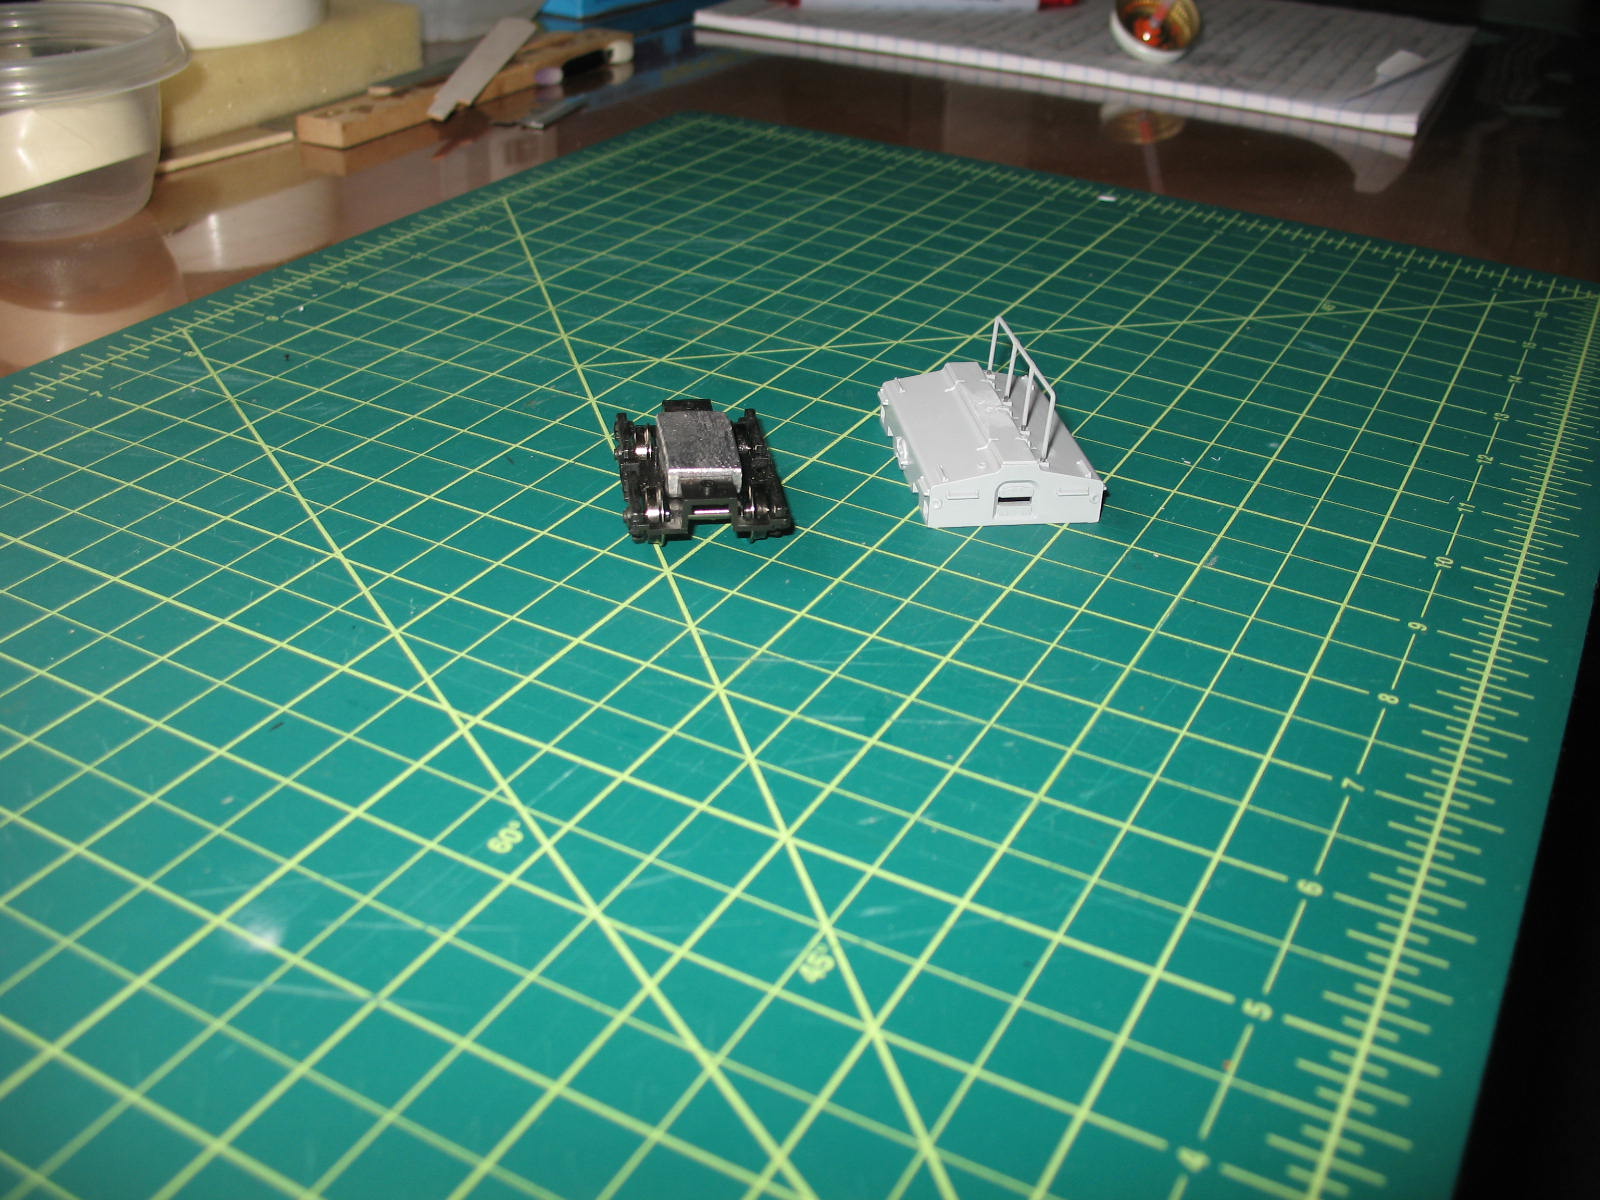
I picked up a Walthers Scale Test Car a few years ago (at a now defunct LHS in Tampa, the last one of the old school that died in 2011) and had it sitting around on my to-do shelf for quite a while. It was originally lettered for NYCentral. The chassis was a multi-part assembly of acetal plastic/Delrin with Walthers el cheapo couplers and plastic wheels.
Issue one was the weight of the car- it was 1.0 oz in the box. There were two rectangular steel weights that sat in the center of the chassis, and when I did the NMRA calculation, it was supposed to weigh 1.875 oz. I took a lead fishing weight (thank you Walmart) and used my expert metallurgical skills  to create a same-sized duplicate weight in lead, which came in at a whole .2 oz more! There is no room for any more weight in that small car body. to create a same-sized duplicate weight in lead, which came in at a whole .2 oz more! There is no room for any more weight in that small car body.

I substituted metal wheels for the plastic ones, but as I had no suitable Kadee whisker couplers around, I left the Walthers cheap ones in there for now, as a standard Kadee with the brass insert would not fit (believe me, I tried!).
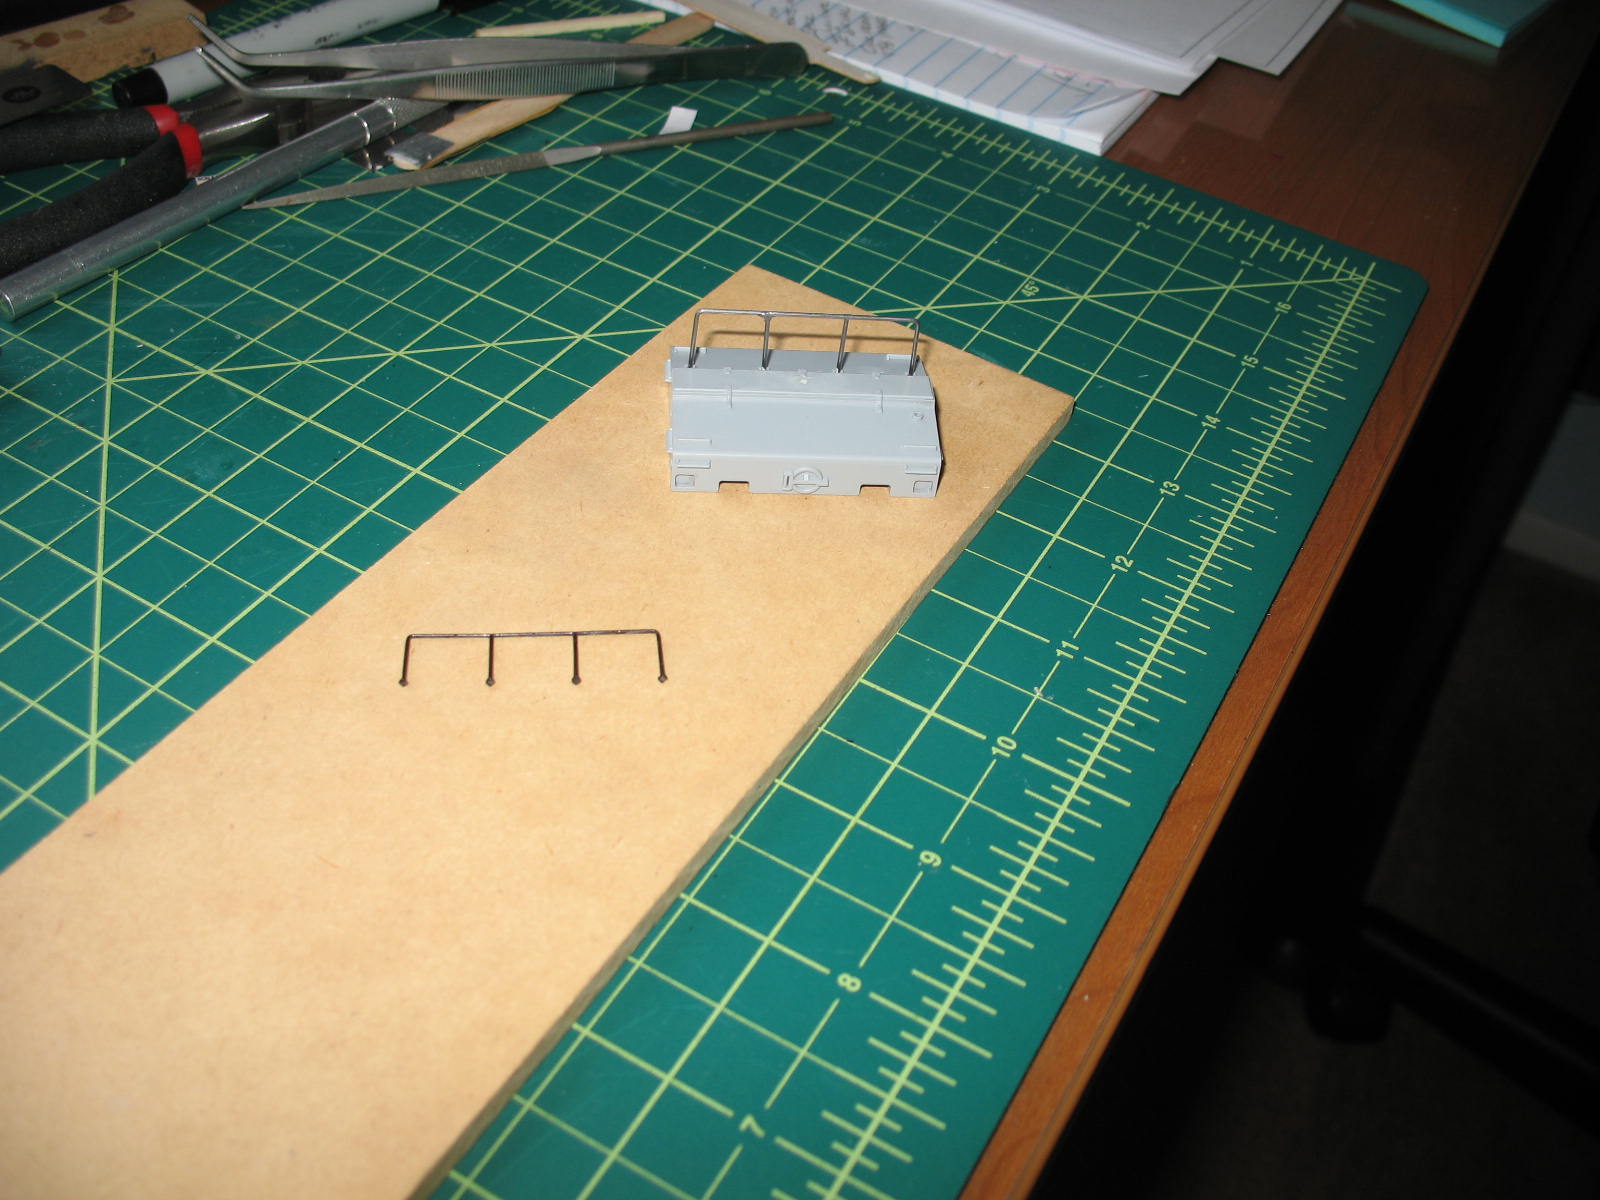
The pipe railing that is used to display signage above the car was a similarly cheap-and very delicate-piece of acetal plastic, so I decided to use my previously-referred to shop skills and make one out of wire rod. I was able to solder a near-duplicate that I attached to the primered car body with CA.
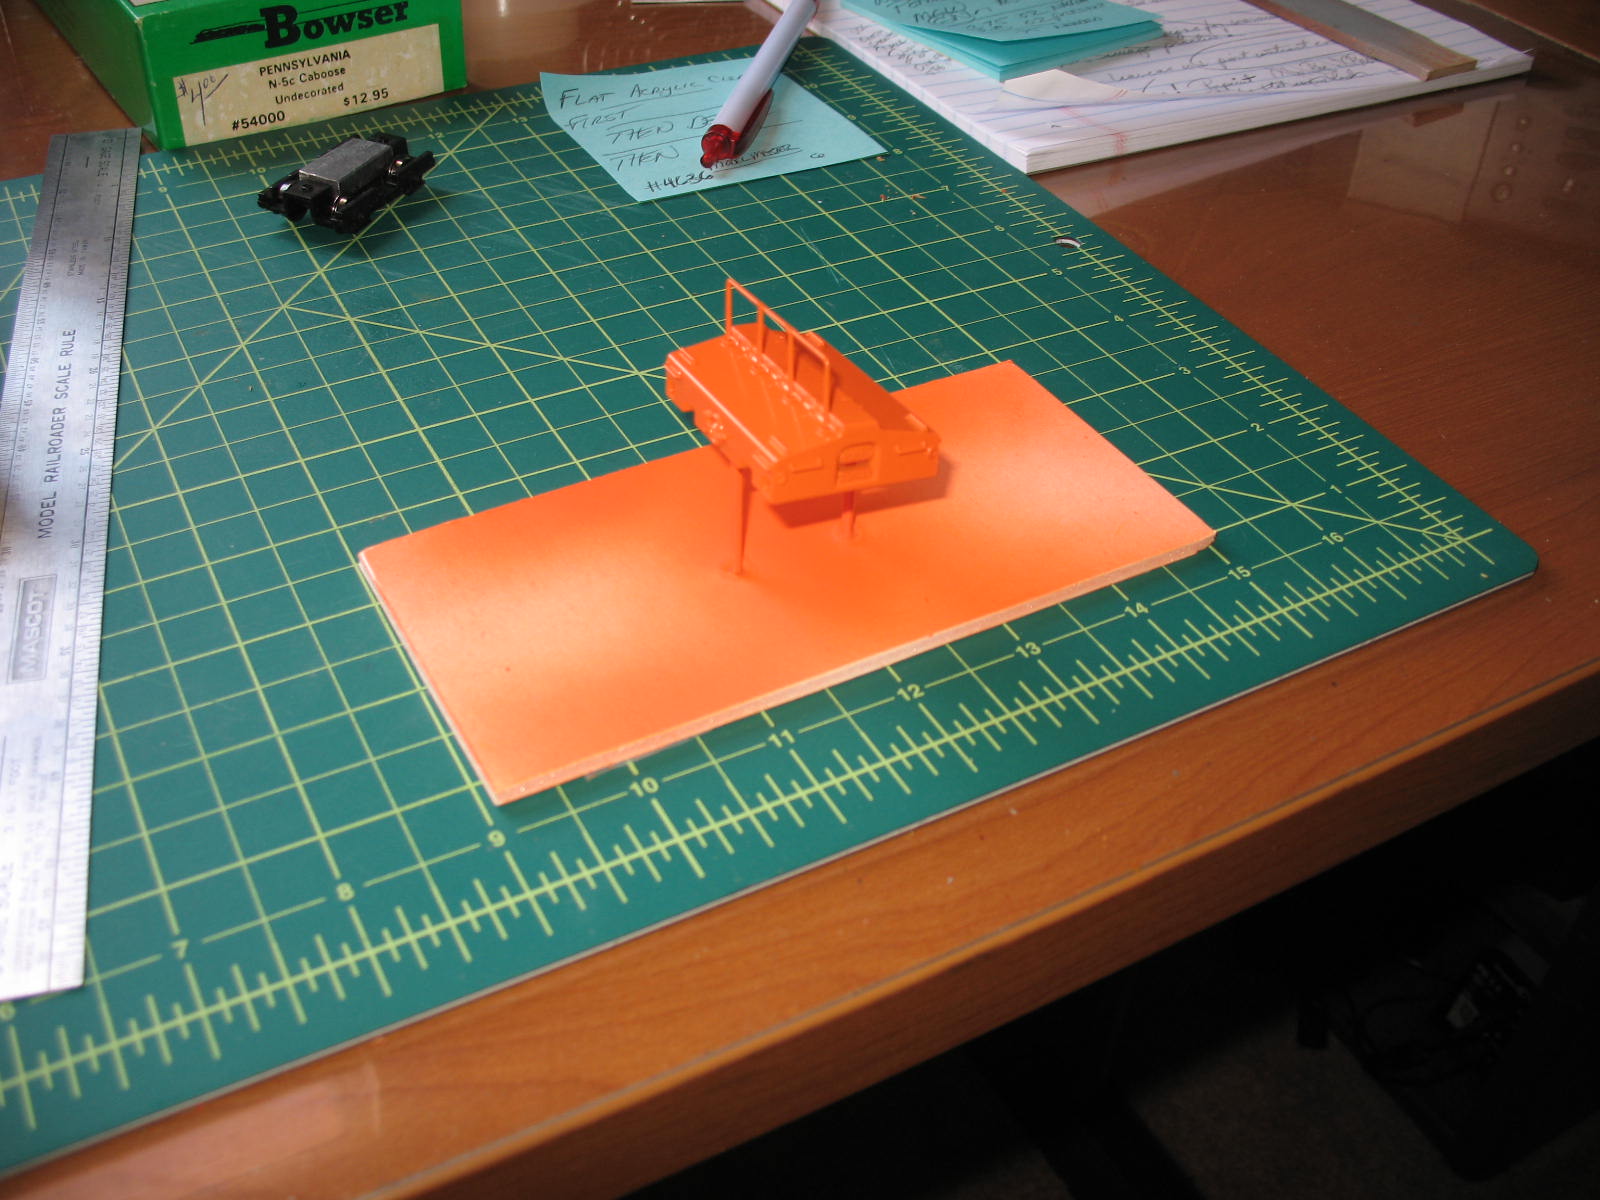
I airbrushed Scalecoat BNSF orange on the body, then added a coating of acrylic gloss (Krylon- again, cheaply purchased at Walmart) prior to decaling.
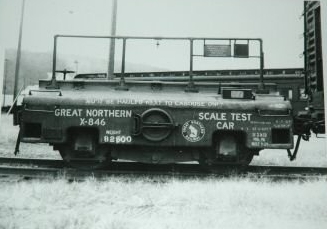
An internet specialty supplier- Portland Car and Foundry- produces decal sheets for various NP, GN and related subsidiary lines, but since I was planning to make my own decals, I used an image of their scale test car decal sheet for "reference". Actually, I had found a GN scale car photo image that dates fro mthe 1950s, which is identical to one shown in Railpictures.net 's website image of a BN orange one (renumbered and rebuilt) taken just a few years ago. I was taking some liberties with my version, as I could not produce white lettering and have the car body remain a mineral red, as it originally was, but wanted to remain with it in the transition era I model, so I convinced myself that GN had a safety campaign going in the mid-1950s and decided that the orange was a more vivid color to paint their scale cars.
I had purchased some clear decal sheets from a supplier online here in Florida and designed a set of decals that were pretty faithful to the 1950s photo.
First, I test-placed them on a drawing of the scale test car I worked on in MS Paint, so I would have a guide to work from better than the old photo:
Here is the decal placement drawing I created, using that old photo:

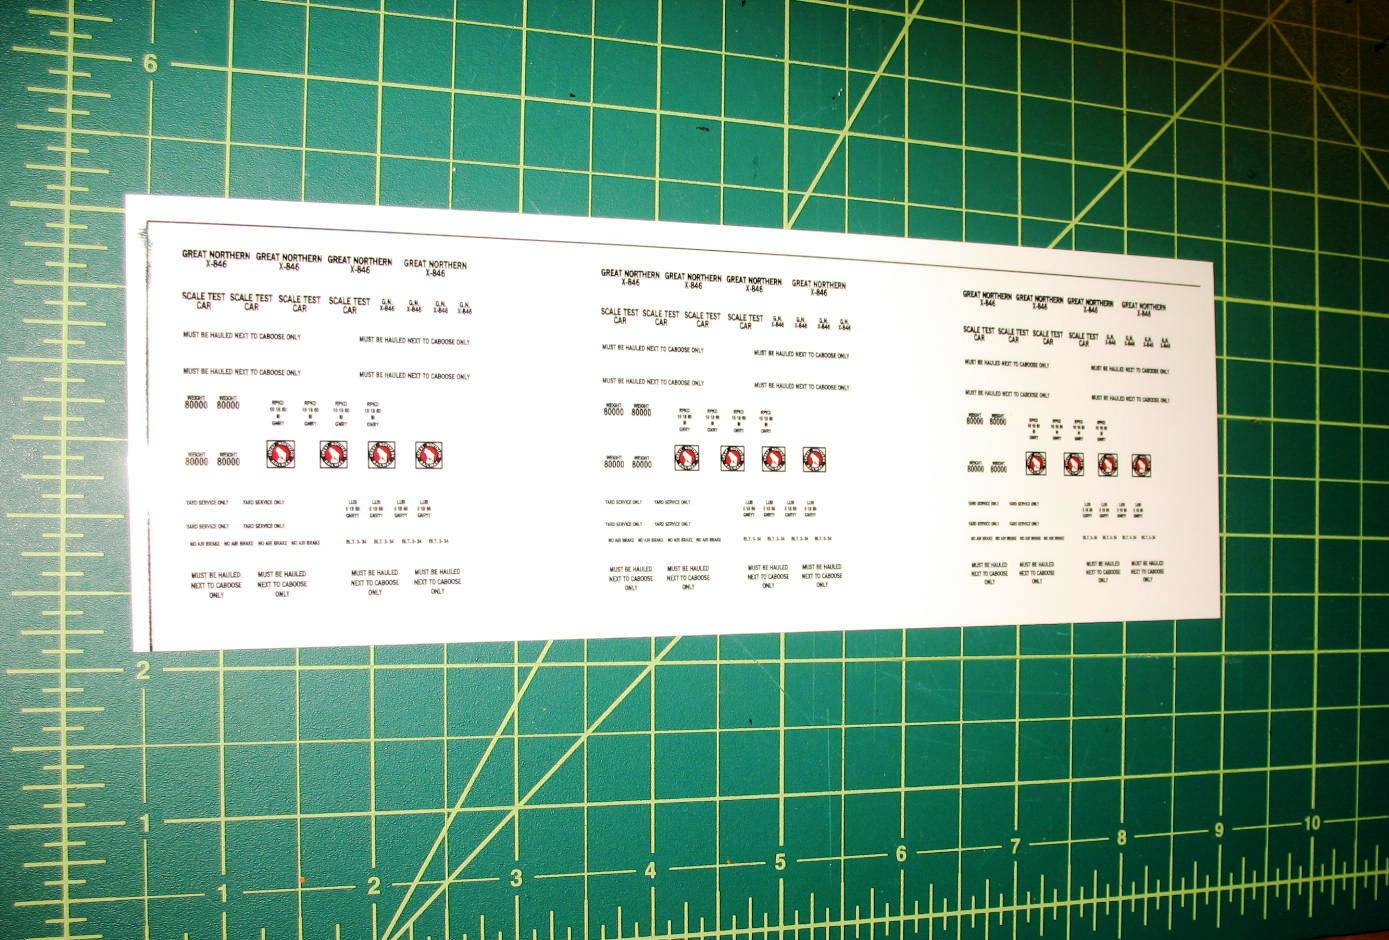
Here are the decals I created in AutoCAD, as the letter quality is more precise (raster-based image) and scalable for decal purposes. (this works the same way in Abode Illustrator, for those who are interested) I don't suggest learning AutoCAD (or paying for it), but Illustrator would be easier as a learning curve item for most modelers, not just railroad-oriented ones:
One bit of advice for decal-makers: I used Krylon Acrylic Gloss for both the model and the decal sheet (to stabilize and protect the ink image)
I also cut the decal sheet just after the printed images, to enable me to not waste the whole 11 x 8.5 sheet. THEN, I sprayed the gloss coating on the (partial) decal sheet and set it out to dry.
Here is the decaled scale car body:
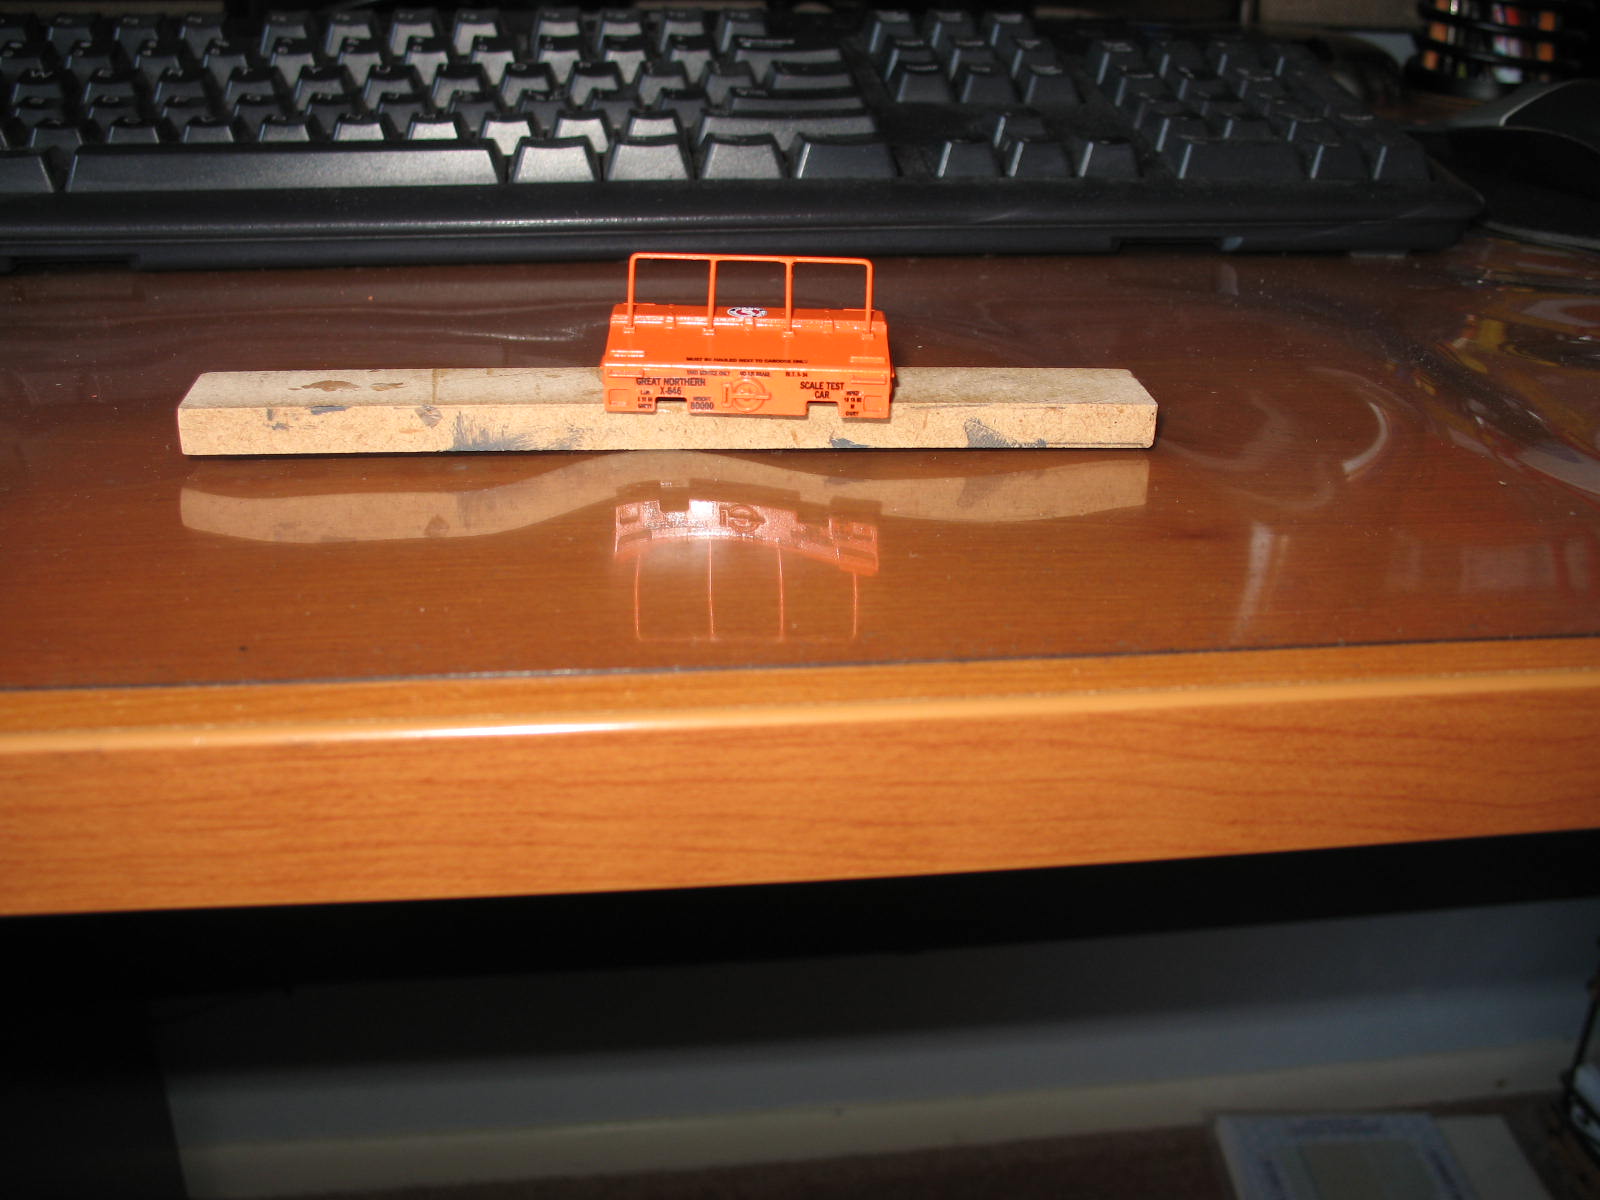
I did not apply the GN goat logo to the car sides, as it was clear where there should be white. I took a Microscale GN decal and used it on the top centerbeam of the car, to hide a parting blemish in the plastic that no amount of bondo or modeler's putty and sanding with fine grits could conceal.
After the decals were set with Solvaset (or you can use Micro-Sol, etc.) and allowed to dry,
I sprayed the body with Krylon Matte finish. I was informed by my friend AntonioFP45
(his MR name) to be careful using Testor's Dull-Cote (as that is a laquer-based product) on Badger Scalecoat paint (as that is a water-based acrylic). As Tony teaches autobody repair and painting, I defer to his true expertise.
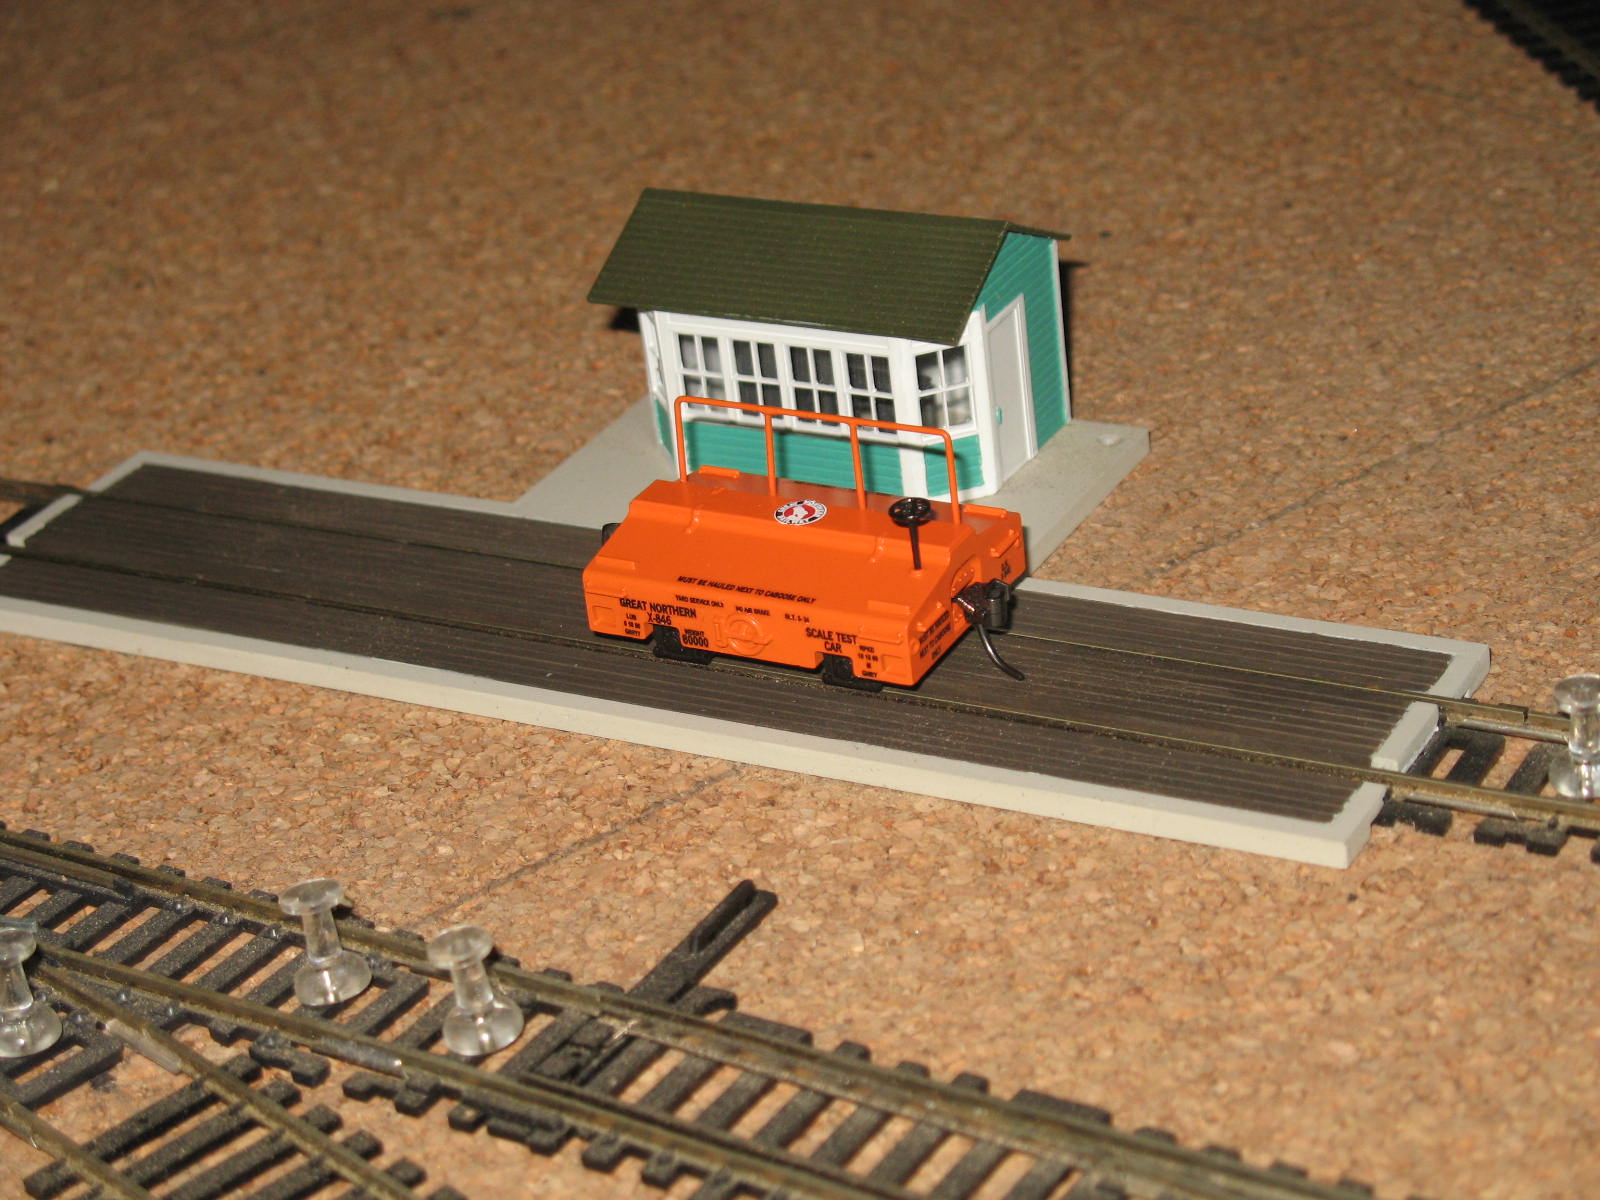
The final result is this:
Next up- maintenance of way cars!
Hope you enjoyed this project story...
Siouxlake/ Ron
|
Country:  USA ~
Posts: 510 ~
Member Since: September 21 2011 ~
Last Visit: December 21 2014 USA ~
Posts: 510 ~
Member Since: September 21 2011 ~
Last Visit: December 21 2014
|
 Alert Moderator
|
|
|
|
Posted - July 02 2012 : 10:12:58 PM
|
| Sweet...one of my "round tuit" scratchbuilding projects...
|
|
|
|
|
Posted - July 02 2012 : 11:41:54 PM
|
Orange...NICE!!
I buy, repair, and collect
http://scvr.weebly.com/
http://seyboldlocomotiveworks.weebly.com/
http://www.youtube.com/user/TheDeputation?feature=watch
Hyde.
|
|
Country: USA ~
Posts: 1352 ~
Member Since: January 15 2012 ~
Last Visit: July 25 2021
|
Alert Moderator

|
|
|
|
Posted - July 03 2012 : 12:15:17 AM
|
Awesome job, Ron!  I can't get over your custom decals, and they look like a factory job on the finished product. Nice handrails, too. I can't get over your custom decals, and they look like a factory job on the finished product. Nice handrails, too.
So I assume "expert metallurgical skills" = big fat hammer? 
The Tyco Depot
|
|
Country: USA ~
Posts: 3927 ~
Member Since: June 20 2007 ~
Last Visit: November 19 2015
|
Alert Moderator
|
|
|
|
Posted - July 03 2012 : 04:22:01 AM
|
Nels- the "skills" revolve around a smaller engineer's hammer ( a bit larger nailhead than a pin hammer), 3 ordinary wood chisels ( for when a quick cut is required, used in combo with the hammer) and a gent's saw with 80 tpi for those "finer" cuts . Only THEN do I get to the forming and shaping, using the concrete garage floor as my anvil.
Those decals do stand a bit proud of the model surface, just a bit more so than Microscale ones, but they are workable with decal solvent ( I actually used a well-preserved bottle of 20yr old+ Walthers Solvaset).
I am cooking up a new batch of decals with my M.O.W. Project that will include my railroad logo, but I'll save that for my next project post. I am using that first set I made for sizing reference as to lettering height, scaling up or down at 125%, 150%, 200%, .75%, etc intervals for use on different cars or where lettering space requirements vary. I'm sure that the paint shop boys in the real world also use certain standardized sizes for various applications, so I am building a "library" for use with other projects.
I was able to locate and download 2 Railroad Roman trutype fonts (for pre-1950 steam and other use),
and "researched" (via picture saving and MSPaint cleanup) of GN's Empire Builder font via The Railfonts.com website, but that method is only good at smaller sizes, as it a picture and not a physical font per se. There, I have to monkey around with the letters on Paint to create words.
Ron
|
|
Country: USA ~
Posts: 510 ~
Member Since: September 21 2011 ~
Last Visit: December 21 2014
|
Alert Moderator
|
|
|
|
Posted - July 03 2012 : 2:55:25 PM
|
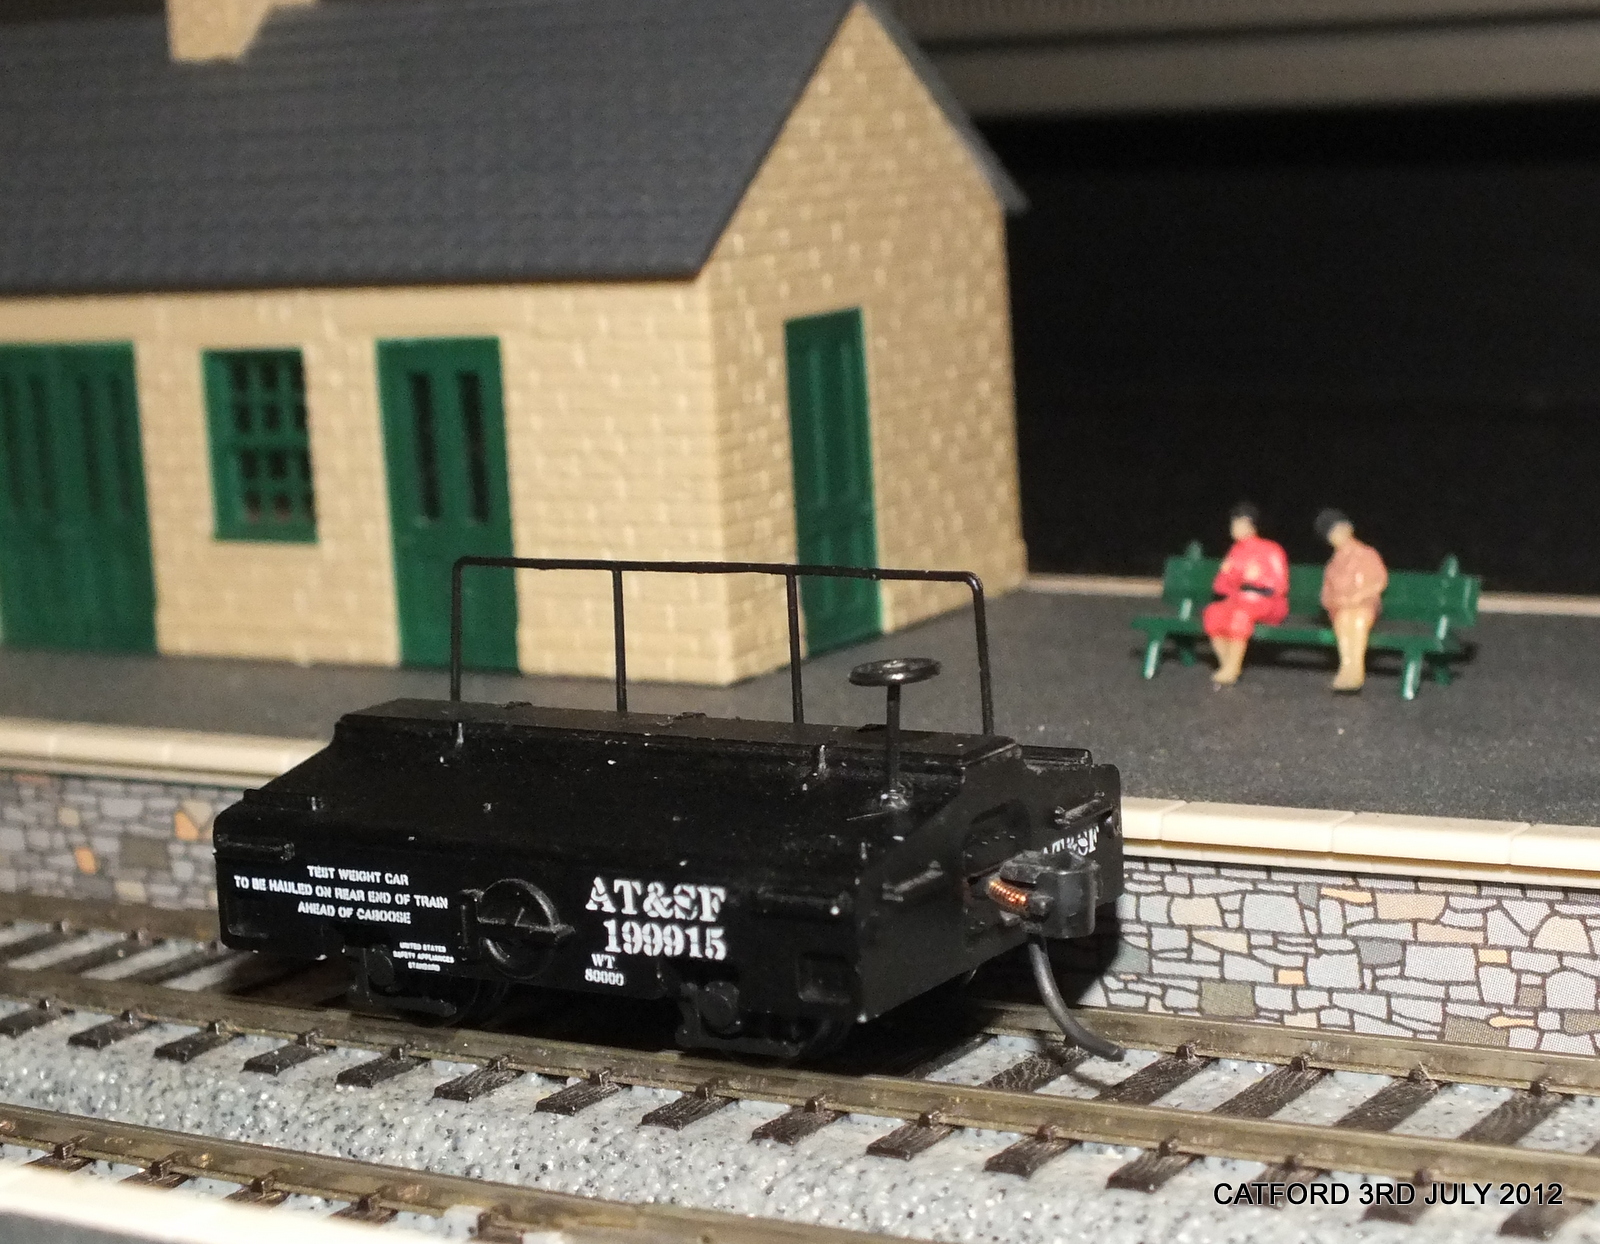
 I just took a pic of a scale car during Goose Fest I just took a pic of a scale car during Goose Fest
Will post when I get another HD
|
|
Country: USA ~
Posts: 15030 ~
Member Since: February 23 2009 ~
Last Visit: July 05 2026
|
Alert Moderator
|
|
|
|
Posted - July 03 2012 : 3:48:17 PM

|
hi ron prefer yours to mine,love the colour,love the work and how you did it ken
|
Country:  United Kingdom ~
Posts: 8294 ~
Member Since: September 28 2006 ~
Last Visit: October 20 2021 United Kingdom ~
Posts: 8294 ~
Member Since: September 28 2006 ~
Last Visit: October 20 2021
|
Alert Moderator
|
|
|
|
Posted - July 03 2012 : 9:47:08 PM
|
Nice scale cars and good job on the decals!  - Thomas - Thomas
|
|
Country: USA ~
Posts: 1091 ~
Member Since: July 07 2011 ~
Last Visit: July 01 2026
|
Alert Moderator
|
|