|
|
 Posted - February 22 2010 : 5:14:31 PM Posted - February 22 2010 : 5:14:31 PM


|
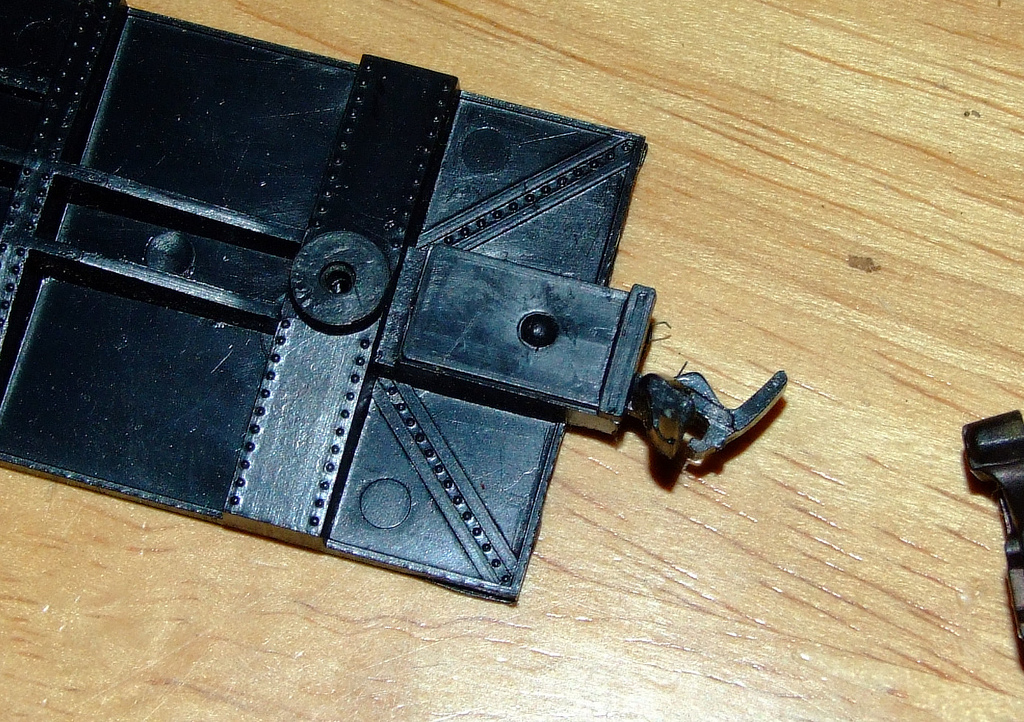
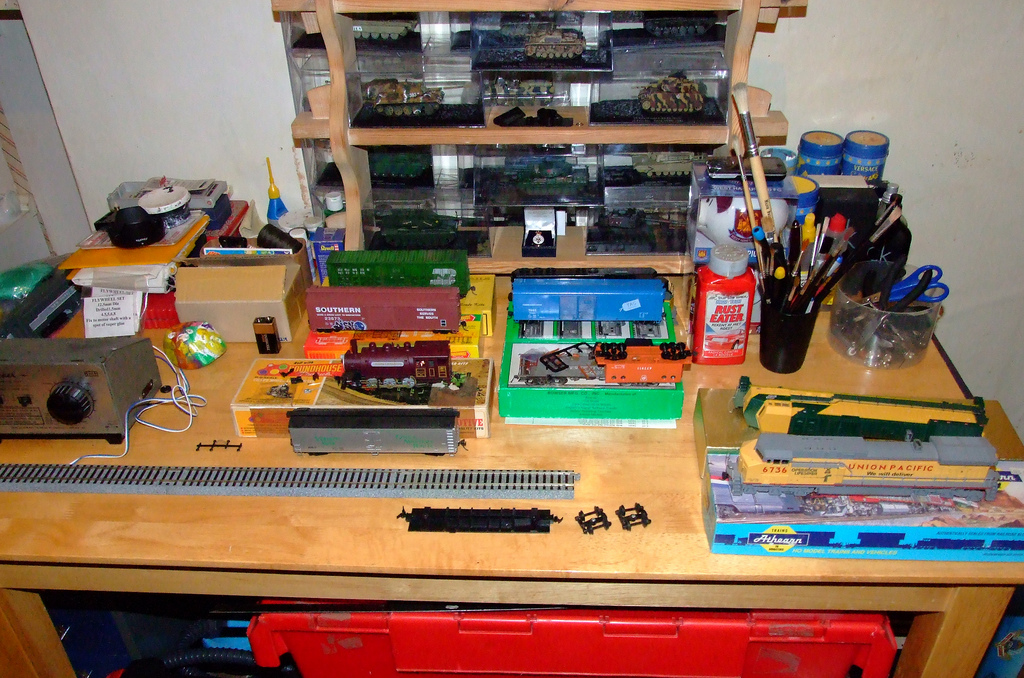
anyone know easy way to remove old coupling,plus my model making desk ken
|
Country:  United Kingdom ~
Posts: 8294 ~
Member Since: September 28 2006 ~
Last Visit: October 20 2021 United Kingdom ~
Posts: 8294 ~
Member Since: September 28 2006 ~
Last Visit: October 20 2021
|
 Alert Moderator
|
|
|
|
Posted - February 22 2010 : 7:25:20 PM
|
Nice workbench! The plastic post looks like it is spread like a rivet, so if it is you could remove those edges with a drill bit in a pin vise. Or am I wrong and the pin is actually protruding above the plate? It's hard to tell.
You might even be able to pry it loose. Are you planning on installing Kadees?
The Tyco Depot
Edited by - NickelPlate759 on February 22 2010 7:30:00 PM
|
Country:  USA ~
Posts: 3927 ~
Member Since: June 20 2007 ~
Last Visit: November 19 2015 USA ~
Posts: 3927 ~
Member Since: June 20 2007 ~
Last Visit: November 19 2015
|
Alert Moderator

|
|
|
|
Posted - February 22 2010 : 7:50:53 PM
|
| NickelPlate759 yes ken
|
|
Country: United Kingdom ~
Posts: 8294 ~
Member Since: September 28 2006 ~
Last Visit: October 20 2021
|
Alert Moderator
|
|
|
farace
Switcher

Status:
offline
| |
Posted - February 22 2010 : 9:55:45 PM
|
I was just dealing with one of these last night, but on mine, a previous owner had installed Kadee #4s, and they weren't working right. I managed to pry the lid off even though it was glued on (the fact that it had been off once before might make my experience different from yours). It became obvious why the Kadees weren't working right; according to Kadee, you're supposed to round off the plastic shaft that the coupler pivots on. The PO didn't do this. Plus, he lost the tiny little pellet thingy that goes inside the spring for the #4 (no big surprise there; the #4 seems to be made of tiny bits on the order of subatomic particles).
Well, in the process of installing new #4 couplers, I managed to bust the plastic pin completely off. With no other option, I shaved down the rest of the coupler pocket to leave a flat platform, installed the #4 into the metal draft gear box that comes with them, and glued it place with some CA. I think that what I ended up with is better than what I would have had if I hadn't busted the pin and had installed the #4 into the coupler pocket.
If I was to start another one of these from scratch, I'd jump right to cutting down the pocket and installing a #5 with draft gear box with a screw, and I'd stay away from the #4 and all its godawful fiddly bits.
--Bob
|
|
Country: USA ~
Posts: 70 ~
Member Since: January 20 2010 ~
Last Visit: March 06 2011
|
Alert Moderator
|
|
|
|
Posted - February 23 2010 : 01:00:11 AM
|

(Varney)
Seems to be a Q-Tip job I discribed some times before.
I removed the lid brutal with a screw driver.
But you could also cut away the head of the post (rod). - Erich
Edited by - Erich on February 23 2010 01:21:12 AM
|
Country:  Austria ~
Posts: 1046 ~
Member Since: December 03 2008 ~
Last Visit: April 24 2026 Austria ~
Posts: 1046 ~
Member Since: December 03 2008 ~
Last Visit: April 24 2026
|
Alert Moderator
|
|
|
|
Posted - February 23 2010 : 06:45:43 AM
|
| cheers eric thought i might find a simple way but brute force or sharp knife it is ken
|
|
Country: United Kingdom ~
Posts: 8294 ~
Member Since: September 28 2006 ~
Last Visit: October 20 2021
|
Alert Moderator
|
|
|
|
Posted - February 23 2010 : 09:51:53 AM
|
If you have sharp enough diagonal cutters like Xurons, you can just nip the end off.
The Tyco Depot
|
|
Country: USA ~
Posts: 3927 ~
Member Since: June 20 2007 ~
Last Visit: November 19 2015
|
Alert Moderator
|
|

