|
|
 Posted - January 16 2013 : 7:17:54 PM Posted - January 16 2013 : 7:17:54 PM


|
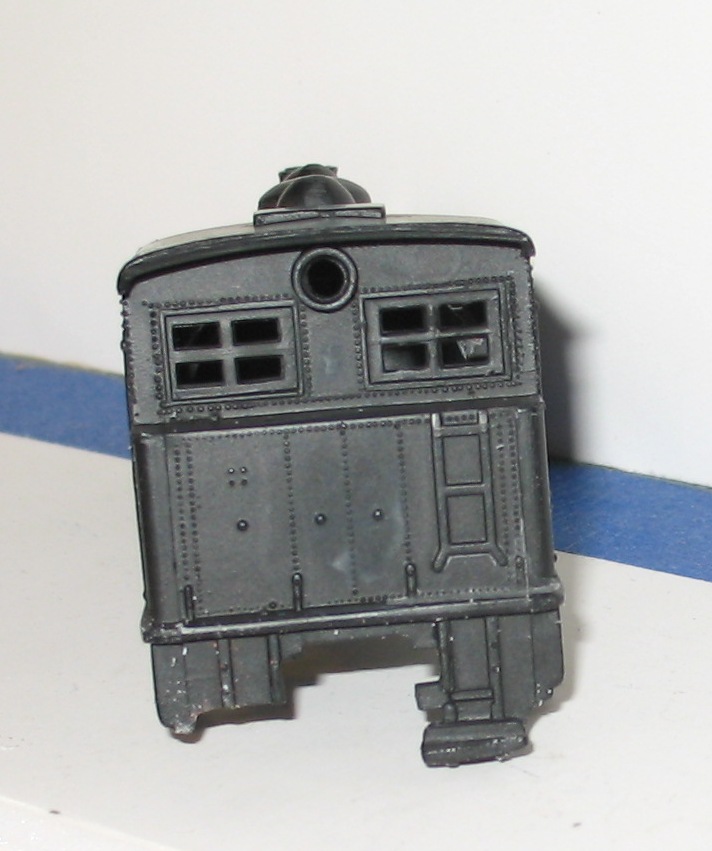
I have been "tooling along" so to speak, on that Life-Like 0-4-0 Dockside rehab job. To be frank, I am glad I am not invested in it- other than my labor and enjoyment from working on it- the quality really is poor, but oh well...
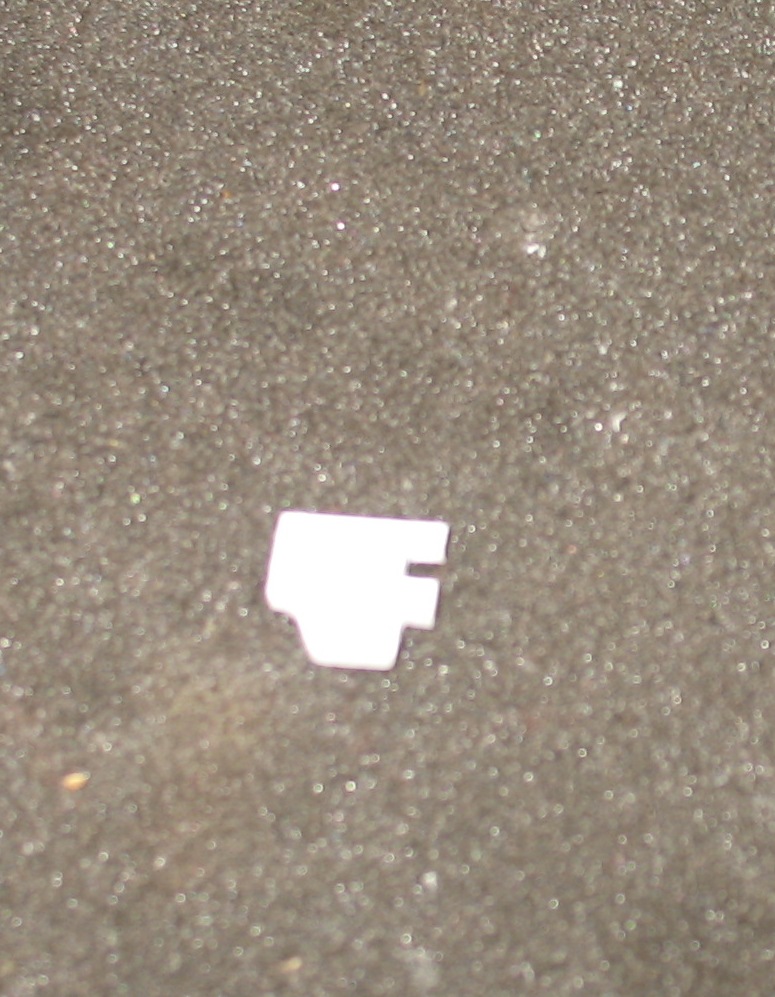
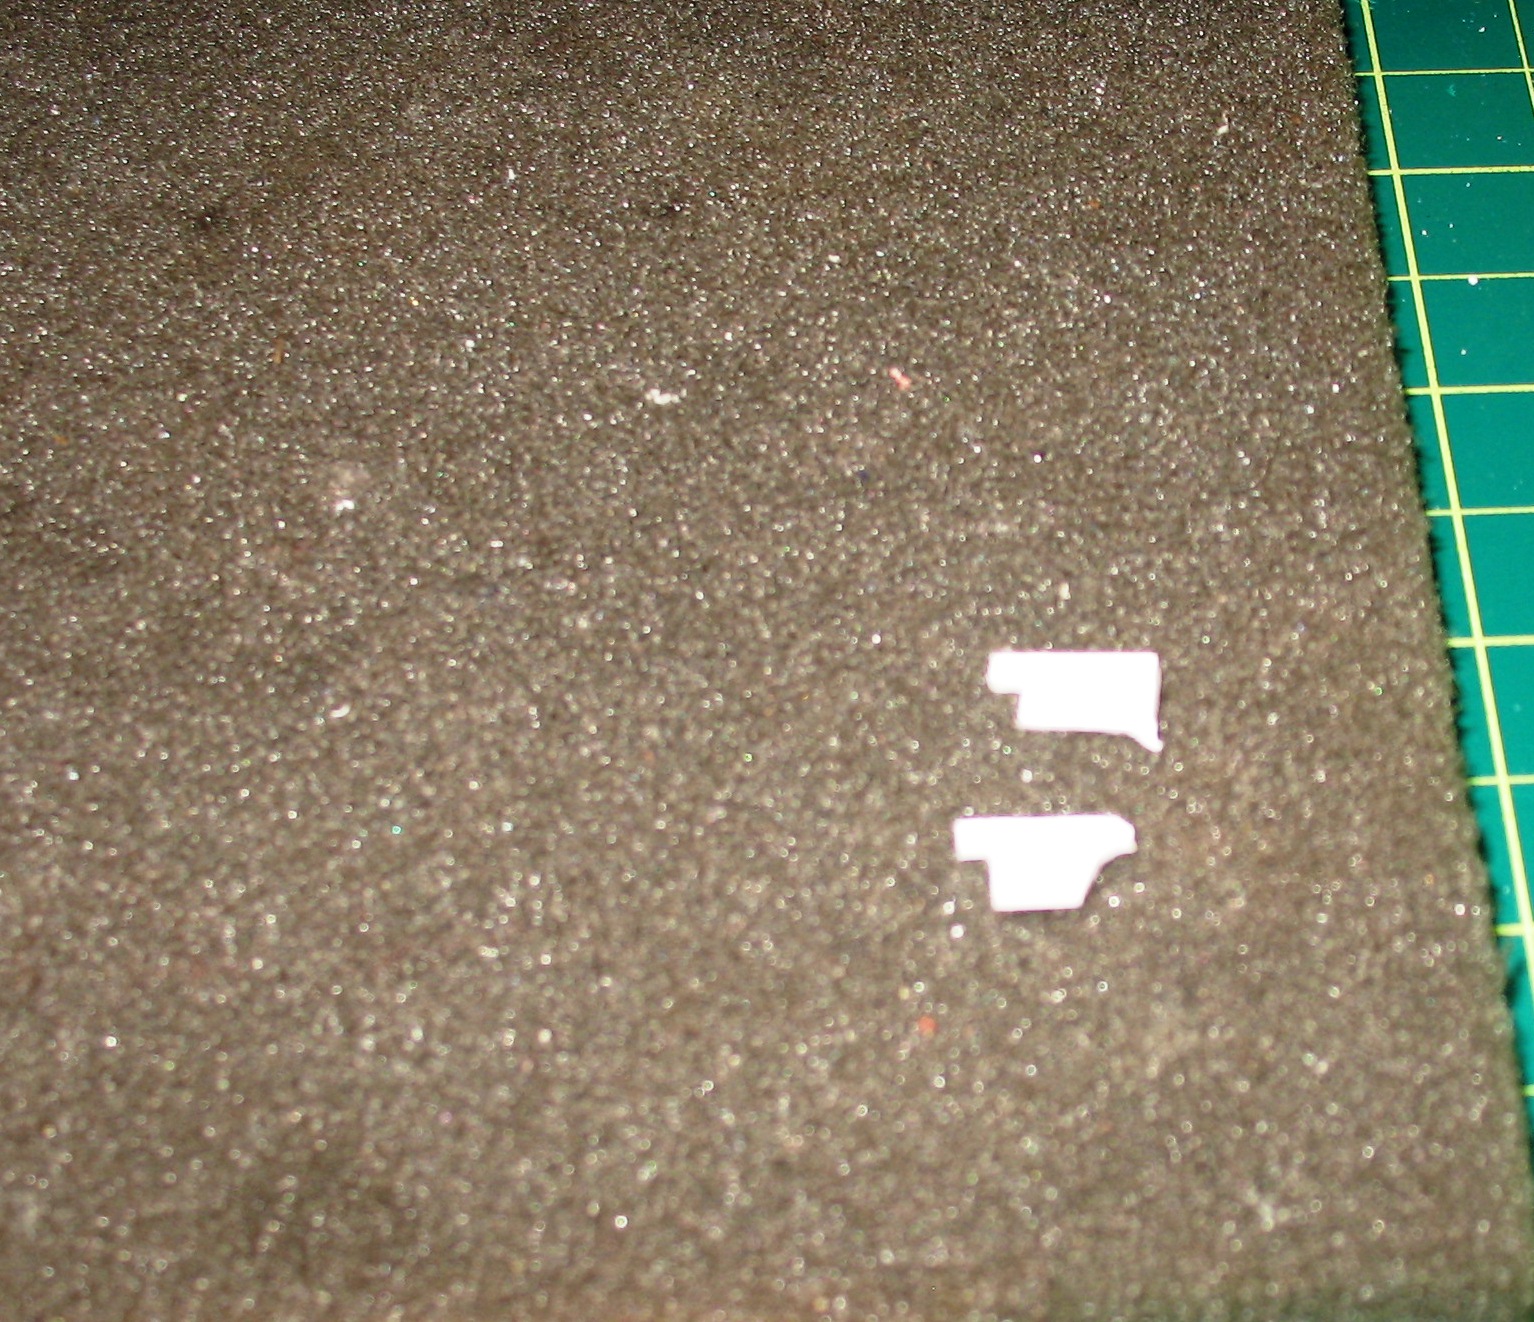
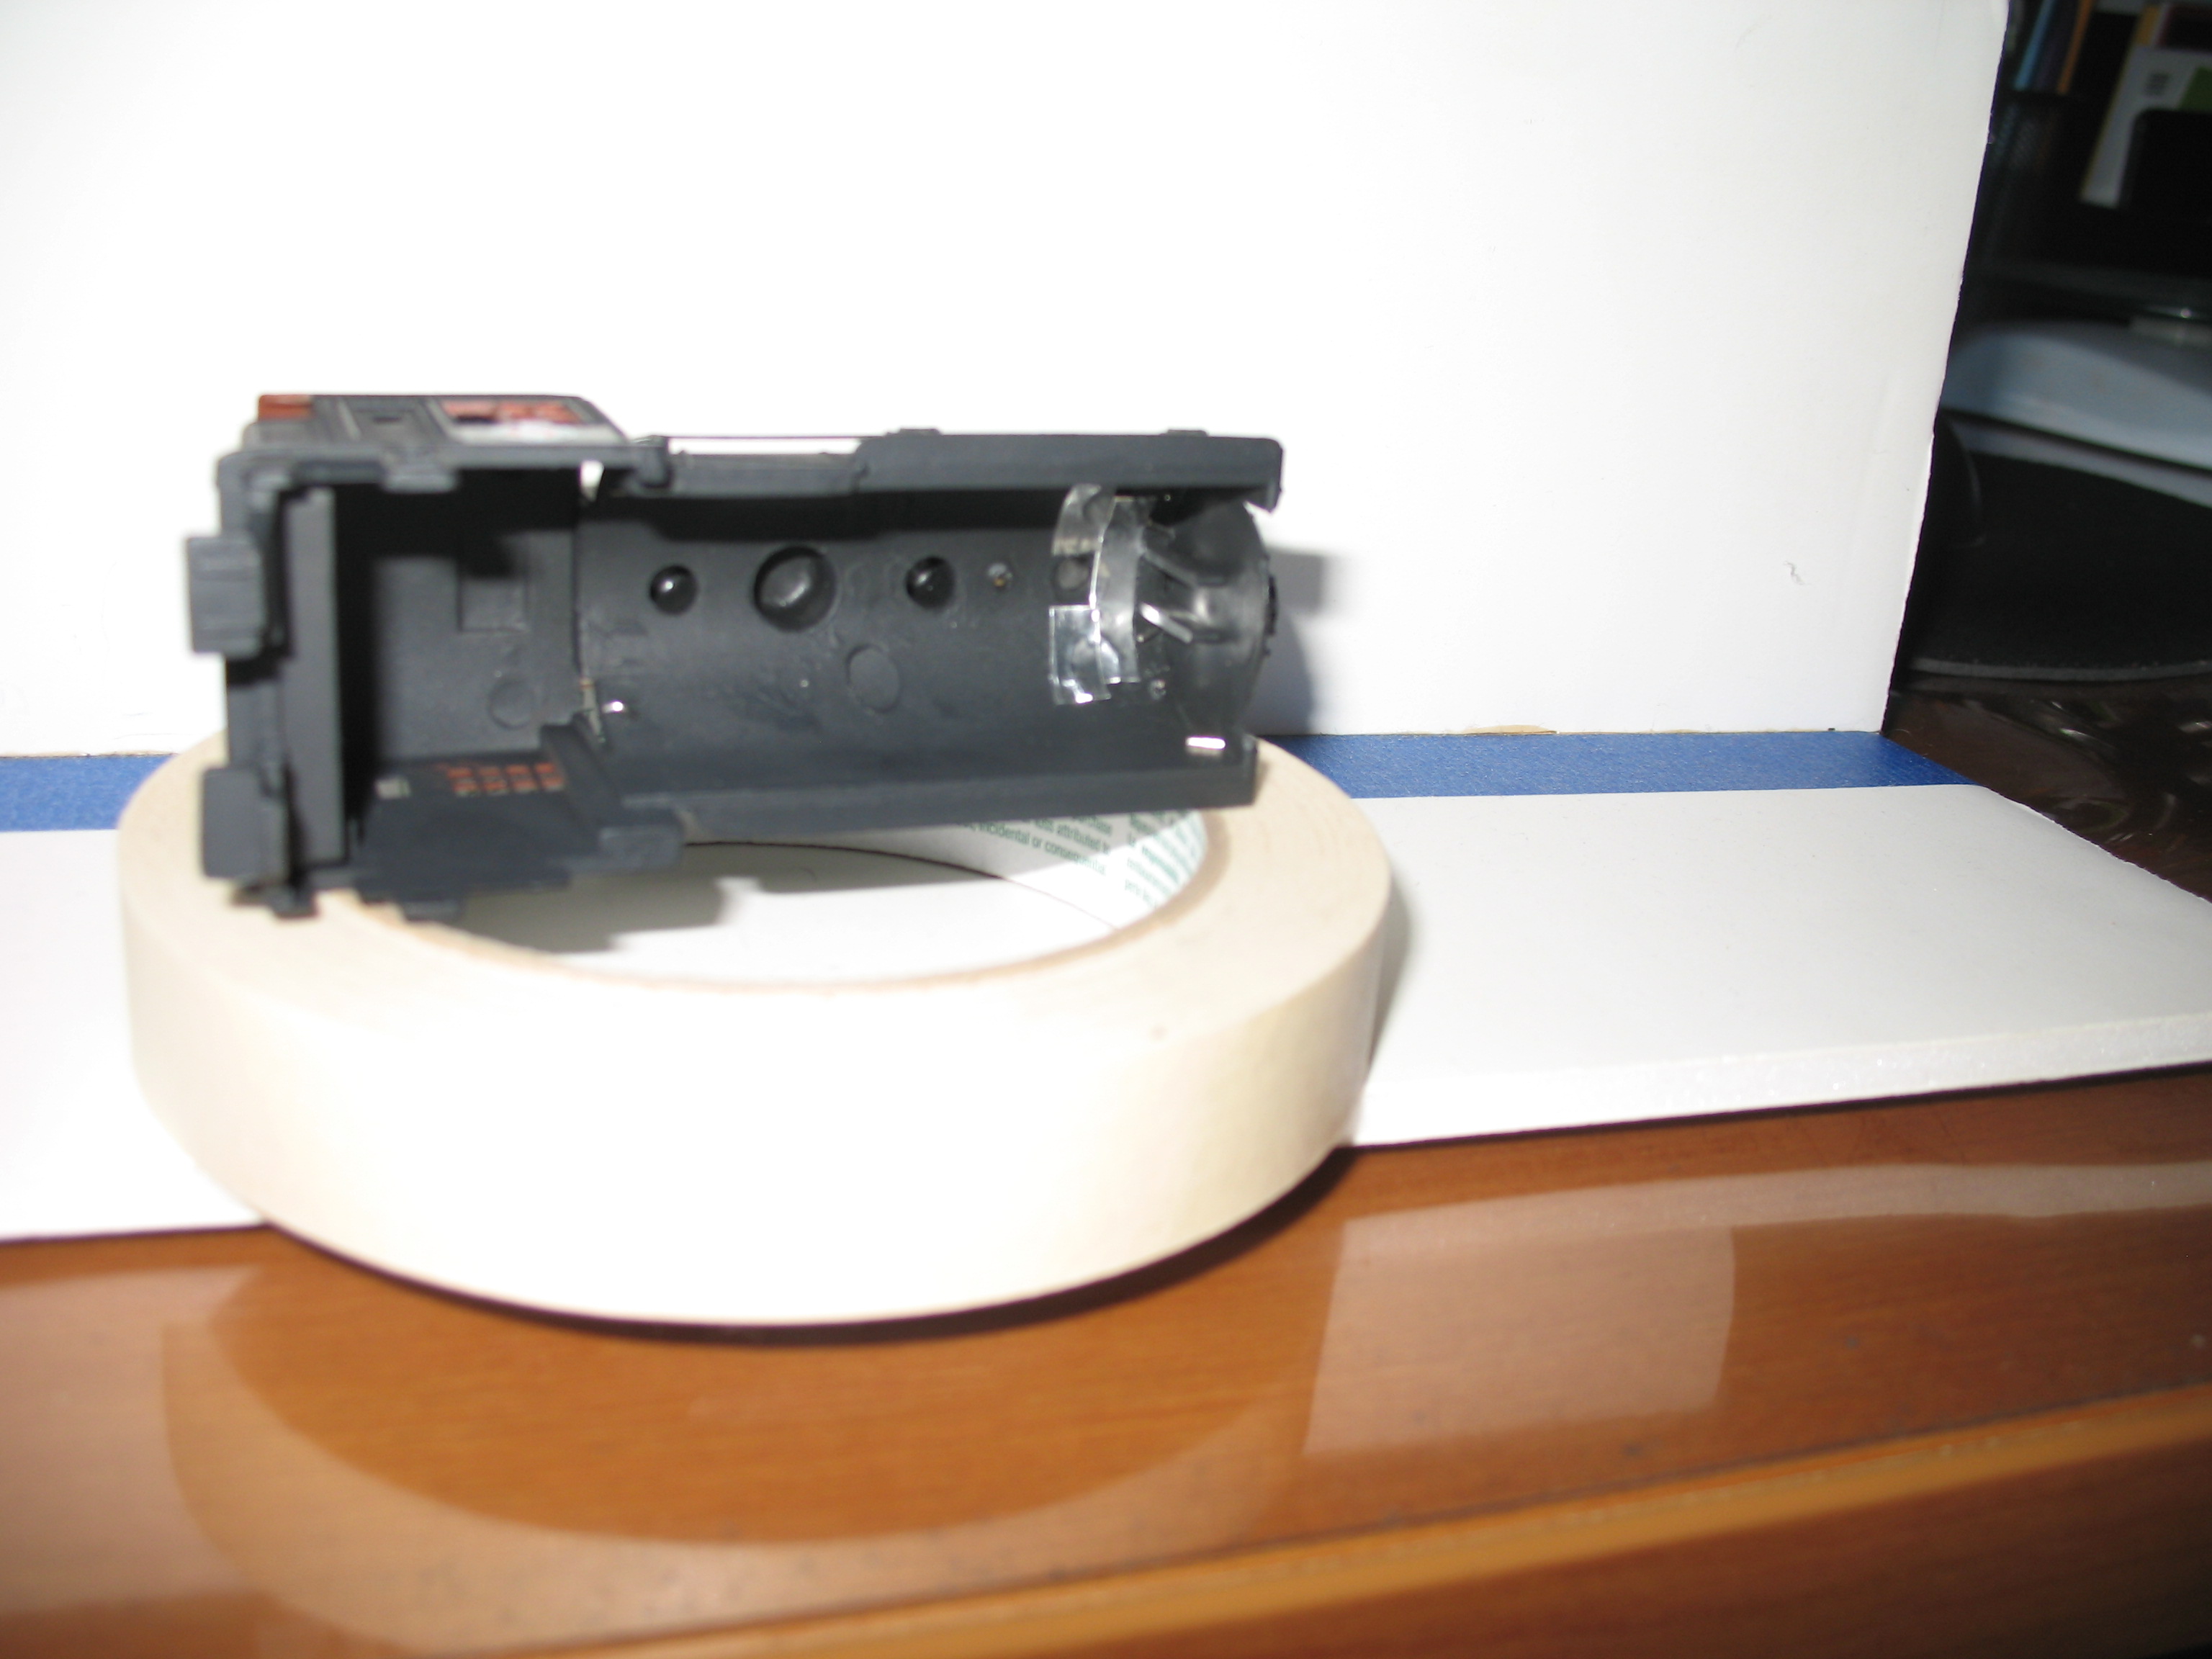
The engine I have was missing a rear step, where it had broken off (remember, this was a flea market special) so I used .060 styrene to build a repair piece. I had to fit it to an irrgular break, but filed the rough edge straighter before I started. All measurements came from the good piece that wasnt broken, then I reversed the "image".
As it was to be painted flat black, I was not too fussy with the tiny gap left.
.
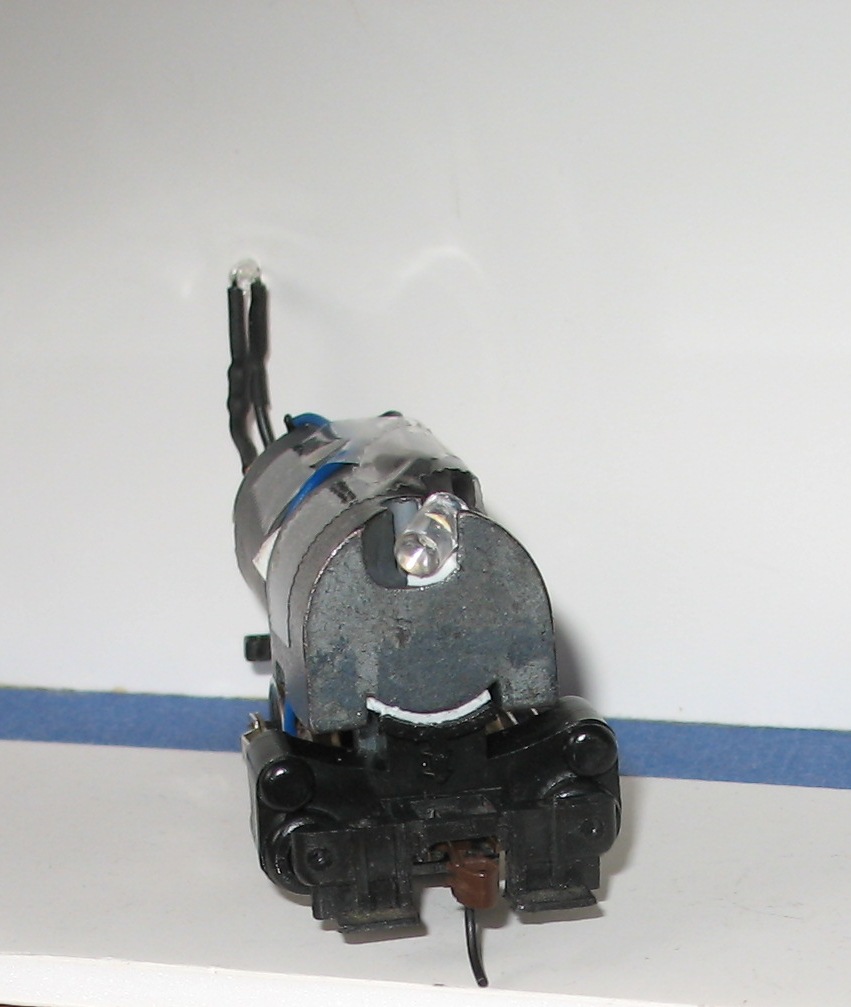
I lighted the front and rear with LEDs. The front is a 5mm Xmas warm white that suits the large gap in the boiler weight where the incandescent bulb was located. The larger LED size takes up the same space and may be a better choice than a 3mm one.
In the rear, the drilled out hole where the fake rear light housing is, is only enough for a 3mm LED- here, a flat top w/ a concave diffuser inside- again warm white. Looks pretty convincing when I temporarily fit it in the hole. As it is a backup light, the lower brightness may also be a good fit.
When you look thru the front light housing, you only see a half-round view- because the arc of the boiler molding cuts behind the light shaft. To enhance the reflectivity of the LED (also why it is the larger size 5 mm one), I placed aluminum tape pieces on the underside of the boiler shell to help in this regard.
I placed double stick foam tape in three places- below the cylinder piece where it sits on the chassis, and above on the center area cradle, where the boiler weight rests. The compression of the weight and the front assembly screw will not cause a problem (already checked that out).
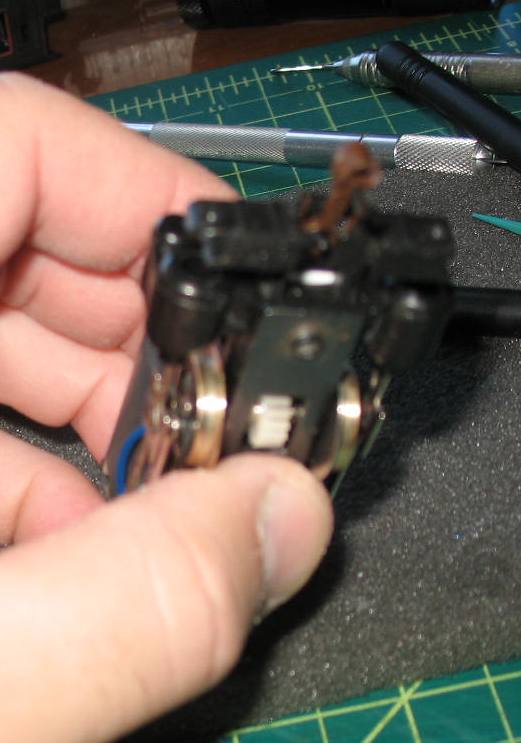
I also placed a piece between the rear of the boiler weight and the motor, to avoid any rattling that may occur which I may not have realized when I first inspected the whole mechanism.
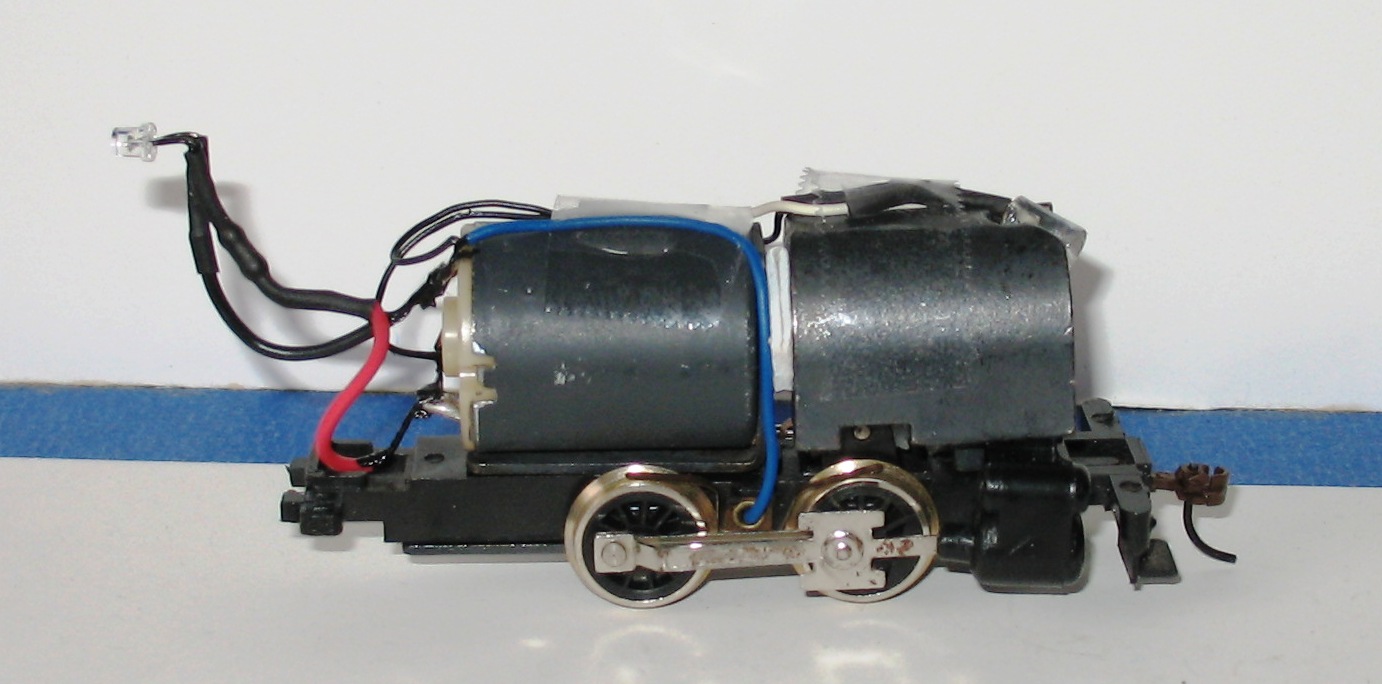
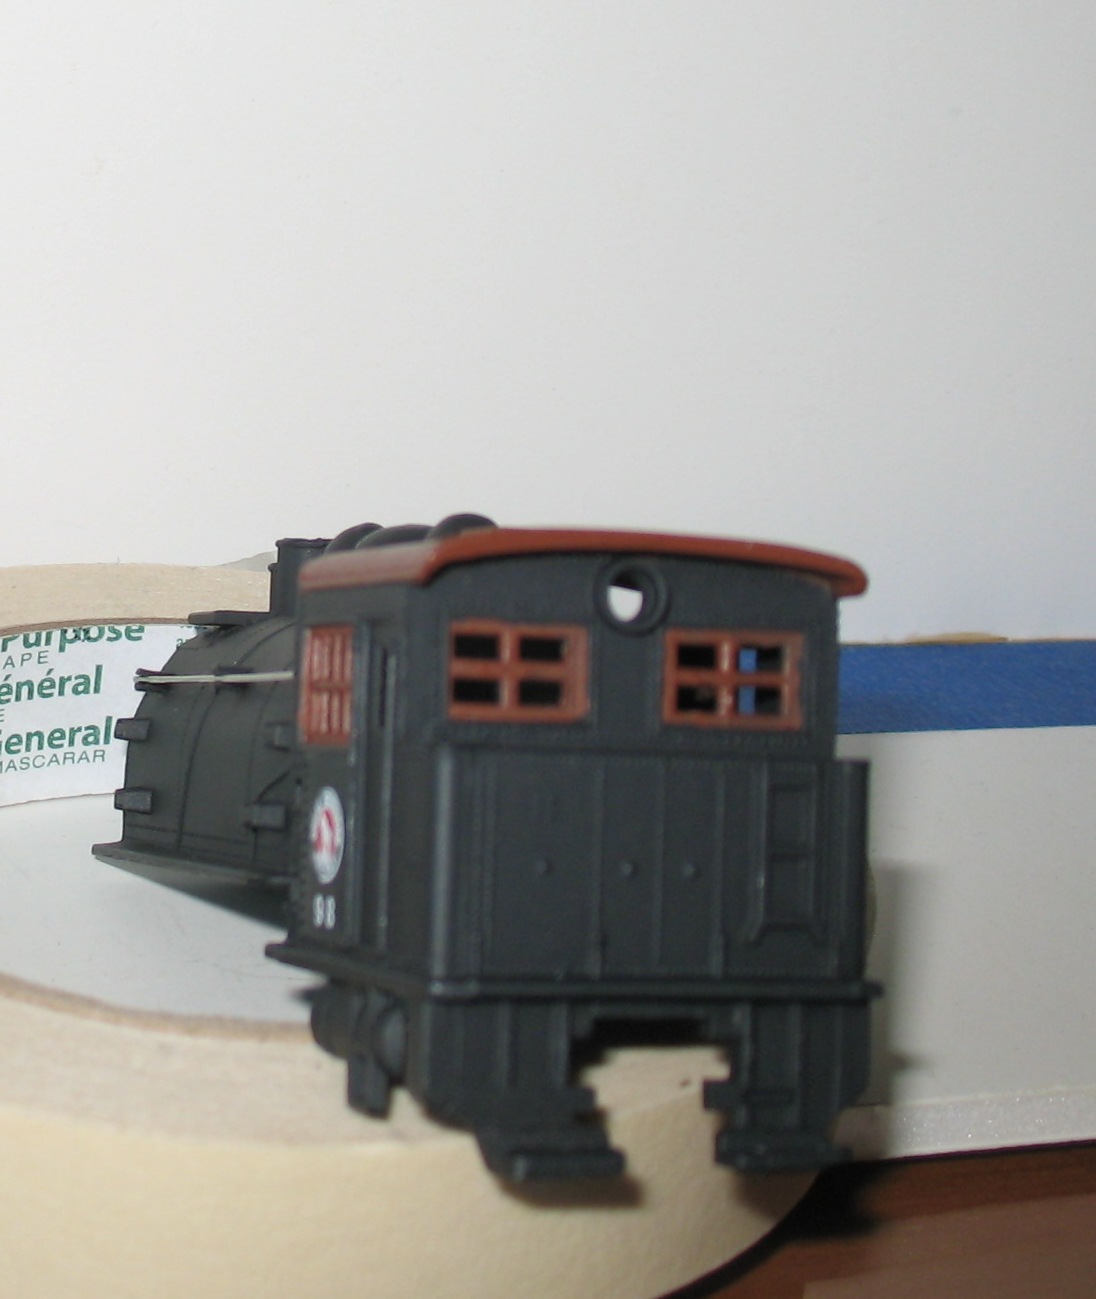
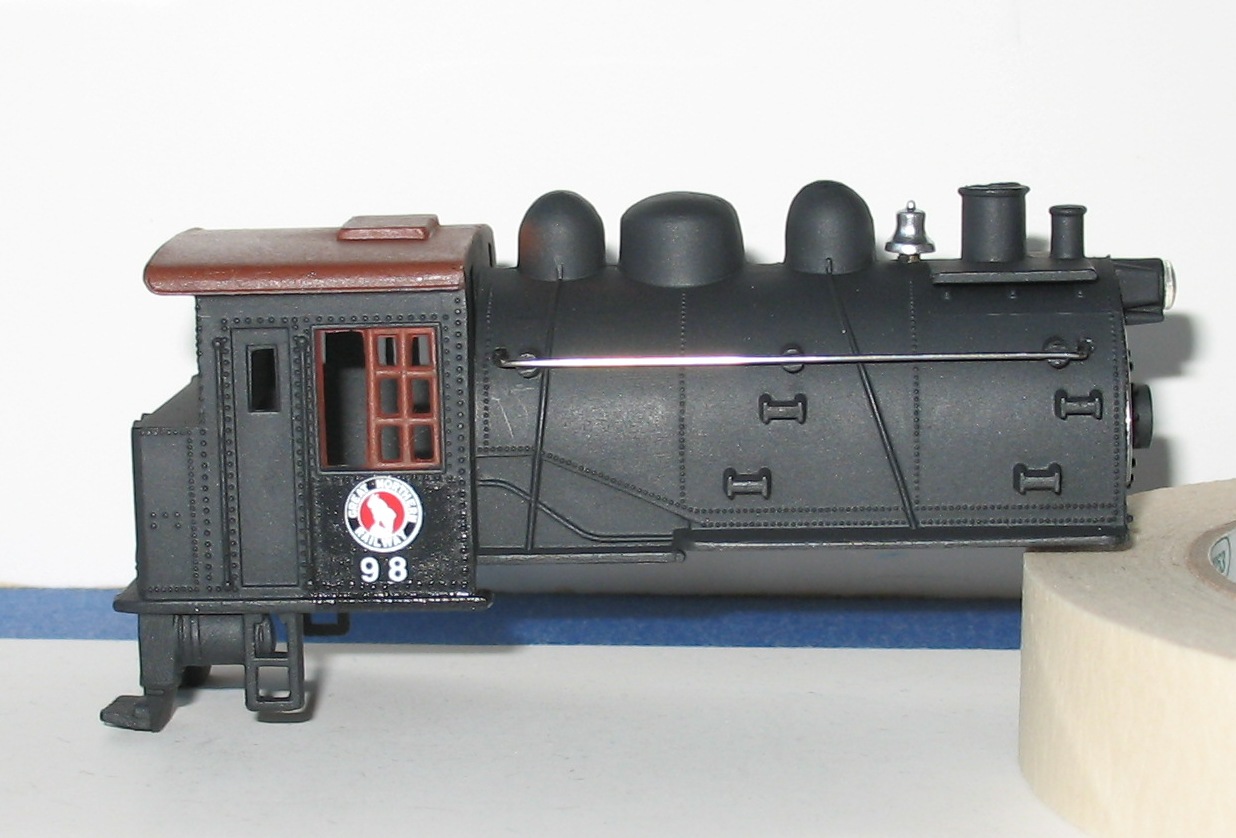
I painted the shell Walmart Flat Black, then used Rustoleum Primer Red to do the roof ala Great Northern steam style. I freshened the window grates on each side and painted the rear ones to match (I spray some paint from the can in an old medicine plastic bottle, then use a fine artist brush- in this case, a chisel tip one- to do the hand work. I was going to paint the rear ladder, but that is where there would be a lot of dust and dirt in the real world and the red down there wouldnt last very long. I also used plain old Testor's silver (the tiny squarish bottles) on the outside side rods, as they were a bit corroded.
I used some very small GN decals and found a number combo- "98" which matched the molded number in the center of the front boiler plate. GN had an 0-4-0 (see the GN Goat website) which was a bit different- this dockside version never existed- but it does now!
I need to dullcote the decal areas next and then start assembly.
One thing about the couplers- Kadee recommends #27s, but I found that cheapo plastic one I test fitted to work ok. I have a ton of regular #5s, so I might try them (or use a pair of 27s if I have to), although I will check the fit with my coupler height tool- see Jim Hediger's handy device he made with two of them in one of the spring issues of MR in 2011 or 2012. I did the same thing with two pieces of Atlas rerailer track and two height gauges, mounted on a piece of MDF, to which I adhered a cork bottom sheet.
Assembled photos will be the final post on this project.
Siouxlake/ Ron
|
Country:  USA ~
Posts: 510 ~
Member Since: September 21 2011 ~
Last Visit: December 21 2014 USA ~
Posts: 510 ~
Member Since: September 21 2011 ~
Last Visit: December 21 2014
|
 Alert Moderator
|
|
|
|
Posted - January 16 2013 : 7:46:15 PM
|
| You're doing excellent work! Can't wait to see how it turns out. - Thomas
|
|
Country: USA ~
Posts: 1091 ~
Member Since: July 07 2011 ~
Last Visit: July 07 2026
|
Alert Moderator

|
|
|
|
|
|