Hello everyone and Merry Christmas. I hope everyone has had a great holiday so far.
This is my most recently completed project. I have several ongoing projects at any given time however, I don't like to show and tell until it is finished.
I started work on this kit 3 weeks ago while I had to take a few days off of work to get COVID tested (didn't have it but someone in my "Fresh Eyes" event did and so we all had to get extended tested for 2 days).
Anyways, I have put about 25 hours of work into this kit. Being off so many days for the holiday has given me ample time to finish this kit. I had a TON of fun building it. It was much more challenging than the little 0-6-0t locomotive I built during the Summer. The small details were very tricky. The one thing I enjoy about these kits is that I always learn a tremendous amount about modeling/building from them. Each time I build one I walk away feeling both proud of myself and feeling much more knowledgeable about models. Below is a photo-timeline of the build. I will do my best to get some running footage of this model tomorrow. Along with better photos.
Conclusion: I really enjoyed building this kit. I am really proud of the finished result. I learned quite a lot during the process of making this. However, there was a lot of issues that I had building this. The first issue I ran into was that the yoke had 4 injector/cast pieces left on it. I carefully removed 3 of the 4 but on removal of the last one the Yoke broke one of it's "legs". I was able to reattach it with super glue but that was quite annoying. The next issue I had was with the lead truck. The instructions on attaching this part and exactly how it needs to work are somewhat un-clear. It would not stay on the rails properly so for the time-being I have pulled a TYCO and omitted it. The third issue I had was with the motor wire. The hole on the tender where it goes was missing so I just attached it to the drawbar instead. The forth and last issue I had was that the hole for the long screw that attaches the boiler to frame and steamchest was not drilled. Luckily I had a hand-drill with a similar bit so I just drilled that hole out myself.
Here is the frame. This kit had a substantial amount of flash on it. The thing I did more than any thing else on the engine and tender was remove flash.
Pre-painted tender and frame
Mostly filed down frame and steam chest.
Test fitting.
More test fitting
Mounted the rods and all wheels.
Yoke and all rods mounted.
Boiler test fit. The boiler on this kit was pre-painted as well. That was one nice thing about this kit is that I didn't have to do large-scale painting. Only small details this time and the few coats of dull clear.
Drive gear and pin mounted.
Boiler being detailed.
Test fit and overview.
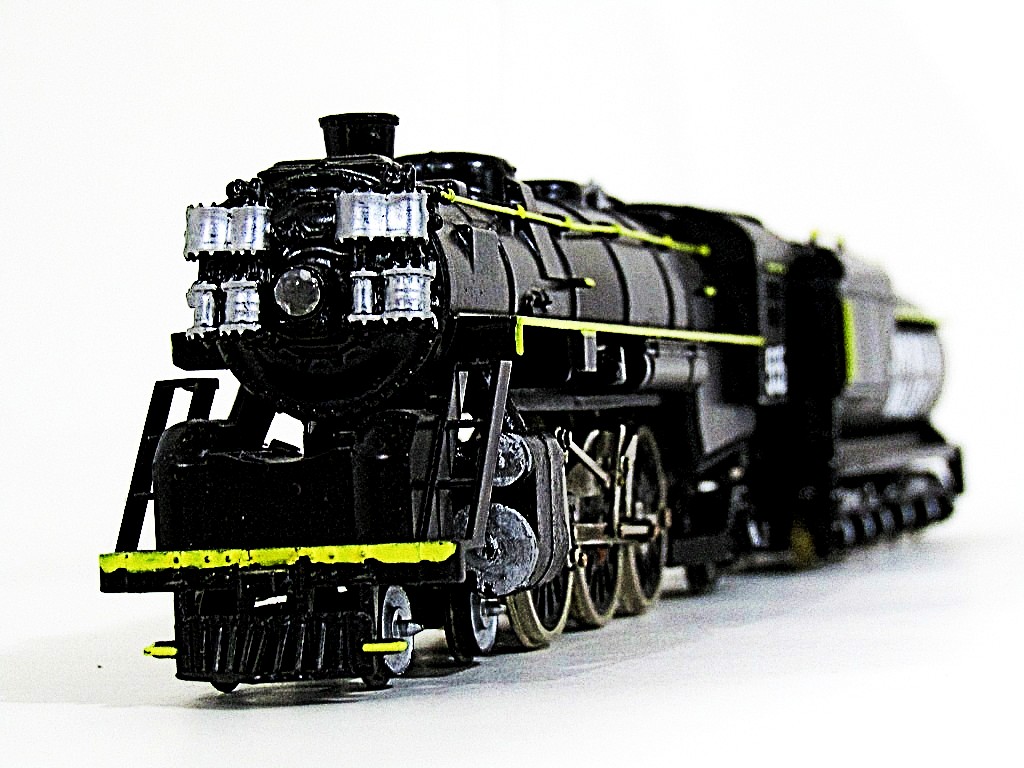
Completed model.
Completed model.
Country: USA ~
Posts: 412 ~
Member Since: October 23 2015 ~
Last Visit: June 12 2022
Man, that looks good! Nice work. "Let your light so shine before men, that they may see your good works, and glorify your Father which is in Heaven." - Matthew 5:16
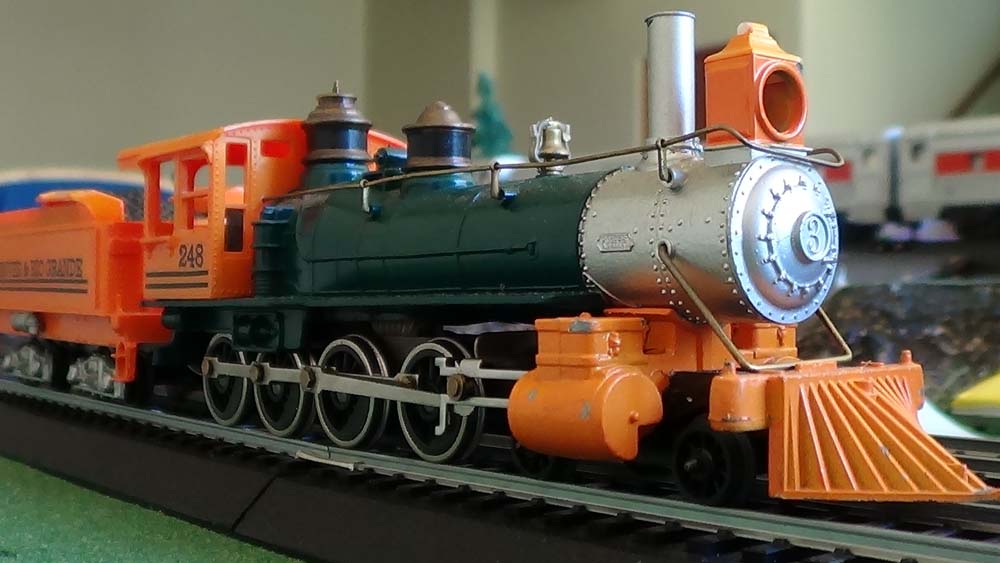
Thanks everyone. As promised here's more pictures and a video of it running. She's pulling a light consist at about 20% throttle. Sorry for the somewhat choppy quality video as this was shot on my older iPhone.
It's not perfect and there's more details and paint correcting I want to do to it but I am still quite proud of how it turned out.
Country: USA ~
Posts: 412 ~
Member Since: October 23 2015 ~
Last Visit: June 12 2022
Runs nice and smooth. "Let your light so shine before men, that they may see your good works, and glorify your Father which is in Heaven." - Matthew 5:16